

Do you want to start a blog to share your latest adventures with various software frameworks? Do you love a project that is poorly documented and want to fix that? Or do you just want to create a personal website?
Many people who want to start a blog have a significant caveat: lack of knowledge about a content management system (CMS) or time to learn. Well, what if I said you don't need to spend days learning a new CMS, setting up a basic website, styling it, and hardening it against attackers? What if I said you could create a blog in 30 minutes, start to finish, with Hugo?
opensource.com
Hugo is a static site generator written in Go. Why use Hugo, you ask?
- Because there is no database, no plugins requiring any permissions, and no underlying platform running on your server, there's no added security concern.
- The blog is a set of static websites, which means lightning-fast serve time. Additionally, all pages are rendered at deploy time, so your server's load is minimal.
- Version control is easy. Some CMS platforms use their own version control system (VCS) or integrate Git into their interface. With Hugo, all your source files can live natively on the VCS of your choice.
To put it bluntly, Hugo is here to make writing a website fun again. Let's time the 30 minutes, shall we?
Minutes 0-5: Download Hugo and generate a site
To simplify the installation of Hugo, download the binary file. To do so:
- Download the appropriate archive for your operating system.
- Unzip the archive into a directory of your choice, for example
C:\hugo_diror~/hugo_dir; this path will be referred to as${HUGO_HOME}. - Open the command line and change into your directory:
cd ${HUGO_HOME}. - Verify that Hugo is working:
- On Unix:
${HUGO_HOME}/[hugo version] - On Windows:
${HUGO_HOME}\[hugo.exe version]
For example,c:\hugo_dir\hugo version.
For simplicity, I'll refer to the path to the Hugo binary (including the binary) as
hugo. For example,hugo versionwould translate toC:\hugo_dir\hugo versionon your computer.If you get an error message, you may have downloaded the wrong version. Also note there are many possible ways to install Hugo. See the official documentation for more information. Ideally, you put the Hugo binary on PATH. For this quick start, it's fine to use the full path of the Hugo binary.
- On Unix:
- Create a new site that will become your blog:
hugo new site awesome-blog. - Change into the newly created directory:
cd awesome-blog.
Congratulations! You have just created your new blog.
Minutes 5-10: Theme your blog
With Hugo, you can either theme your blog yourself or use one of the beautiful, ready-made themes. I chose Kiera because it is deliciously simple. To install the theme:
- Change into the themes directory:
cd themes. - Clone your theme:
git clone https://github.com/avianto/hugo-kiera kiera. If you do not have Git installed:- Download the .zip file from GitHub.
- Unzip it to your site's
themesdirectory. - Rename the directory from
hugo-kiera-mastertokiera.
- Change the directory to the awesome-blog level:
cd awesome-blog. - Activate the theme. Themes (including Kiera) often come with a directory called
exampleSite, which contains example content and an example settings file. To activate Kiera, copy the providedconfig.tomlfile to your blog:- On Unix:
cp themes/kiera/exampleSite/config.toml . - On Windows:
copy themes\kiera\exampleSite\config.toml . - Confirm
Yesto override the oldconfig.toml
- On Unix:
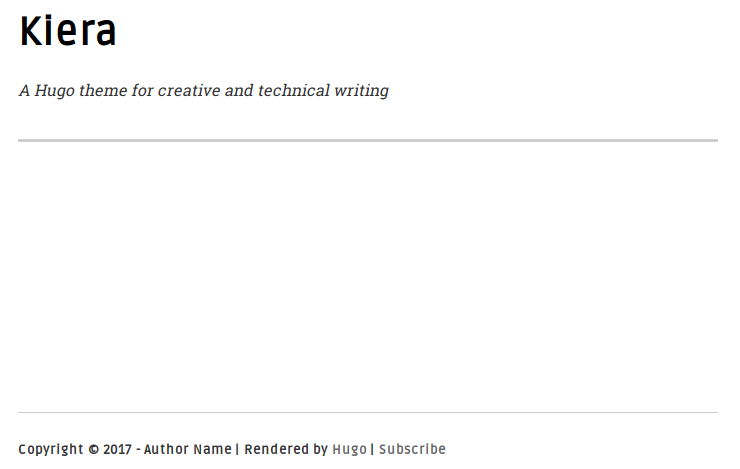
- (Optional) You can start your server to visually verify the theme is activated:
hugo server -Dand accesshttps://localhost:1313in your web browser. Once you've reviewed your blog, you can turn off the server by pressingCtrl+Cin the command line. Your blog is empty, but we're getting someplace. It should look something like this:
opensource.com
You have just themed your blog! You can find hundreds of beautiful themes on the official Hugo themes site.
Minutes 10-20: Add content to your blog
Whereas a bowl is most useful when it is empty, this is not the case for a blog. In this step, you'll add content to your blog. Hugo and the Kiera theme simplify this process. To add your first post:
- Article archetypes are templates for your content.
- Add theme archetypes to your blog site:
- On Unix:
cp themes/kiera/archetypes/* archetypes/ - On Windows:
copy themes\kiera\archetypes\* archetypes\ - Confirm
Yesto override thedefault.mdarchetype
- On Unix:
- Create a new directory for your blog posts:
- On Unix:
mkdir content/posts - On Windows:
mkdir content\posts
- On Unix:
- Use Hugo to generate your post:
- On Unix:
hugo new posts/first-post.md - On Windows:
hugo new posts\first-post.md
- On Unix:
- Open the new post in a text editor of your choice:
- On Unix:
gedit content/posts/first-post.md - On Windows:
notepad content\posts\first-post.md
- On Unix:
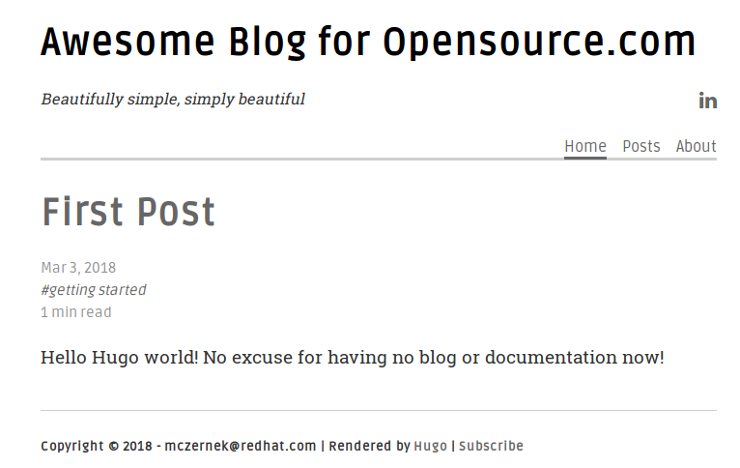
At this point, you can go wild. Notice that your post consists of two sections. The first one is separated by +++. It contains metadata about your post, such as its title. In Hugo, this is called front matter. After the front matter, the article begins. Create the first post:
+++
title = "First Post"
date = 2018-03-03T13:23:10+01:00
draft = false
tags = ["Getting started"]
categories = []
+++
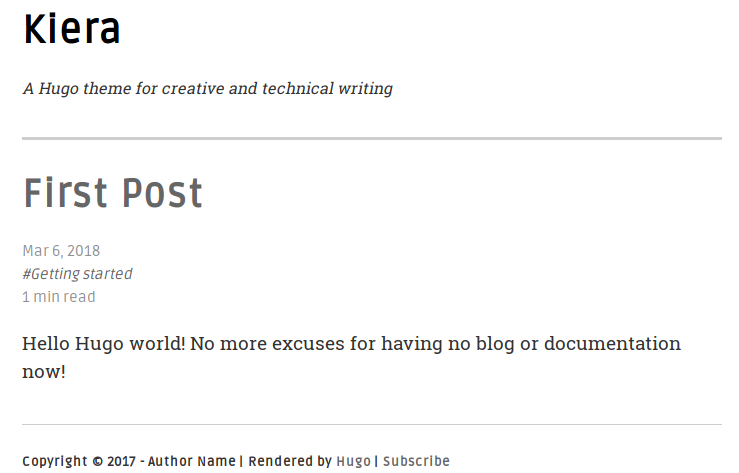
Hello Hugo world! No more excuses for having no blog or documentation now!All you need to do now is start the server: hugo server -D. Open your browser and enter: https://localhost:1313/.
opensource.com
Minutes 20-30: Tweak your site
What we've done is great, but there are still a few niggles to iron out. For example, naming your site is simple:
- Stop your server by pressing
Ctrl+Con the command line. - Open
config.tomland edit settings such as the blog's title, copyright, name, your social network links, etc.
When you start your server again, you'll see your blog has a bit more personalization. One more basic thing is missing: menus. That's a quick fix as well. Back in config.toml, insert the following at the bottom:
[[menu.main]]
    name = "Home" #Name in the navigation bar
    weight = 10 #The larger the weight, the more on the right this item will be
    url = "/" #URL address
[[menu.main]]
    name = "Posts"
    weight = 20
    url = "/posts/"
This adds menus for Home and Posts. You still need an About page. Instead of referencing it from the config.toml file, reference it from a markdown file:
- Create an About file:
hugo new about.md. Notice that it'sabout.md, notposts/about.md. The About page is not a blog post, so you don't want it displayed in the Posts section. - Open the file in a text editor and enter the following:
+++
title = "About"
date = 2018-03-03T13:50:49+01:00
menu = "main" #Display this page on the nav menu
weight = "30" #Right-most nav item
meta = "false" #Do not display tags or categories
+++

> Waves are the practice of the water. Shunryu Suzuki
When you start your Hugo server and open https://localhost:1313/, you should see your new blog ready to be used. (Check out my example on my GitHub page.) If you'd like to change the active style of menu items to make the padding slightly nicer (like the GitHub live version), apply this patch to your themes/kiera/static/css/styles.css file.


10 Comments