Editor's Note: This is an older article, and it has been brought to our attention that these instructions may not work with newer Raspberry Pi models.
Coder is an experiment for Raspberry Pi, built by a small team of Googlers in New York. It converts a Raspberry Pi into a friendly environment for learning web programming. It is ideal for beginners and requires absolutely no experience with coding.
Getting started
A great tutorial on Coder is available on the project homepage.
To start with Coder we need:
- a Raspberry Pi (any of the models will do: A, B, A+, B+)
- an SD card with Coder installed
I explored Coder by using a Raspberry Pi B+ and the SD Card Coder version distributed by AdaFruit. However, you can also download Coder for free, and write it on to any 4Gb SD Card, as described on the project page.
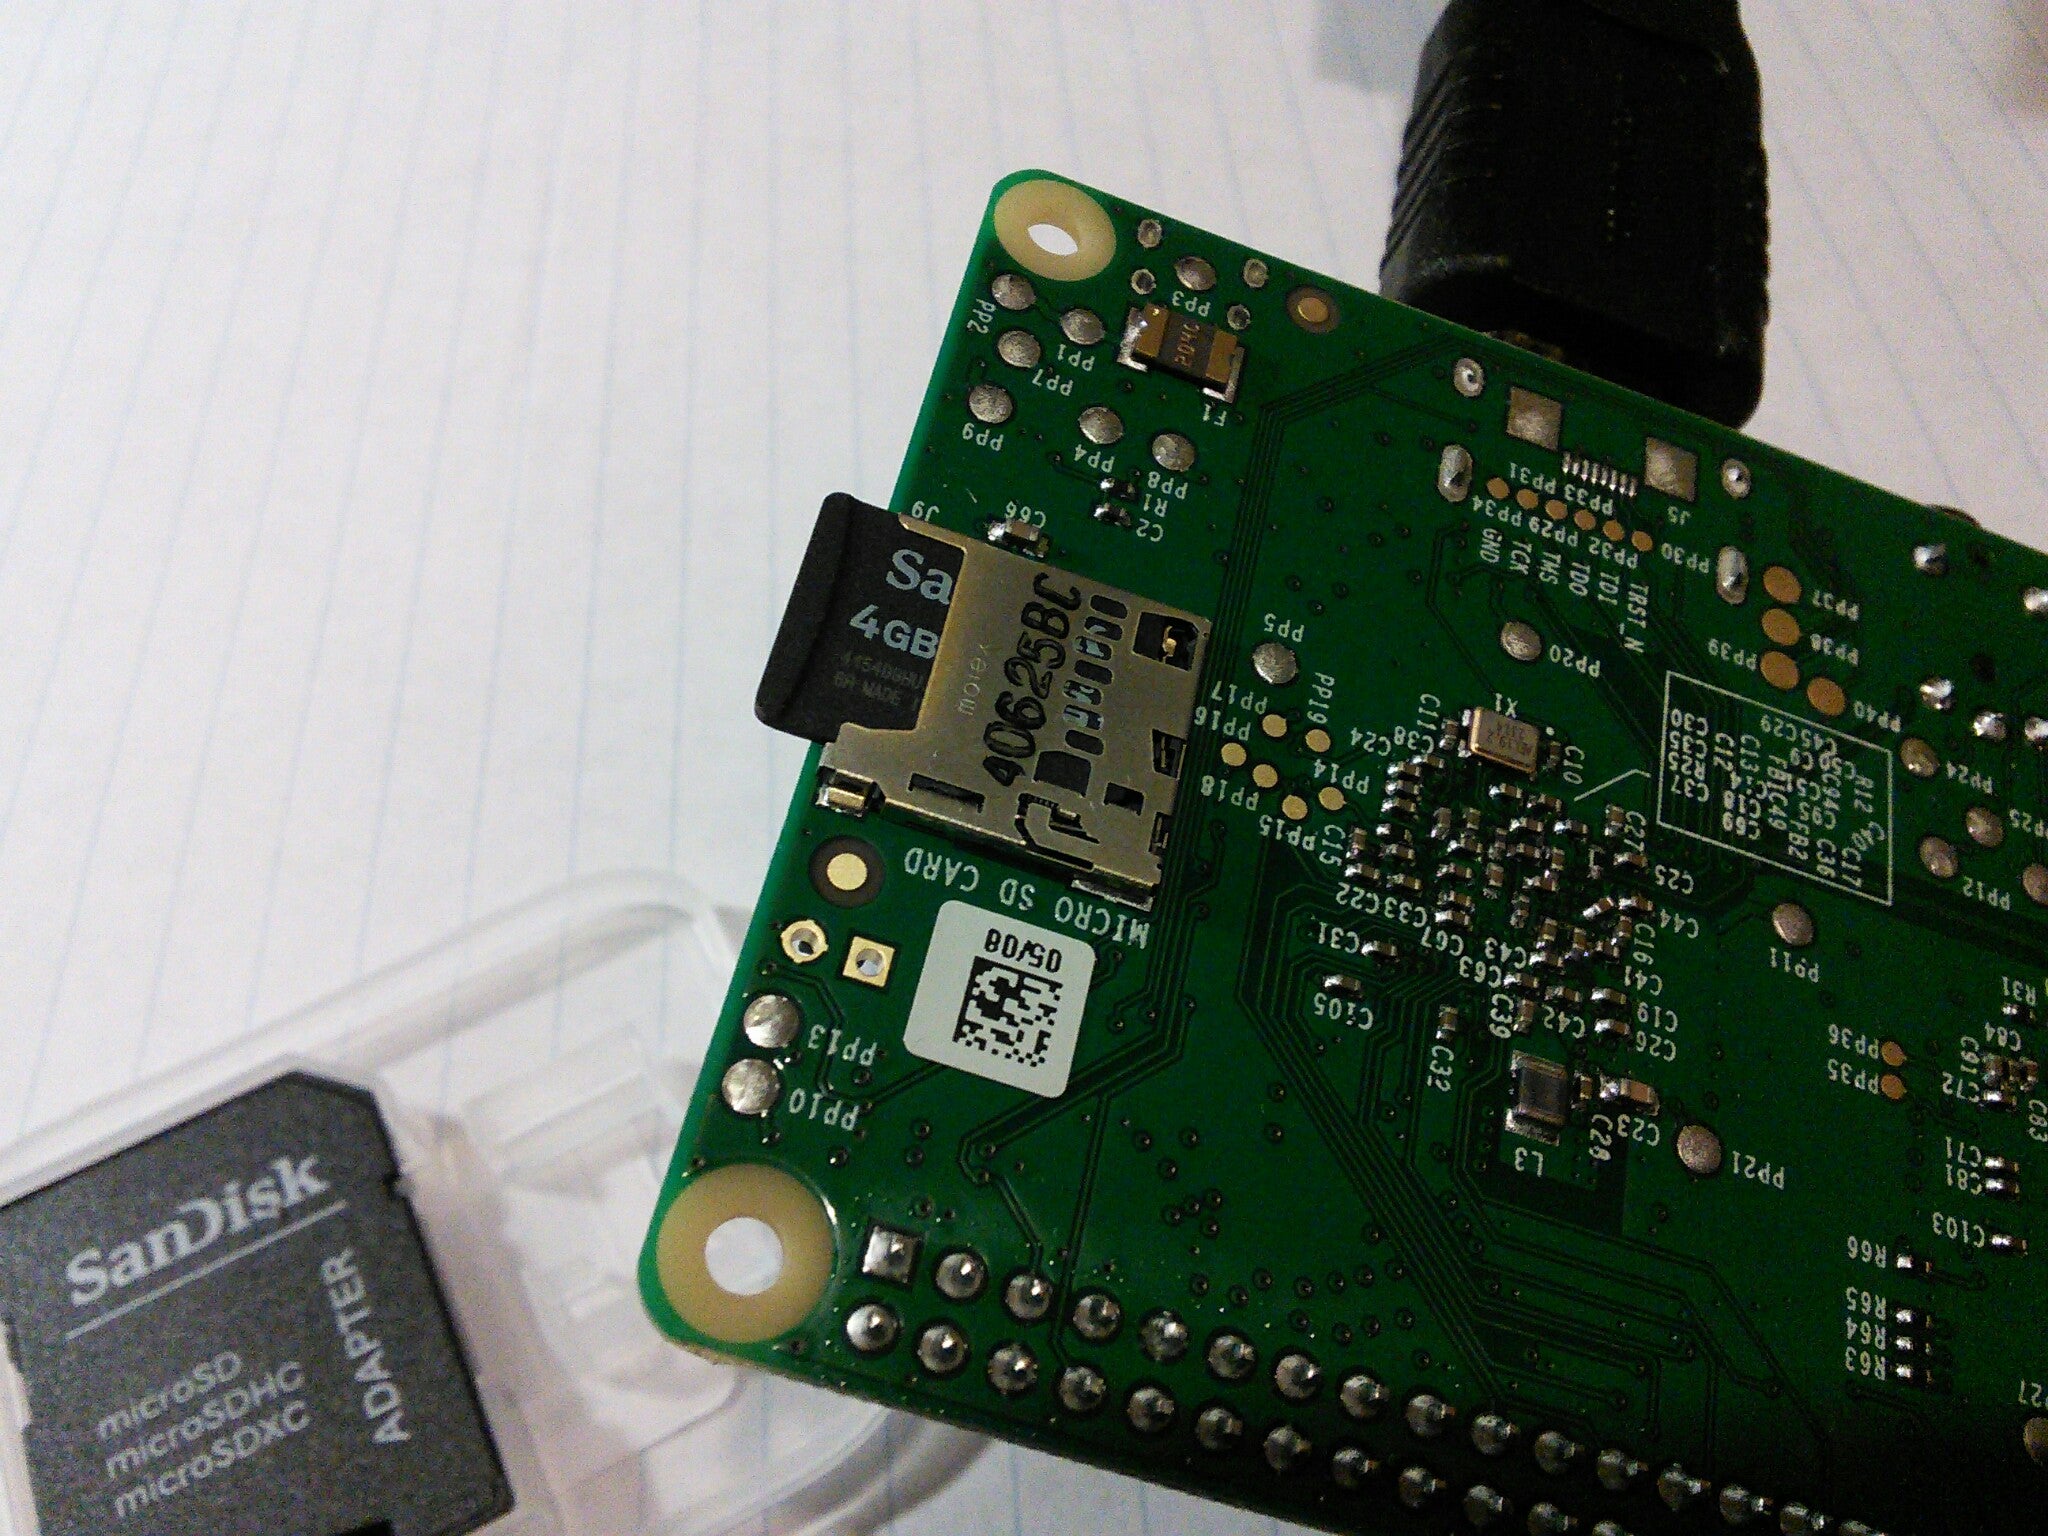
Starting is as easy as inserting the Micro SD card in the Raspberry Pi and booting it.
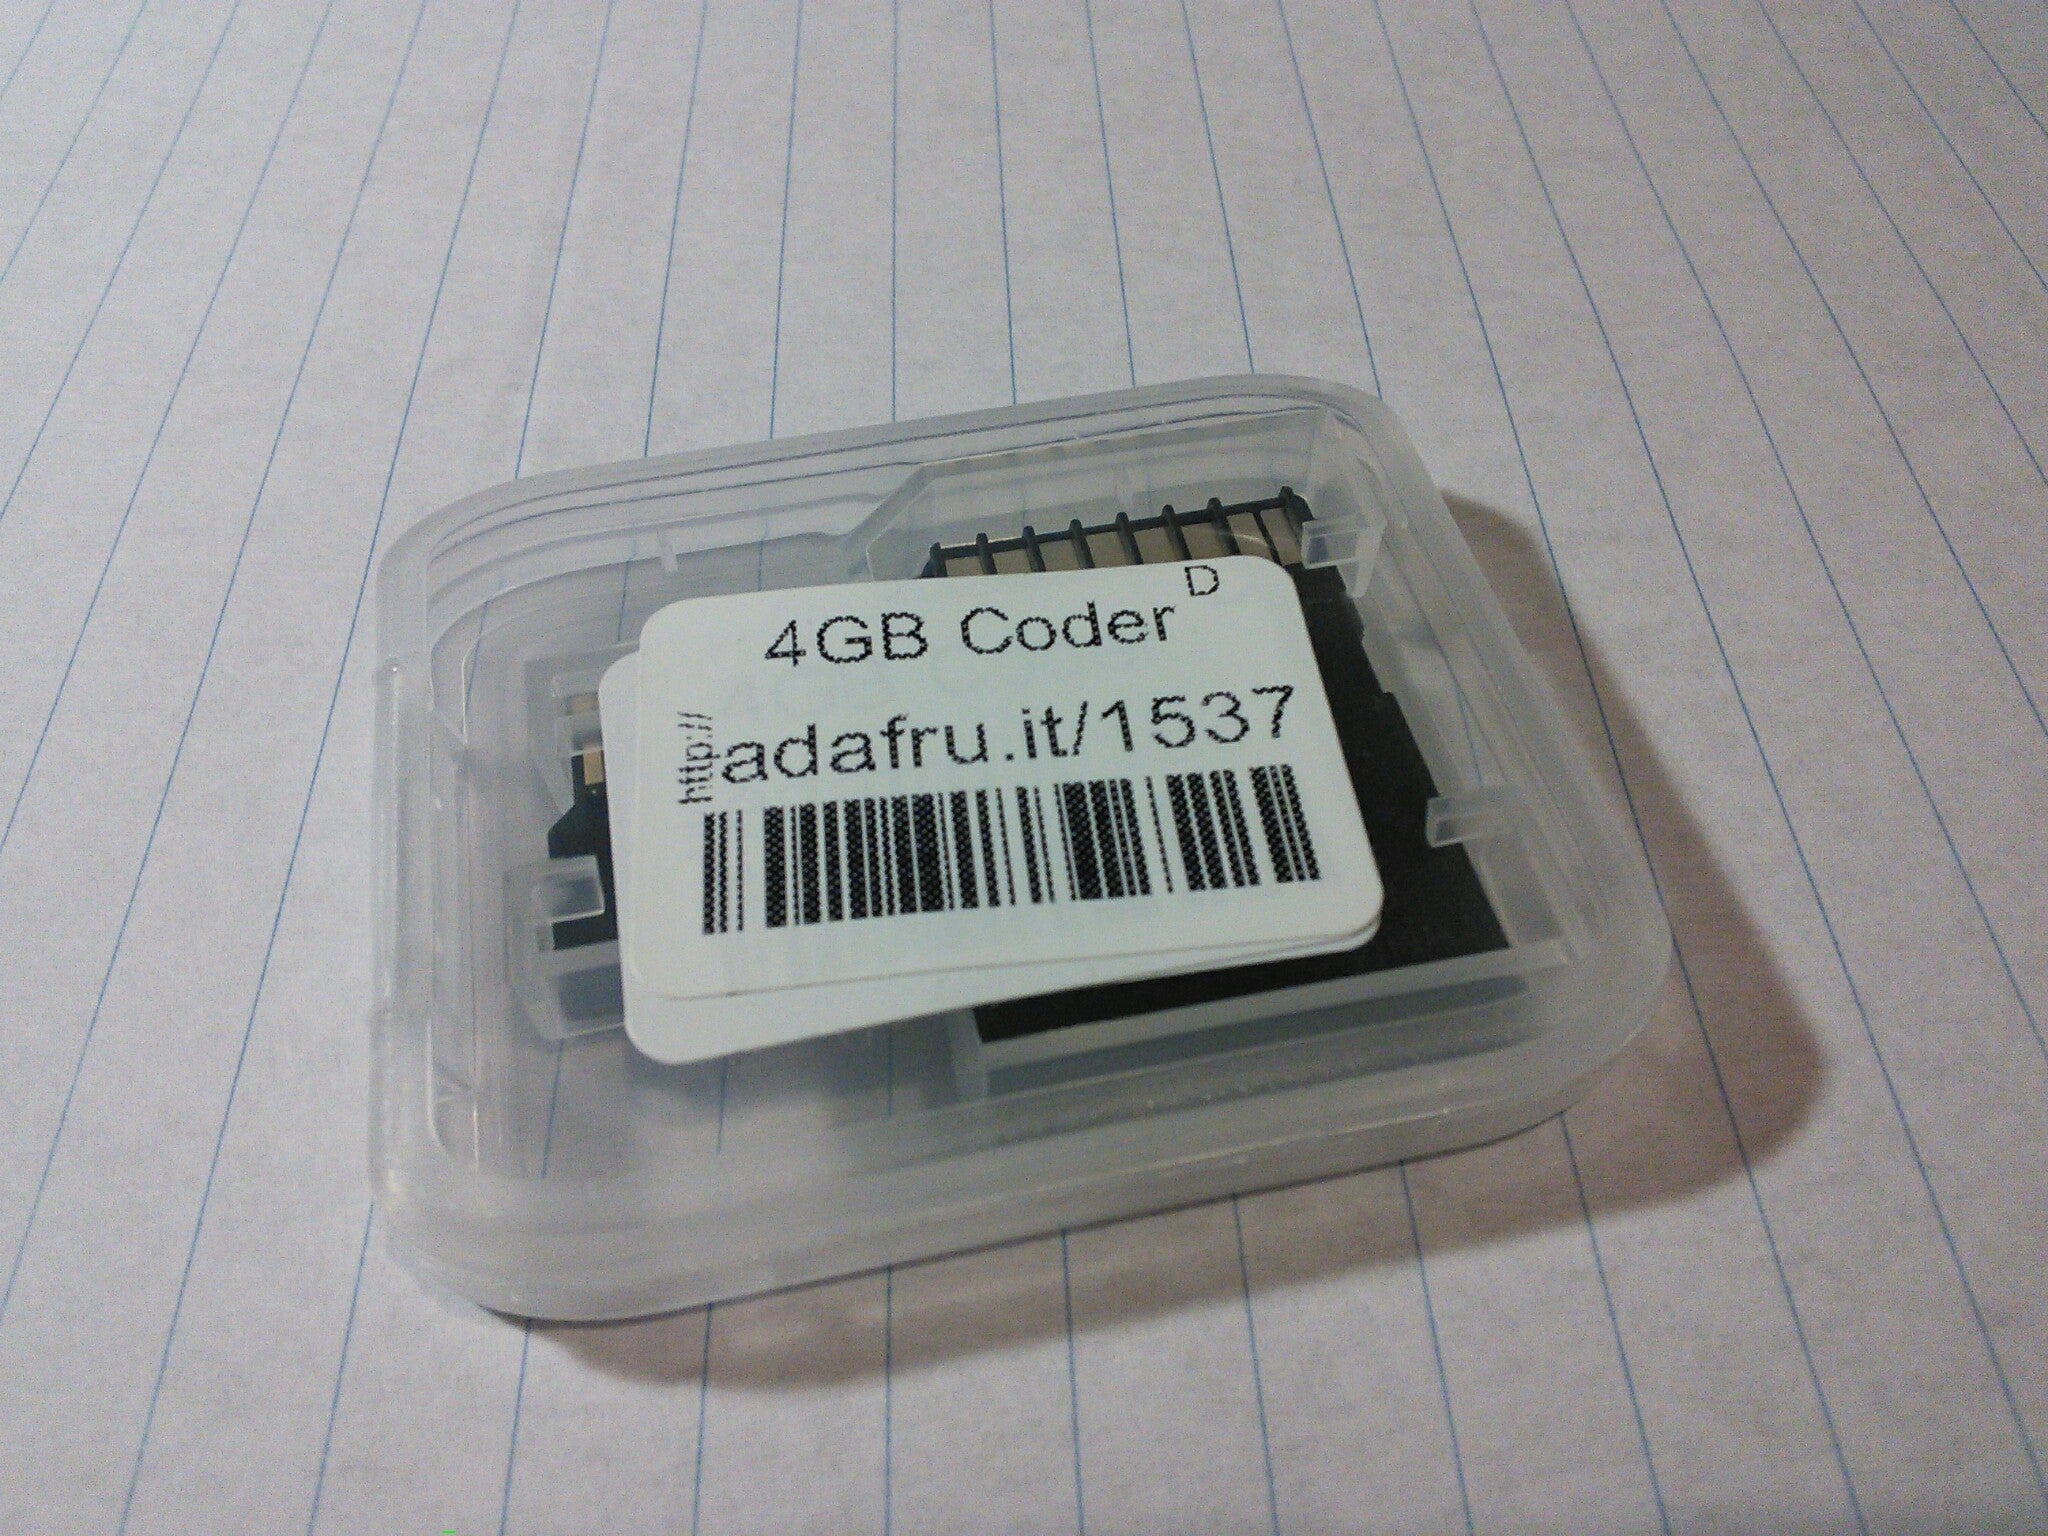
[[{"fid":"165149","view_mode":"default","fields":{"format":"default","field_file_image_alt_text[und][0][value]":"Micro SD card with Coder from AdaFruit","field_file_image_title_text[und][0][value]":"Micro SD card with Coder from AdaFruit","field_file_image_caption[und][0][value]":"
Micro SD card with Coder from AdaFruit, and its adapter.
","field_file_image_caption[und][0][format]":"panopoly_wysiwyg_text","field_folder[und]":"9404"},"type":"media","attributes":{"alt":"Micro SD card with Coder from AdaFruit","title":"Micro SD card with Coder from AdaFruit","height":"1536","width":"2048","class":"media-element file-default"}}]]
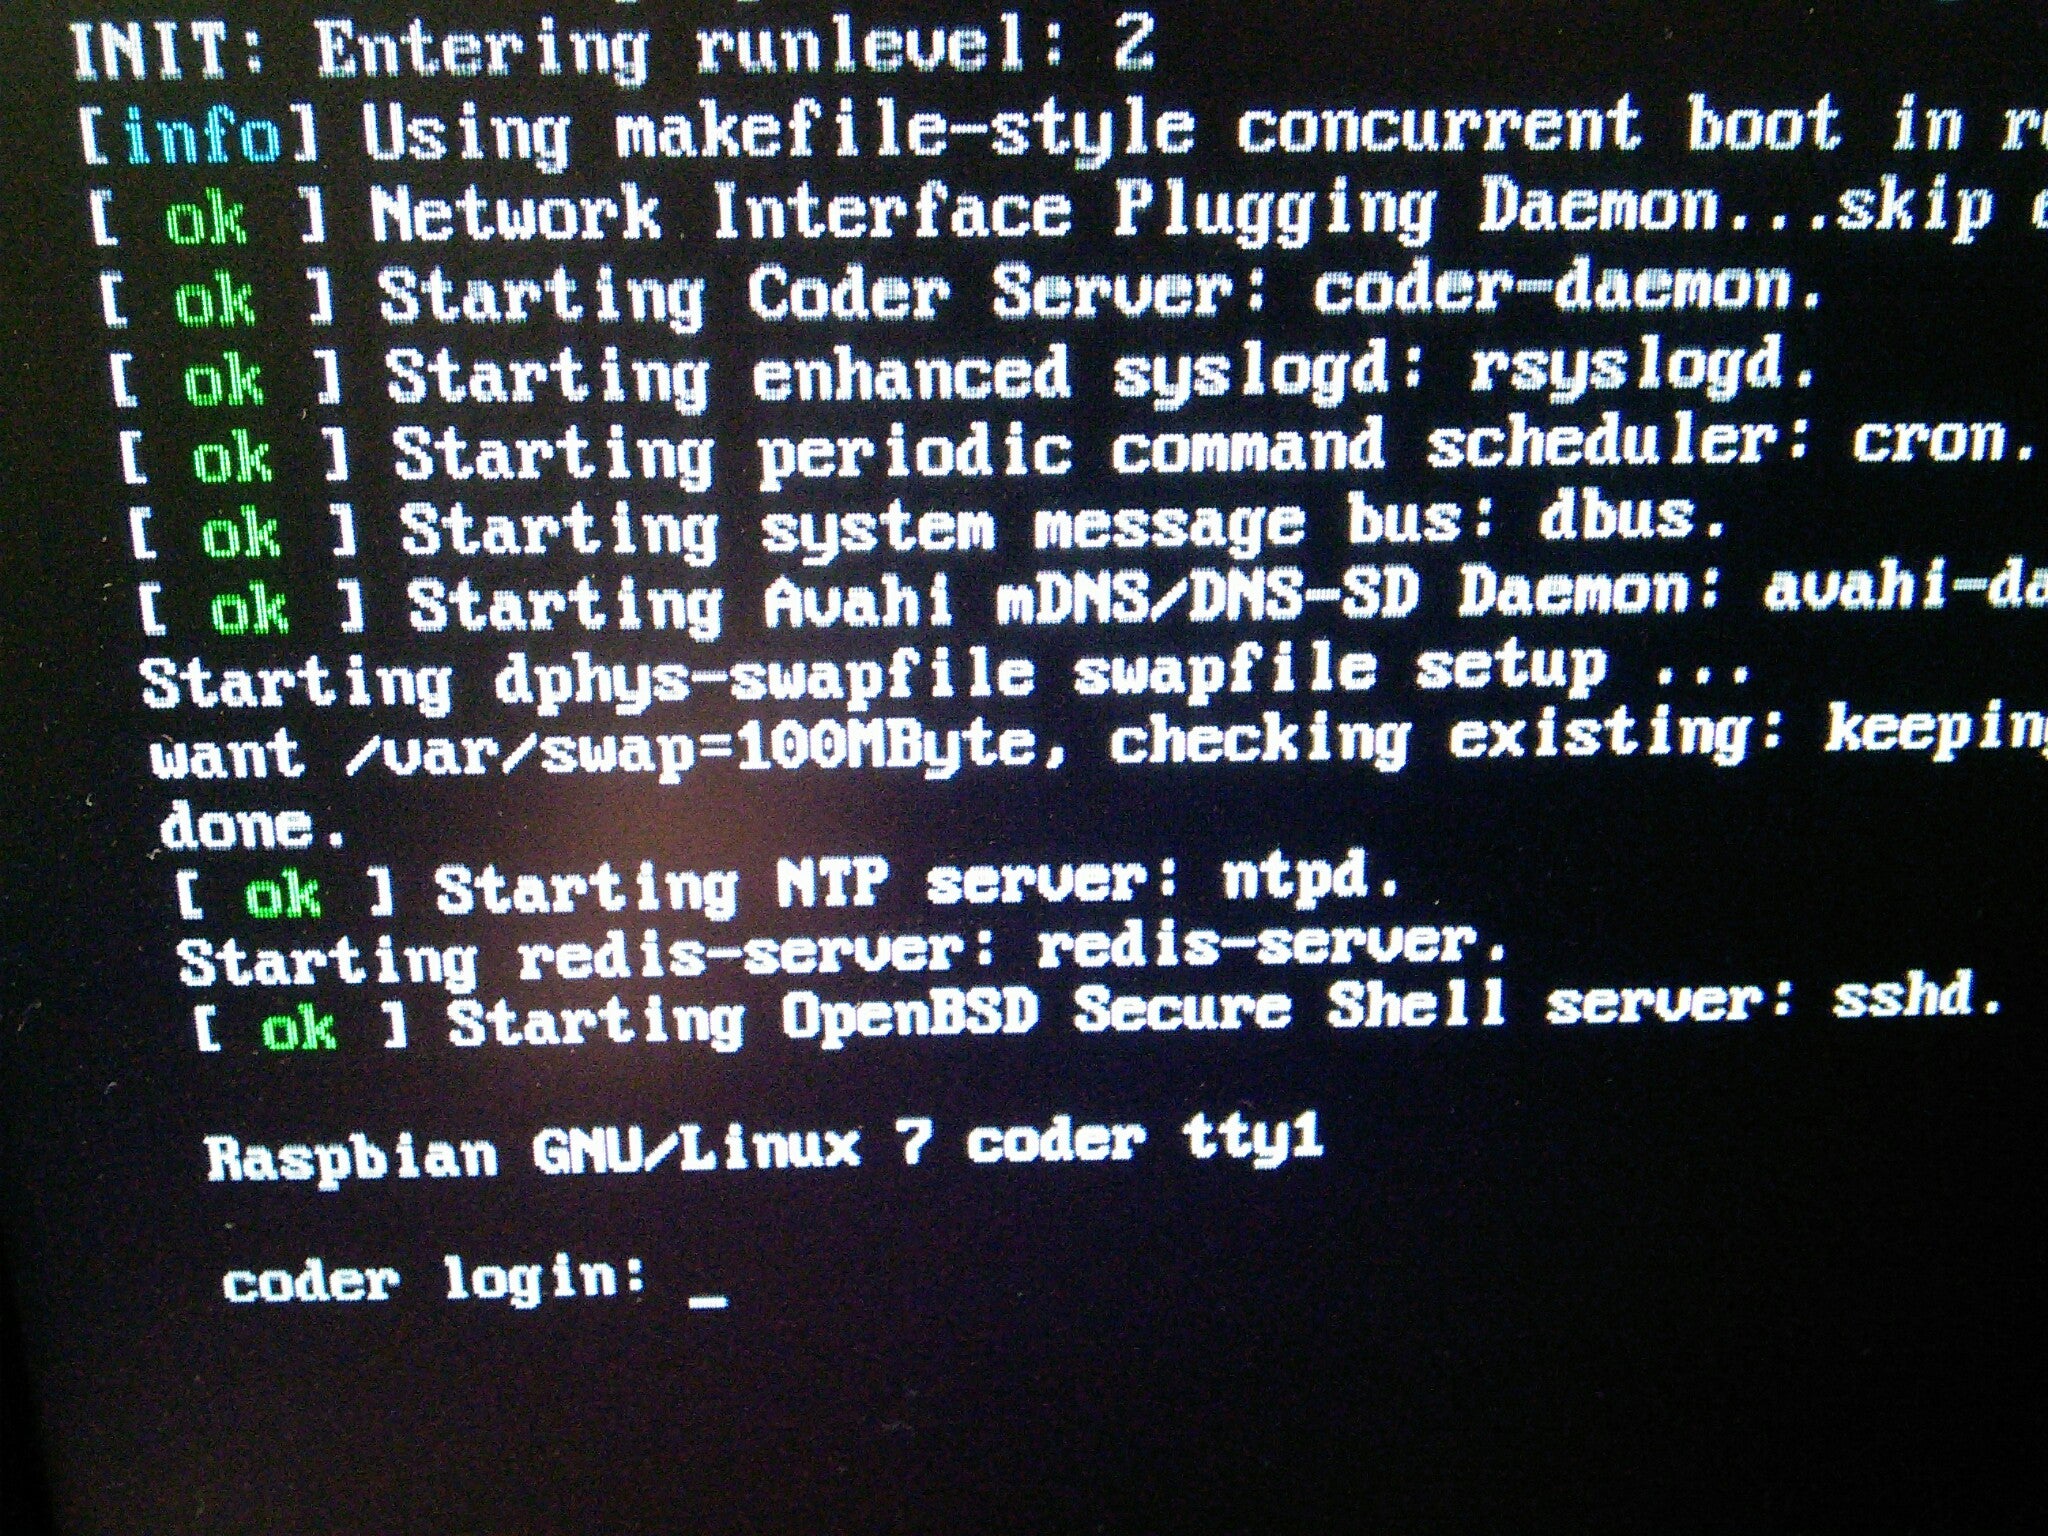
During the boot process, Coder configures the Raspberry Pi as a web server. It also sets it up as its own WiFi access point. The idea here is that we will use one computer for programming (it could be a laptop, a desktop, or tablet, for example), and from it, we will connect to the server that is automatically configured by Coder in the Raspberry Pi.
The connection can be made with an Ethernet network cable or via the WiFi access point. I used the second method, so I connected my laptop (an HP Chromebook) to the WiFi network with SSID: "CoderConfig". Then, I simply opened a web browser (Chrome in the case below) and typed the address:
If you use a home network, you may have seen many times that the IP addresses assigned to your devices start with 192.168. This is due to an international convention that reserves the 192.168.x.x block of addresses as a private network. The outcome in this case is that the laptop and the Raspberry Pi are sharing a very small and cozy private network at this point.
In practice, this also means that, to play with Coder, we don't even need to connect a monitor, keyboard, and mouse to the Raspberry Pi. Since it works as a server and all the configuration is done from the client computer (the laptop, desktop, or tablet), we can simply connect the Raspberry Pi to a network cable, or insert a Wifi USB adapter, and then power the Pi with the usual Micro USB connector. The Coder project page provides a shopping list, in case you don't have all the components.
The first page that Coder presents, allows us to set up a password for the future configuration of the Web server in the Raspberry Pi. A good first step to get acquinted with basic practices on security.
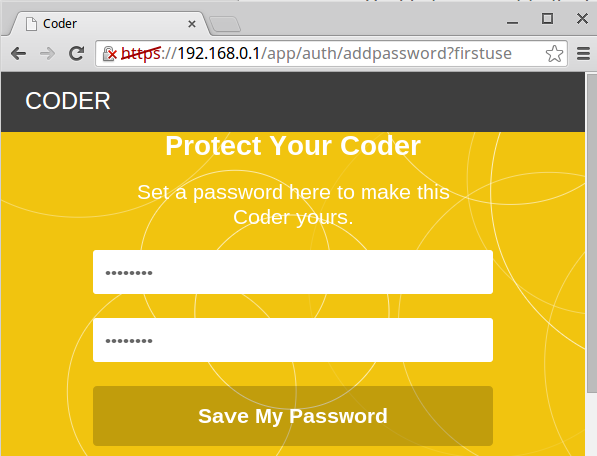
Note that this will also change the password of the "pi" user in the Raspberry Pi. By default the "pi" user has password "raspberry." However, after you set up the password in the screen above, that new password will apply to the "pi" user as well. This matters only if you log in the Raspberry Pi using a direct keyboard or an SSH connection.
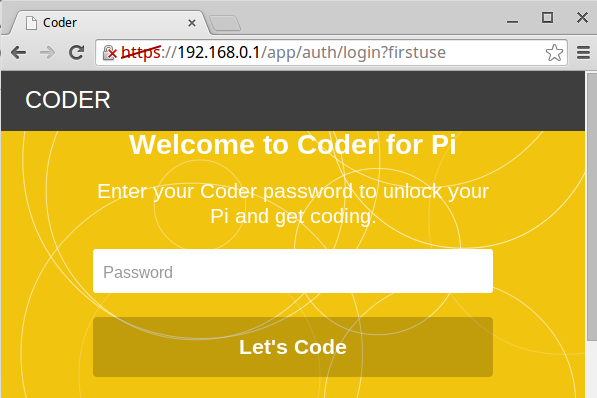
This page is then followed by an actual login, where we use the password that we just created:
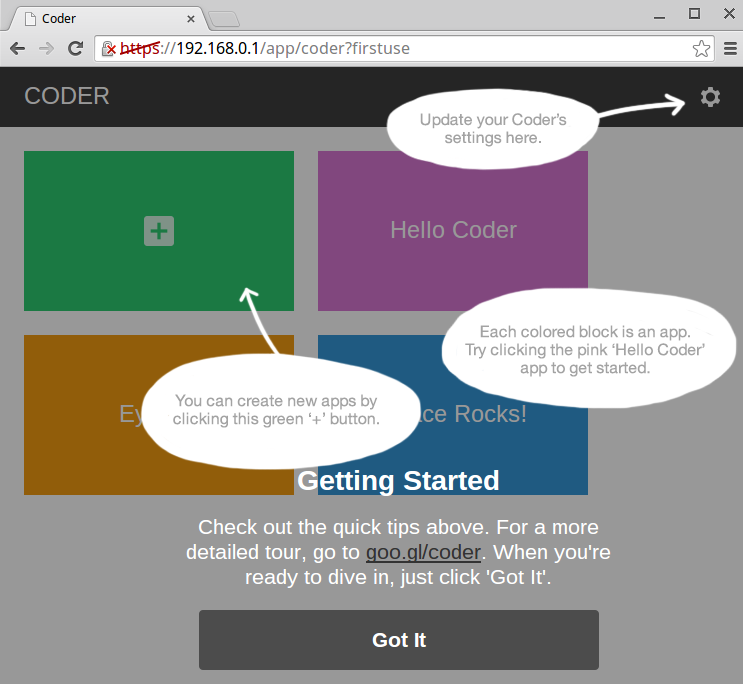
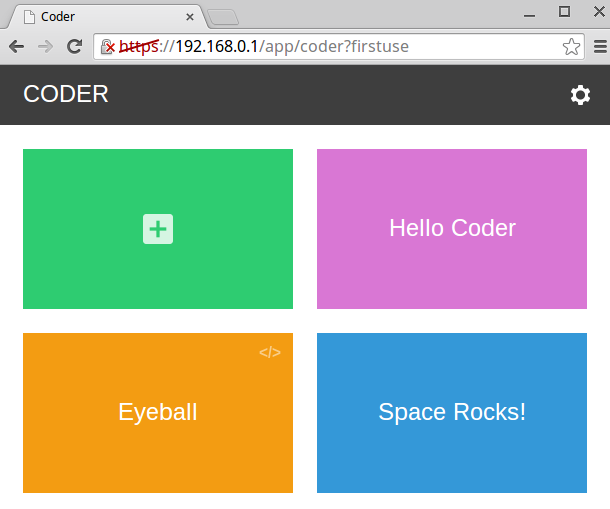
Then, we land directly in the page where we can start creating new coding projects or exploring a few easy examples to get started.
 Hello Coder
A good place to start is the project in the upper right: "Hello Coder." If we click on it, we get to the entry page of that project.
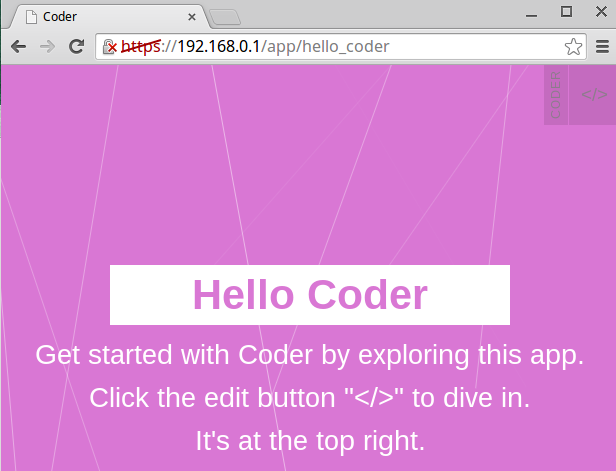
Following the instructions and clicking on the button in the upper right, with the icon "</>", we get to the main editing window, where we can inspect and modify the code of the example application. We see right away the effect of those changes.
The typical web application, has two parts to it:
- Code that runs on the server side. Usually, databases, and management logic.
- Code that runs on the client side. Mostly presentation of the data sent from the server.
The client side is managed by our web browser, in this case running on a laptop. While the server side, is managed in this case, by the Raspberry Pi, running Coder. The client side of a web application is commonly implemented by a combination of:
- HTML: layout and distribution of the page, as well as text content, images, audio, and video.
- CSS: to define the appearance of the page, in particular: colors, fonts, sizes, and alignment.
- Javascript: to provide logic and dynamic behaviors.
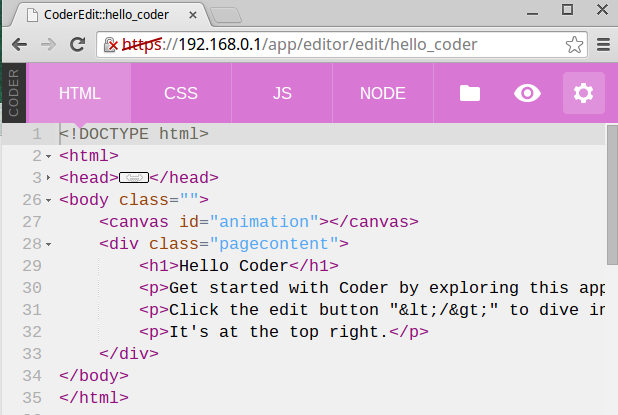
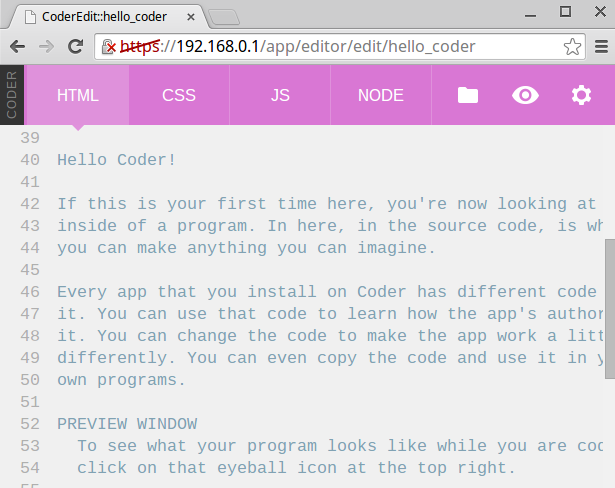
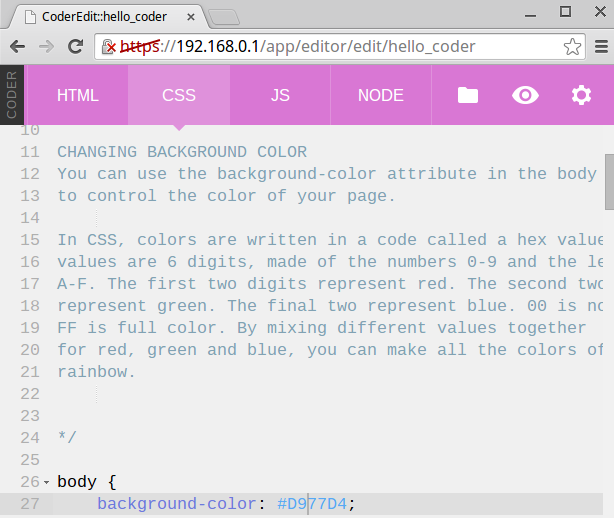
The top icon bar of the Coder editing window gives us access to each one of these individual components of the Web application: HTML, CSS, JavaScript, and Nodejs.
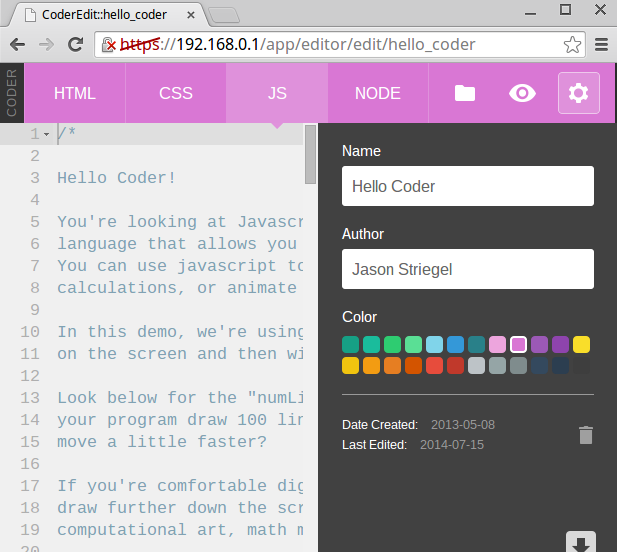
The gear icon on the upper right opens the window where we can edit the name of the application, its author, and the color that will be used to display it in the top projects page. The eye icon, splits the window in two, showing the editing page on the left and the final rendered page on the right. This is convenient because it provides rapid feedback on any changes that we made in the code on the left. The rapid iteration between the time that we experiment with a change in the code and the time when we see the effect of such change, is a critical factor on helping the beginner coder get familiar with what each one of the pieces of code do.
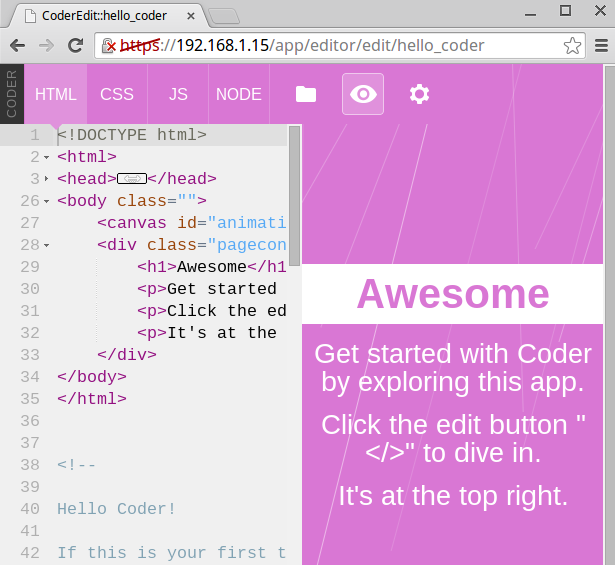
A good way to start with Coder is to go around these editing pages, making small changes, and observing the effect that those changes have on the final rendered web page.
Configuring WiFi
Up to here, we have used a small private network between the Raspberry Pi and a laptop. This is nice for having a quick start, but has the limitation that we are not really connected to the Internet, and for example, can't browse the Coder tutorial pages. To fix this, we can go to the top project page and use the gear icon to configure the normal wireless in the Raspberry Pi. In my case, I need to connect the Raspberry Pi to my home WiFi access point.
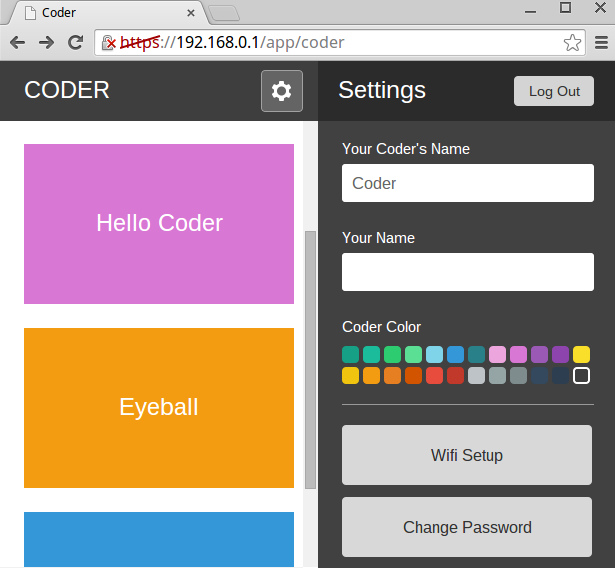
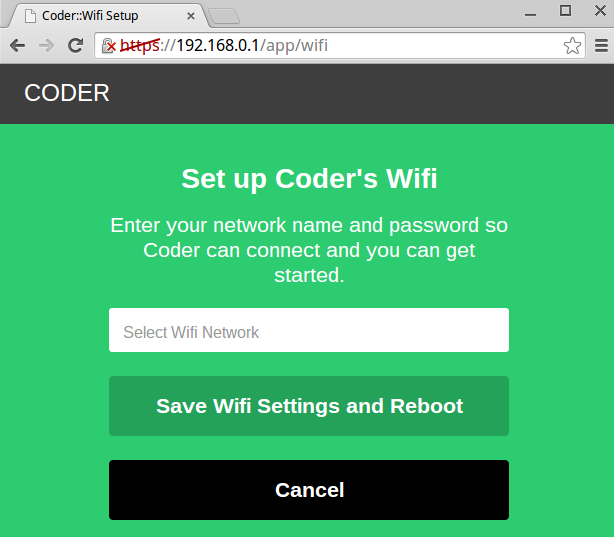
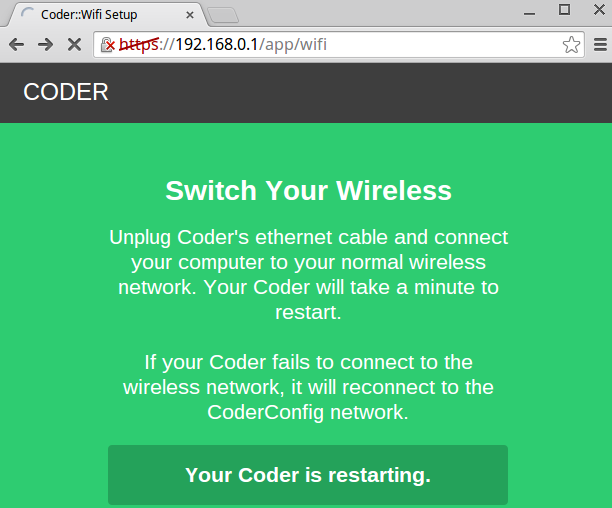
Once this is completed, the Raspberry Pi will reboot and then connect to the Wireless network that you selected. We can now find from our laptop, the Coder server under the web address:
Alternatively, we can look at the Raspberry Pi boot messages and find its new IP address in the local network:
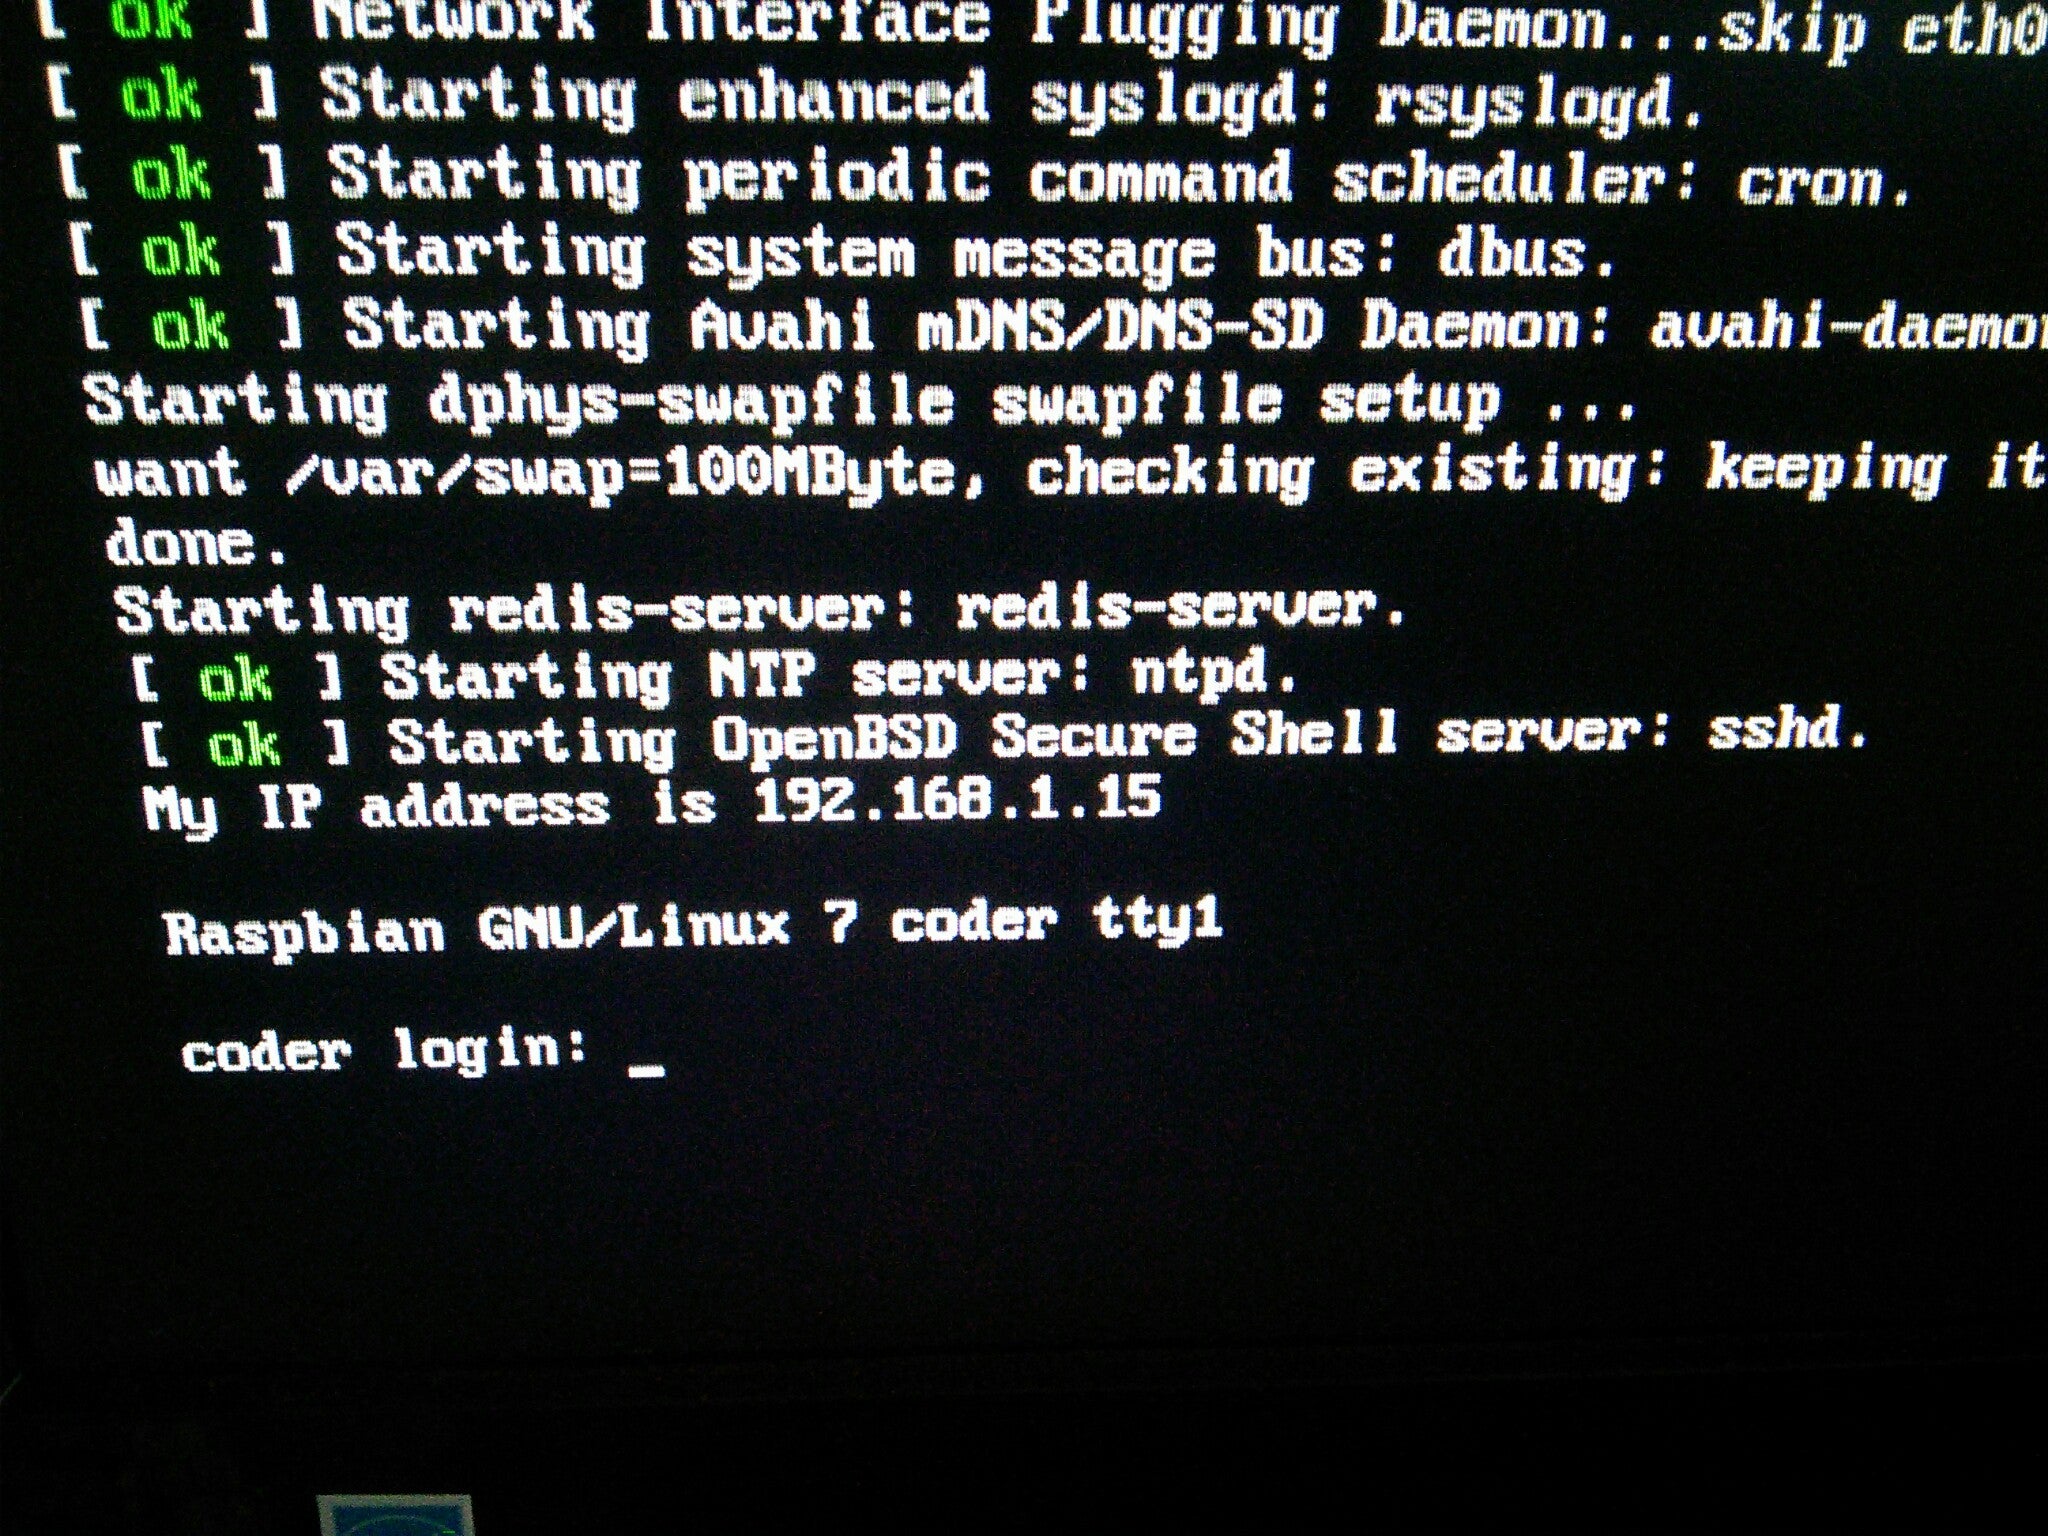
In my case, the Raspberry Pi got assigned the IP address : 192.168.1.15 during the reboot process.
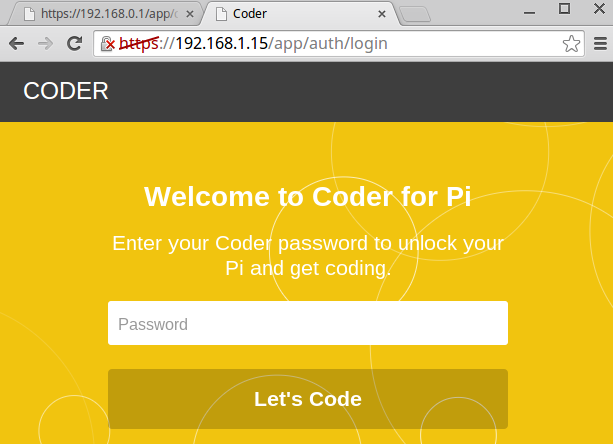
I then used that address to find the web server page from my laptop:
Eyeball project
After playing for a bit with the "Hello Coder" project, the next best step is to take a look at the Eyeball project.
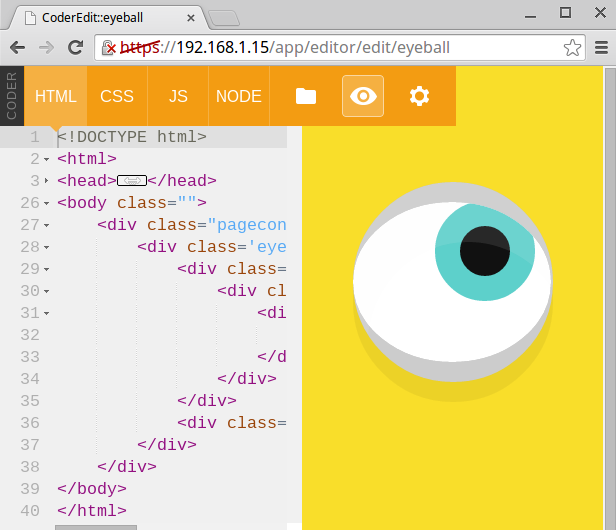
This project delivers an Eyeball animation that immediately makes us wonder: "How does it work?" That's a key feature for any learning tool! Great fun results from playing with the numbers in the CSS file of the Eyeball project... you must try it!
Space Rocks project
The next stop is the "Space Rocks" project, a relatively simple game where we drive a capsule through space, while avoiding deadly asteroids! (I'm still working on the "avoiding" part...)
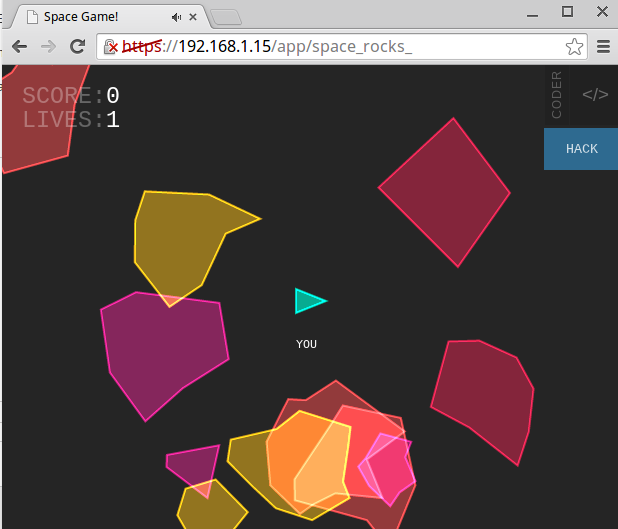
Playing the game is not as easy as it looks, I tell you. However, we can make things a bit easier by using the "HACK" button and getting to the basic parameters of the game, for example, the speed of the ship or the speed of the projectiles.
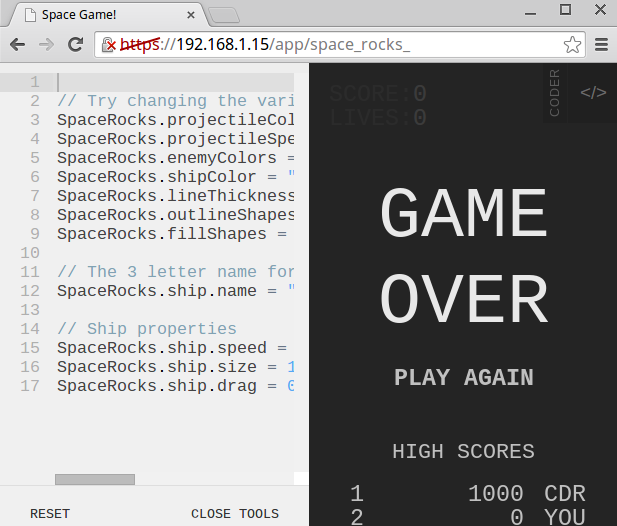
Of course, inspecting the HTML, CSS, and Javascript files, and experimenting with changing them, is a second level of fun. We can then move into creating projects of our own and continuing the rapid cycle of writing code and observing its behavior as we learn the ropes of web programming.
Finding and sharing projects
Coder is a fully open source project, available on GitHub here and distributed under the Apache 2.0 License.
A larger collection of cool projects is available at: https://googlecreativelab.github.io/coder-projects/
True to the open source way, we are also encouraged to share our projects there.
Conclusion
Coder is a fantastic resource for learning programming. It simplifies the process of getting started, requires very inexpensive components, and provides fun and engaging activities. If you are planning on gettting a Raspberry Pi for the holidays, (or already have one), Coder is a great addition to get extra fun and learning from that little board
Now, if you would excuse me, I must go settle a score with Space Rocks.






3 Comments