Minishift is a tool that helps you run OKD (Red Hat's open source OpenShift container platform) locally by launching a single-node OKD cluster inside a virtual machine. It is powered by Kubernetes, which is one of my favorite things to talk about.
In this article, I will demonstrate how to get started with Minishift on Linux. This was written for Ubuntu 18.04, and you'll need sudo access on your Linux machine to run some commands.
Prerequisites
Before starting the installation, your Linux machine must have either KVM for Linux or VirtualBox, which runs on every platform. This demo uses KVM, which you can install along with all the required dependencies:
$ sudo apt install qemu-kvm \
libvirt-clients libvirt-daemon-system \
bridge-utils virt-manager
After installing KVM, you must make some modifications to allow your user to use it. Specifically, you must add your user name to the libvirt group:
$ sudo usermod --append --groups libvirt $(whoami)
$ newgrp libvirt
Next, install the Docker KVM driver, which is needed to run containers on Minishift. I downloaded the Docker machine driver directly to /usr/local/bin. You don't have to save it to /usr/local/bin, but you must ensure that its location is in your PATH:
$ curl -L https://github.com/dhiltgen/docker-machine-kvm/releases/download/v0.10.0/docker-machine-driver-kvm-ubuntu16.04 \
-o /usr/local/bin/docker-machine-driver-kvm

$ sudo chmod +x /usr/local/bin/docker-machine-driver-kvm
Install Minishift
Now that the prerequisites are in place, visit the Minishift releases page and determine which version of Minishift you want to install. I used Minishift v1.34.3.
Download the Linux .tar file to a directory you will be able to find easily. I used the minishift directory:
$ ls
Minishift-1.34.3-linux-amd64.tgz
Next, untar your new file using the tar command:
$ tar zxvf minishift-1.34.3-linux-amd64.tgz
minishift-1.34.3-linux-amd64/
minishift-1.34.3-linux-amd64/LICENSE
minishift-1.34.3-linux-amd64/README.adoc
minishift-1.34.3-linux-amd64/minishift
By using the v (for verbose) option in your command, you can see all the files and their locations in your directory structure.
Run the ls command to confirm that the new directory was created:
$ ls
minishift-1.34.3-linux-amd64
Next, change to the new directory and find the binary file you need; it is named minishift:
$ cd minishift-1.34.3-linux-amd64
$ ls
LICENSE  minishift  README.adoc
$
Move the minishift binary file to your PATH, which you can find by running the following and looking at the output:
$ echo $PATH
/home/jess/.local/bin:/usr/local/sbin:/usr/local/bin
I used /usr/local/bin as the minishift binary file's location:
$ sudo mv minishift /usr/local/bin
[sudo] password for jess:
$ ls /usr/local/bin
minishift
Run the minishift command and look at the output:
$ minishift
Minishift is a command-line tool that provisions and manages single-node OpenShift clusters optimized for development workflows.

Usage:
  minishift [command]

Available Commands:
  addons  	Manages Minishift add-ons.
  completion  Outputs minishift shell completion for the given shell
  config  	Modifies Minishift configuration properties.
  console 	Opens or displays the OpenShift Web Console URL.
[...]

Use "minishift [command] --help" for more information about a command.
Log into Minishift's web console
Now that Minishift is installed, you can walk through it and play with some cool new software. Begin with minishift start. This, as you might guess, starts Minishift—specifically, it starts a one-node cluster on your computer:
$ minishift start
  Starting profile 'minishift'
  Check if deprecated options are used … OK
  Checking if https://github.com is reachable … OK
[...]
  Minishift will be configured with…
  Memory: 4GB
  vCPUs : 2GB
  Disk size: 20 GB
Starting Minishift VM ……….OK
This process can take a long time, depending on your hardware, so be patient. When it ends, you'll get information about where to find your imaginary cluster on your virtualized network:
Server Information ...
MiniShift server started.
The server is accessible via web console at:
https://192.168.42.66:8443/console
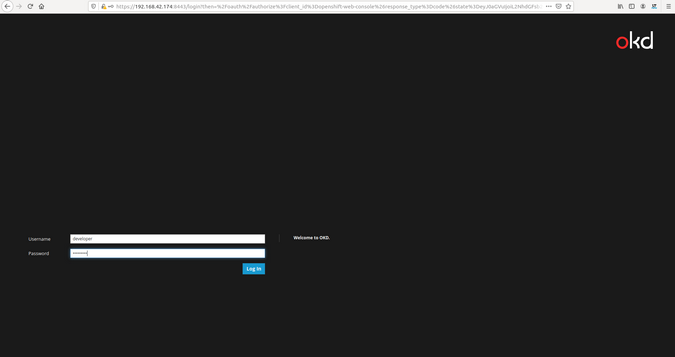
Now, MiniShift is running, complete with a web console. You can log into the OKD console using developer as the user name and any password you want. I chose developer / developer.
(Jess Cherry, CC BY-SA 4.0)
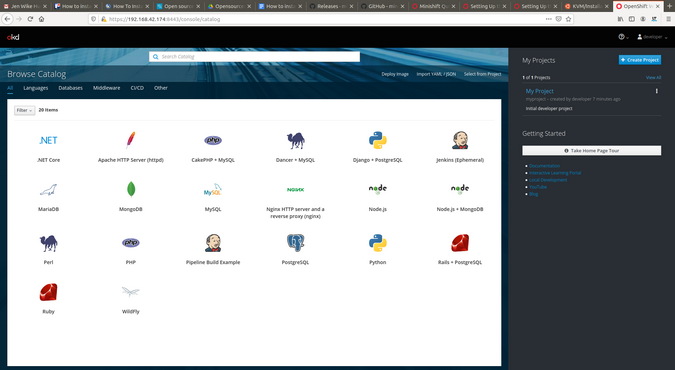
The web console is an easy control panel you can use to administer your humble cluster. It's a place for you to create and load container images, add and monitor pods, and ensure your instance is healthy.
(Jess Cherry, CC BY-SA 4.0)
Build a pipeline
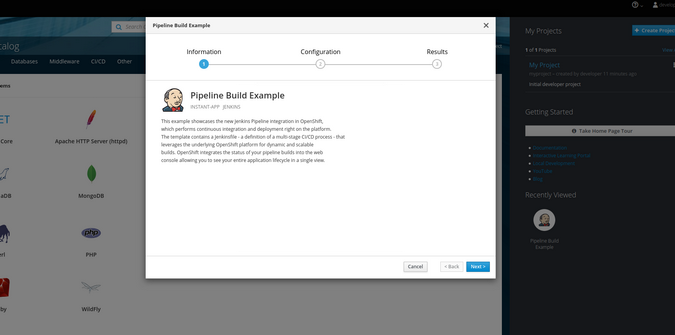
To start building your first pipeline, click Pipeline Build Example on the console. Click Next to show the parameters available to create the pipeline project.
(Jess Cherry, CC BY-SA 4.0)
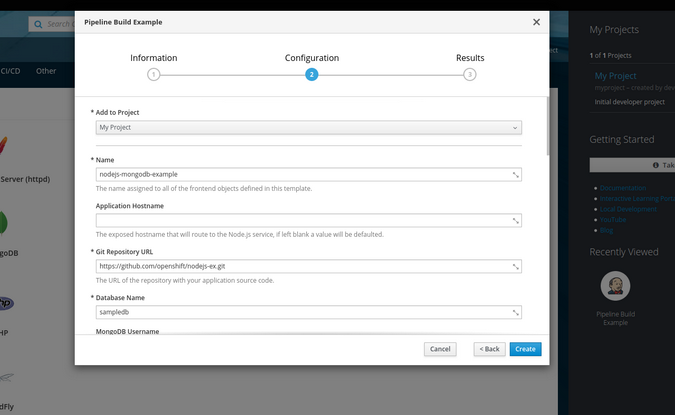
A window appears with parameters to fill in if you want; you can use what's already there for this example. Walk through the rest of the screen choices to create a sample pipeline.
(Jess Cherry, CC BY-SA 4.0)
Click Create, and let Minishift create the project for you. It shows your success (or failure).
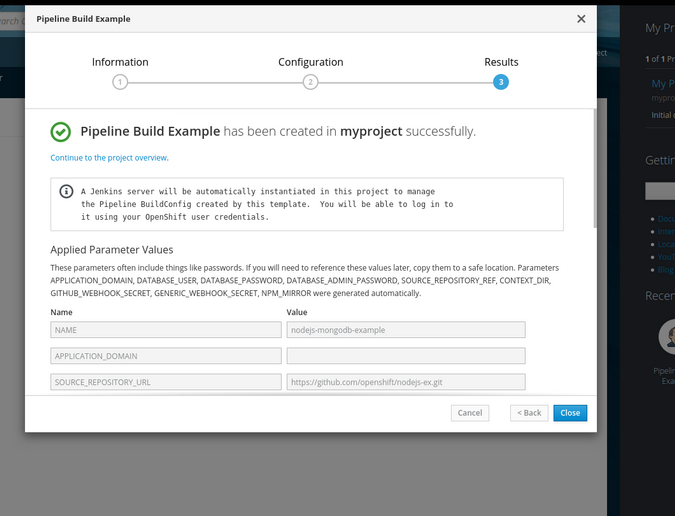
(Jess Cherry, CC BY-SA 4.0)
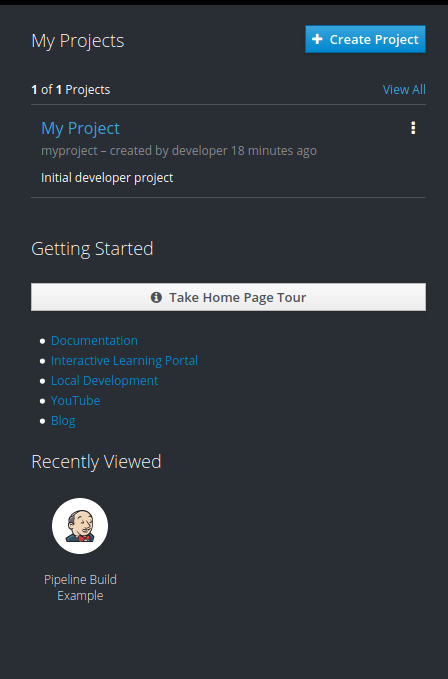
You can also click Show Parameters and scroll through the list of parameters configured for this project. Click Close and look for a confirmation message on the left.
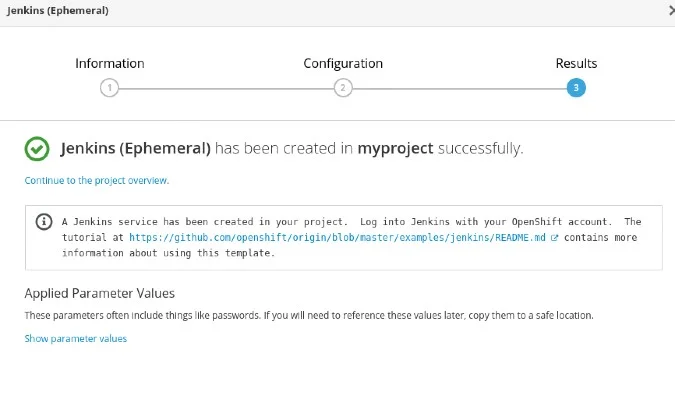
(Jess Cherry, CC BY-SA 4.0)
(Jess Cherry, CC BY-SA 4.0)
When you click on My Project, you can see the details and pods created for the project to run.
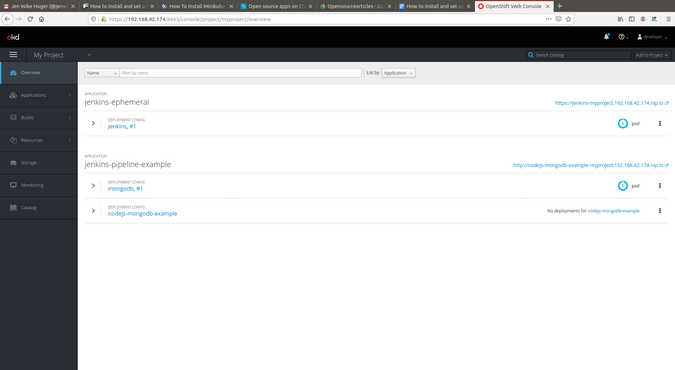
(Jess Cherry, CC BY-SA 4.0)
Open the jenkins-ephemeral link that was generated. Log in again with the developer credentials and allow access to run a pipeline in Jenkins.
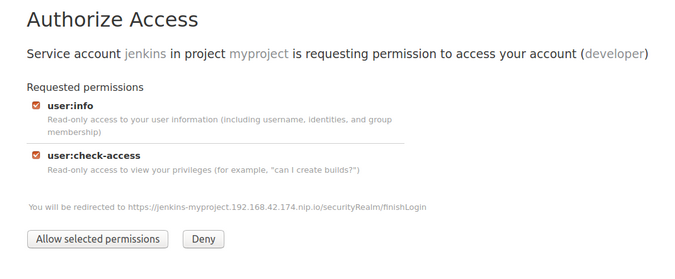
(Jess Cherry, CC BY-SA 4.0)
Now you can look through the Jenkins interface to get a feel for what it has to offer.

(Jess Cherry, CC BY-SA 4.0)
Find your project.

(Jess Cherry, CC BY-SA 4.0)
When you're ready, click Build Now.
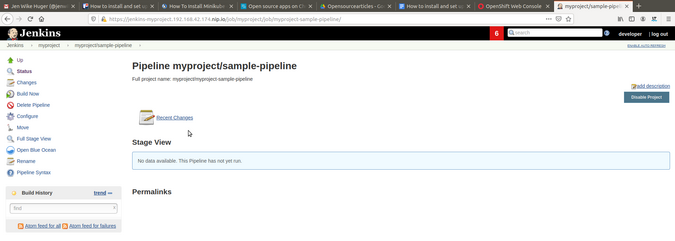
(Jess Cherry, CC BY-SA 4.0)
Then you can view the job's output in the console output.
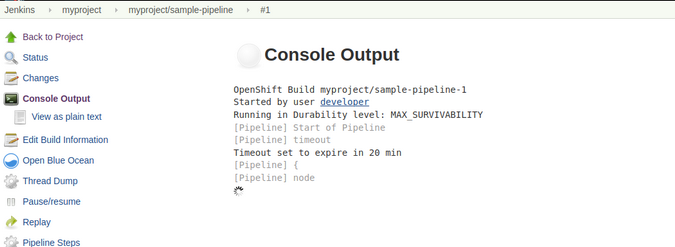
(Jess Cherry, CC BY-SA 4.0)
Once the job completes successfully, you will see a success message at the bottom of the console.
What did this pipeline do? It updated the deployment manually.

(Jess Cherry, CC BY-SA 4.0)
Congratulations, you successfully created an example automated deployment using Minishift!
Clean it up
The last thing to do is to clean up everything by running two commands:
$ minishift stop
$ minishift delete
Why stop and then delete? Well, I like to make sure nothing is running before I run a delete command of any kind. This results in a cleaner delete without the possibility of having any leftover or hung processes. Here are the commands' output.
(Jess Cherry, CC BY-SA 4.0)

(Jess Cherry, CC BY-SA 4.0)
Final notes
Minishift is a great tool with great built-in automation. The user interface is comfortable to work with and easy on the eyes. I found it a fun new tool to play with at home, and if you want to dive in deeper, just look over the great documentation and many online tutorials. I recommend exploring this application in depth. Have a happy time Minishifting!


Comments are closed.