

This year after largely abandoning my MacBook in favor of a NixOS machine, I started getting requests to "turn my camera on" when video calling people. This was a problem because I didn't have a webcam. I thought about buying one, but then I realized I had a perfectly good Canon EOS Rebel XS DSLR from 2008 lying around on my shelf. This camera has a mini-USB port, so naturally, I pondered: Did a DSLR, mini-USB port, and a desktop PC mean I could have a webcam?
There's just one problem. My Canon EOS Rebel XS isn't capable of recording video. It can take some nice pictures, but that's about it. So that's the end of that.
Or is it?
There happens to be some amazing open source software called gphoto2. Once installed, it allows you to control various supported cameras from your computer and it takes photos and videos.
Supported cameras
First, find out whether yours is supported:
$ gphoto2 --list-camerasCapture an image
You can take a picture with it:
$ gphoto2 --capture-image-and-downloadThe shutter activates, and the image is saved to your current working directory.
Capture video
I sensed the potential here, so despite the aforementioned lack of video functionality on my camera, I decided to try gphoto2 --capture-movie. Somehow, although my camera does not support video natively, gphoto2 still manages to spit out an MJPEG file!
On my camera, I need to put it in "live-view" mode before gphoto2 records video. This consists of setting the camera to portrait mode and then pressing the Set button so that the viewfinder is off and the camera screen displays an image. Unfortunately, though, this isn't enough to be able to use it as a webcam. It still needs to get assigned a video device, such as /dev/video0.
Install ffmpeg and v4l2loopback
Not surprisingly, there's an open source solution to this problem. First, use your package manager to install gphoto2, ffmpeg, and mpv. For example, on Fedora, CentOS, Mageia, and similar:
$ sudo dnf install gphoto2 ffmpeg mpvOn Debian, Linux Mint, and similar:
$ sudo apt install gphoto2 ffmpeg mpvI use NixOS, so here's my configuration:
# configuration.nix
...
environment.systemPackages = with pkgs; [
  ffmpeg
  gphoto2
  mpv
...
Creating a virtual video device requires the v4l2loopback Linux kernel module. At the time of this writing, that capability is not included in the mainline kernel, so you must download and compile it yourself:
$ git clone https://github.com/umlaeute/v4l2loopback

$ cd v4l2loopback

$ make

$ sudo make install

$ sudo depmod -a
If you're using NixOS like me, you can just add the extra module package in configuration.nix:
[...]
boot.extraModulePackages = with config.boot.kernelPackages;
[ v4l2loopback.out ];
boot.kernelModules = [
  "v4l2loopback"
];
boot.extraModprobeConfig = ''
  options v4l2loopback exclusive_caps=1 card_label="Virtual Camera"
'';
[...]
On NixOS, run sudo nixos-rebuild switch and then reboot.
Create a video device
Assuming your computer currently has no /dev/video device, you can create one on demand thanks to the v4l2loopback.
Run this command to send data from gphoto2 to ffmpeg, using a device such as /dev/video0 device:
$ gphoto2 --stdout --capture-movie |
 ffmpeg -i - -vcodec rawvideo -pix_fmt yuv420p -f v4l2 /dev/video0
You get output like this:
ffmpeg version 4.4.1 Copyright (c) 2000-2021 the FFmpeg developers
  built with gcc 11.3.0 (GCC)
  configuration: --disable-static ...
  libavutil      56. 70.100 / 56. 70.100
  libavcodec     58.134.100 / 58.134.100
  libavformat    58. 76.100 / 58. 76.100
  libavdevice    58. 13.100 / 58. 13.100
  libavfilter     7.110.100 /  7.110.100
  libavresample   4.  0.  0 /  4.  0.  0
  libswscale      5.  9.100 /  5.  9.100
  libswresample   3.  9.100 /  3.  9.100
  libpostproc    55.  9.100 / 55.  9.100
Capturing preview frames as movie to 'stdout'. Press Ctrl-C to abort.
[mjpeg @ 0x1dd0380] Format mjpeg detected only with low score of 25, misdetection possible!
Input #0, mjpeg, from 'pipe:':
  Duration: N/A, bitrate: N/A
  Stream #0:0: Video: mjpeg (Baseline), yuvj422p(pc, bt470bg/unknown/unknown), 768x512 ...
Stream mapping:
  Stream #0:0 -> #0:0 (mjpeg (native) -> rawvideo (native))
[swscaler @ 0x1e27340] deprecated pixel format used, make sure you did set range correctly
Output #0, video4linux2,v4l2, to '/dev/video0':
  Metadata:
    encoder         : Lavf58.76.100
  Stream #0:0: Video: rawvideo (I420 / 0x30323449) ...
    Metadata:
      encoder         : Lavc58.134.100 rawvideo
frame=  289 fps= 23 q=-0.0 size=N/A time=00:00:11.56 bitrate=N/A speed=0.907x
To see the video feed from your webcam, use mpv:
$ mpv av://v4l2:/dev/video0 --profile=low-latency --untimed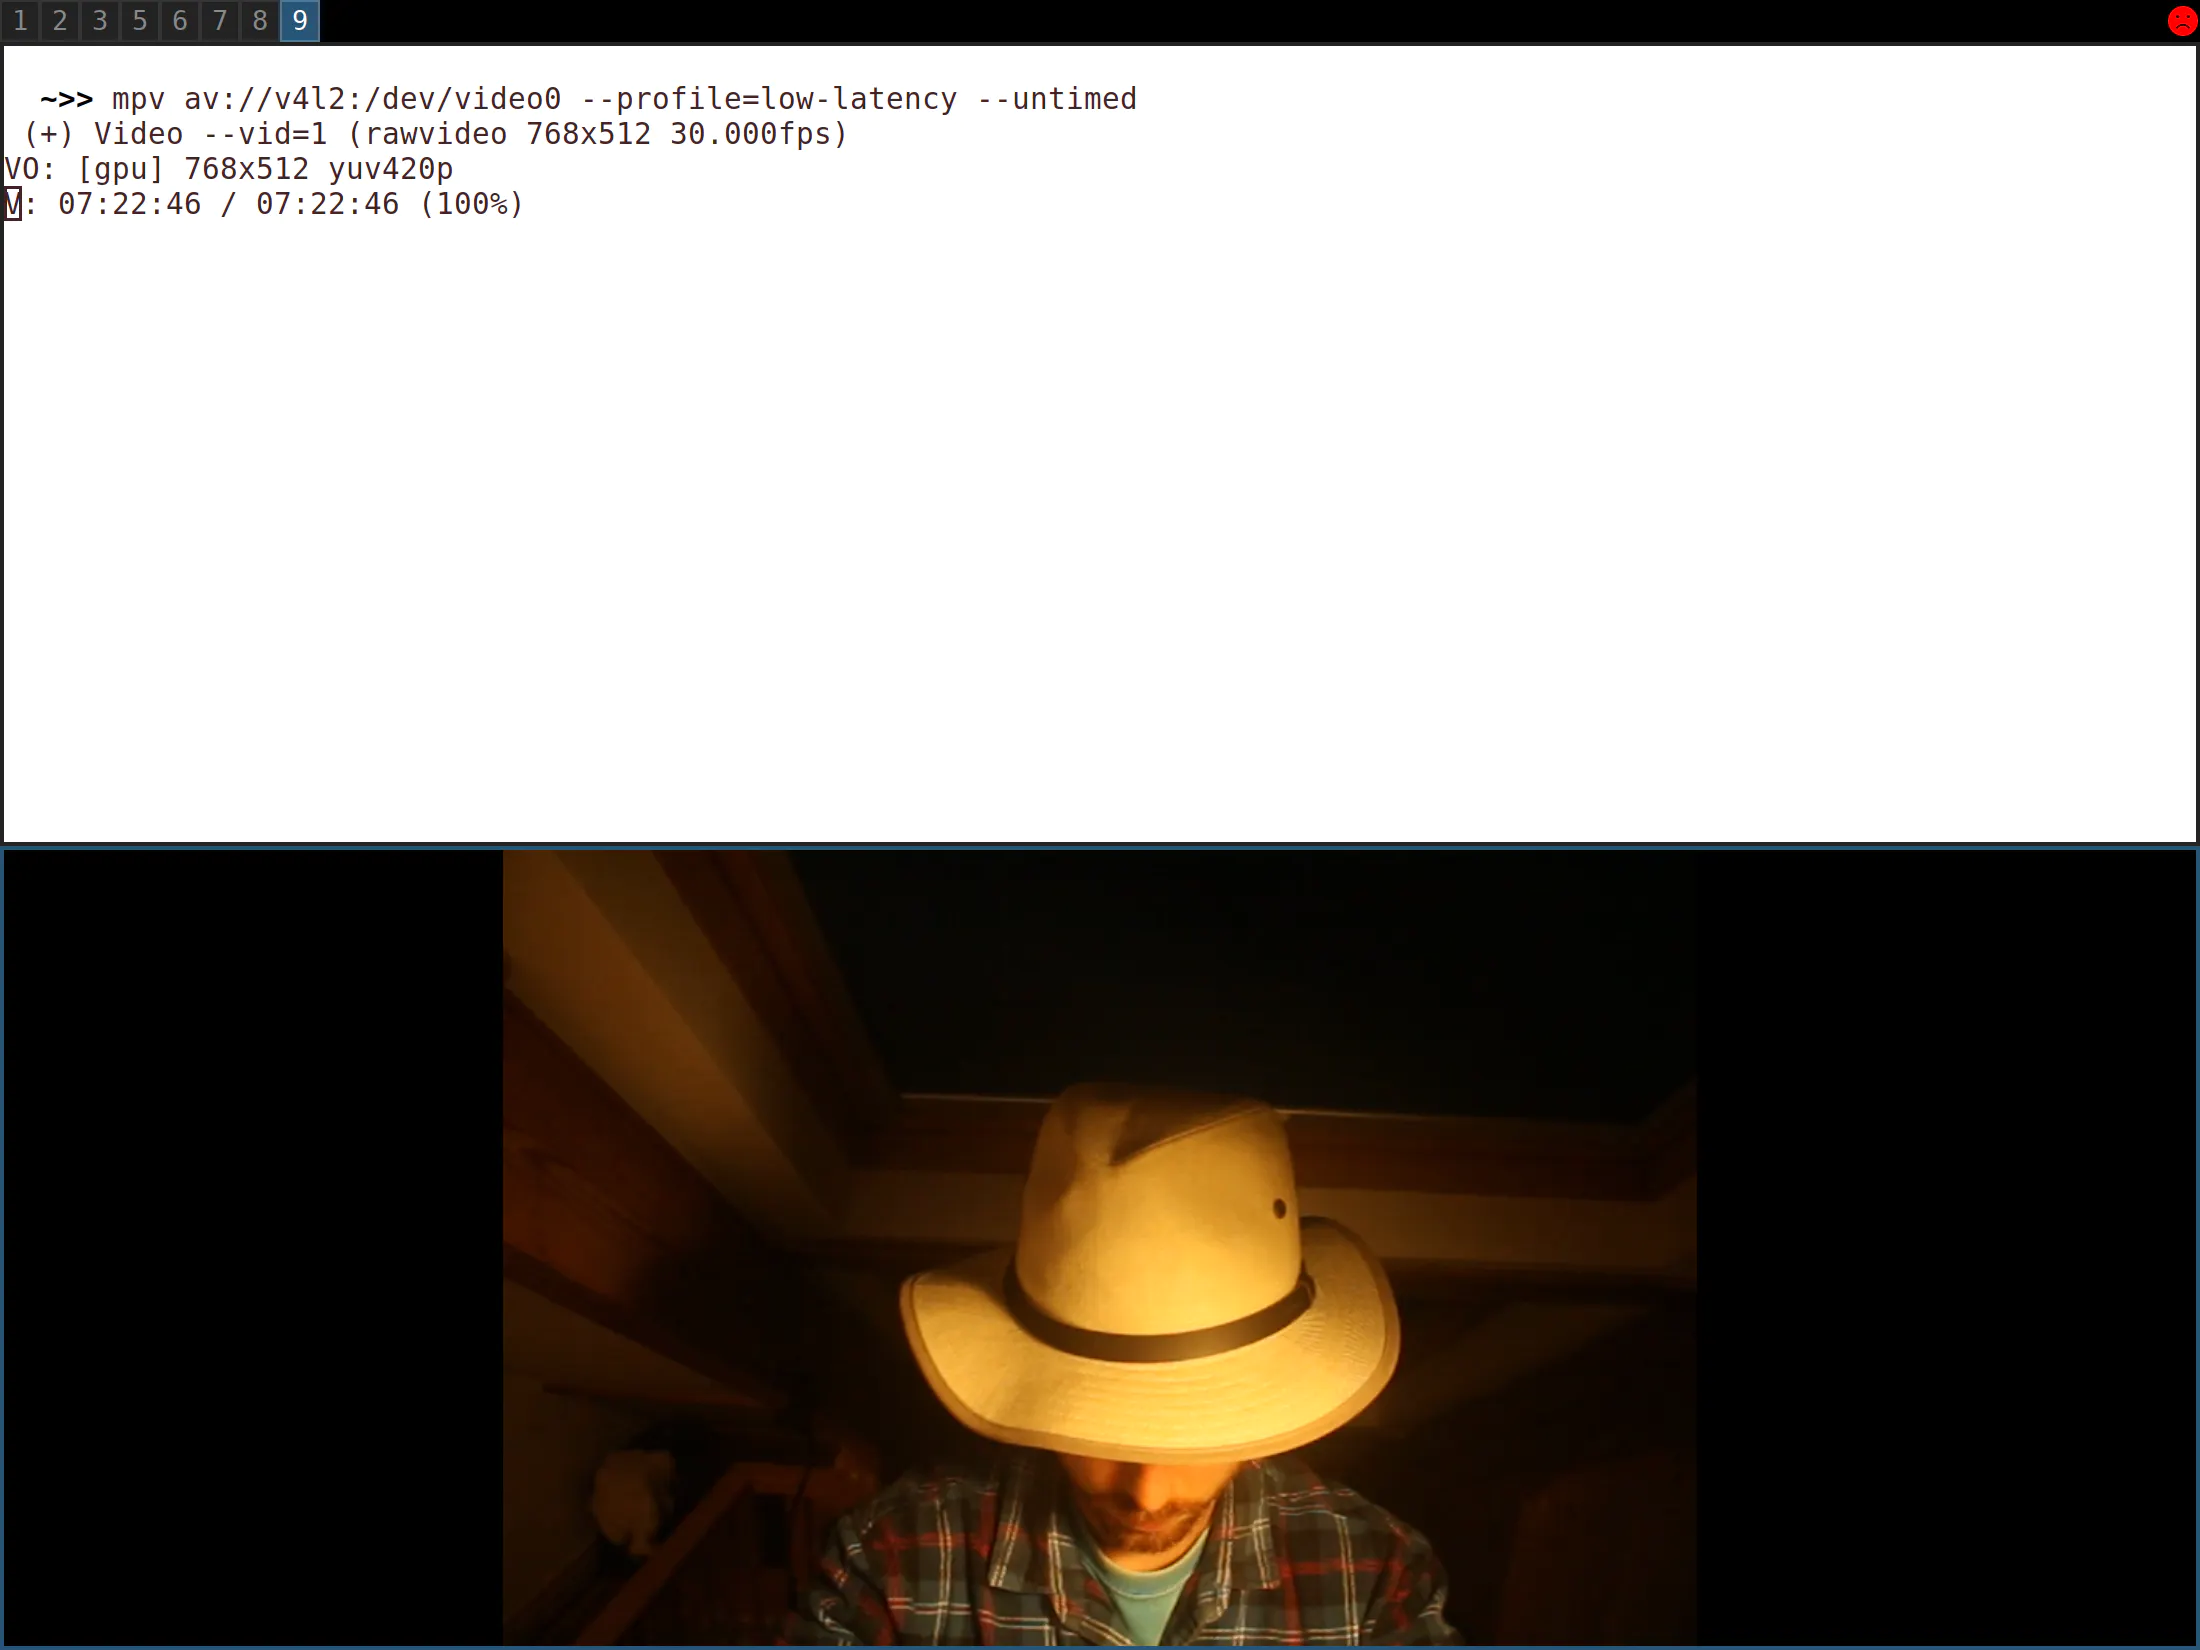
(Tom Oliver, CC BY-SA 4.0)
Start your webcam automatically
It's a bit annoying to execute a command every time you want to use your webcam. Luckily, you can run this command automatically at startup. I implement it as a systemd service:
# configuration.nix
...
  systemd.services.webcam = {
    enable = true;
    script = ''
      ${pkgs.gphoto2}/bin/gphoto2 --stdout --capture-movie |
        ${pkgs.ffmpeg}/bin/ffmpeg -i - \
            -vcodec rawvideo -pix_fmt yuv420p -f v4l2  /dev/video0
    '';
wantedBy = [ "multi-user.target" ];
  };

...
On NixOS, run sudo nixos-rebuild switch and then reboot your computer. Your webcam is on and active.
To check for any problems, you can use systemctl status webcam. This tells you the last time the service was run and provides a log of its previous output. It's useful for debugging.
Iterating to make it better
It's tempting to stop here. However, considering the current global crises, it may be pertinent to wonder whether it's necessary to have a webcam on all the time. It strikes me as sub-optimal for two reasons:
- It's a waste of electricity.
- There are privacy concerns associated with this kind of thing.
My camera has a lens cap, so to be honest, the second point doesn't really bother me. I can always put the lens cap on when I'm not using the webcam. However, leaving a big power-hungry DSLR camera on all day (not to mention the CPU overhead required for decoding the video) isn't doing anything for my electricity bill.
The ideal scenario:
- I leave my camera plugged in to my computer all the time but switched off.
- When I want to use the webcam, I switch on the camera with its power button.
- My computer detects the camera and starts the systemd service.
- After finishing with the webcam, I switch it off again.
To achieve this, you need to use a custom udev rule.
A udev rule tells your computer to perform a certain task when it discovers that a device has become available. This could be an external hard drive or even a non-USB device. In this case, you need it to recognize the camera through its USB connection.
First, specify what command to run when the udev rule is triggered. You can do that as a shell script (systemctl restart webcam should work). I run NixOS, so I just create a derivation (a Nix package) that restarts the systemd service:
# start-webcam.nix
with import <nixpkgs> { };

writeShellScriptBin "start-webcam" ''
  systemctl restart webcam
  # debugging example
  # echo "hello" &> /home/tom/myfile.txt
  # If myfile.txt gets created then we know the udev rule has triggered properly
''
Next, actually define the udev rule. Find the device and vendor ID of the camera. Do this by using the lsusb command. That command is likely already installed on your distribution, but I don't use it often, so I just install it as needed using nix-shell:
$ nix-shell -p usbutilsWhether you already have it on your computer or you've just installed it, run lsusb:
$ lsusb
Bus 002 Device 008: ID 04a9:317b Canon, Inc. Canon Digital Camera
[...]
In this output, the vendor ID is 04a9 and the device ID is 317b. That's enough to create the udev rule:
ACTION=="add", SUBSYSTEM=="usb",
ATTR{idVendor}=="04a9",
ATTR{idProduct}=="317b",
RUN+="/usr/local/bin/start-webcam.sh"
Alternatively, if you're using NixOS:
# configuration.nix
[...]
let
  startWebcam = import ./start-webcam.nix;
[...]
services.udev.extraRules = ''
  ACTION=="add",  \
  SUBSYSTEM=="usb", \
  ATTR{idVendor}=="04a9", \
  ATTR{idProduct}=="317b",  \
  RUN+="${startWebcam}/bin/start-webcam"
'';
[...]
Finally, remove the wantedBy = ["multi-user.target"]; line in your start-webcam systemd service. (If you leave it, then the service starts automatically when you next reboot, whether the camera is switched on or not.)
Reuse old technology
I hope this article has made you think twice before chucking some of your old tech. Linux can breathe life back into technology, whether it's your computer or something simple like a digital camera or some other peripheral.


1 Comment