Managing your work—figuring out which tasks to carry out and scheduling them—can be difficult. Not only are other things competing for your attention, there's only so much time in the day for you to do what you need or want to do.
There are any number of tools that you can use to help manage your workflow. You've probably used or test driven as many (or maybe even more) than I have. One that I find effective is WeKan.
The concept
WeKan is an online tool that represents tasks visually. It's essentially an open source version of a popular web application called Trello.
WeKan is based on an idea known as Kanban. Kanban was originally used to schedule tasks in factories. Tasks were represented on cards, which were moved through the production process as each step was completed.
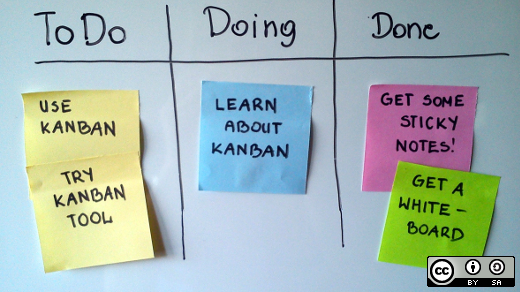
The idea behind Kanban was embraced by software development shops that use the agile method of creating software. Instead of cards, those shops started out using sticky notes, which they move across a whiteboard that is divided into the phases of the software development cycle.
WeKan takes Kanban and puts it on the web in a graphical and easy-to-use format. Let's take a look at using WeKan to manage your work, even if you're working alone.
Learning the language
There's a little terminology you'll need to learn before you can effectively use WeKan:
- A board is the container for your project.
- A list represents a stage of project—for example, "in progress" or "done."
- A card represents a task.
That wasn't too difficult, was it? Let's dive into using WeKan.
Getting to work
First, you'll need to get WeKan. You can either download and install it on your own server or use Sandstorm Oasis. There's also a read-only demo that you can try.
I use WeKan with my Sandstorm Oasis account. All of the screen captures here are from it; if you self-host WeKan, your screens may look a bit different. (You have been warned.)
When you log into WeKan, you're taken to a list of boards. Click Create new board. You get an empty board that looks something like this:

opensource.com
The board is a blank canvas onto which you'll need to put some lists that, as noted above, describe the stages of your project. Type a name for the list in the Add a list box, then click Save. Repeat that for all the lists you want to add to your board. (For this example, my lists are called "To do," "In progress," and "Done.")
Next, add some cards to your first list, the one on the far left, which acts as the staging area for your cards. Click Add a card, then describe the task; for example, Write blog post announcing book. When you're done, click Add.

opensource.com
Again, repeat that until you've created all the cards you need. You can always add more cards later.
Working with your cards
As you start to carry out tasks, move your cards from one list to another. Just click and drag the card with your mouse. As you complete tasks, keep moving the cards until all of them are in your Done list (or whatever you named it).
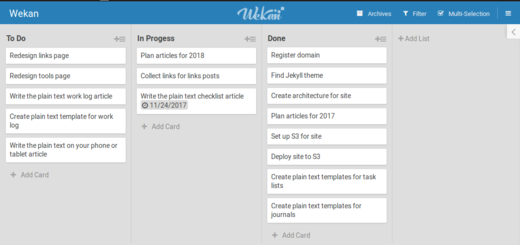
While a project is in progress, your board should look something like this:

opensource.com
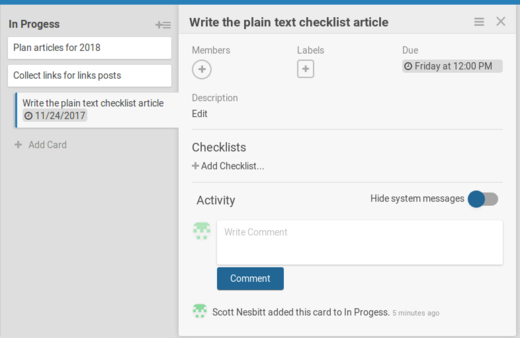
Cards in WeKan are quite flexible. Click a card to open a properties pane.

opensource.com
In that pane, you can add a label or a comment to the card. If you click the three horizontal lines in the top-right corner of the properties pane, you can add an attachment (like an image or document) to the card, set a start and due date, or send the card to the WeKan board's archive.
That's a pretty simple use of WeKan for managing work, but it works well for me. And it illustrates how you can even apply the concept of Kanban to solo projects.
Although I don't use WeKan to manage all of my work, when I have a fairly hefty project, WeKan helps me stay on top of what I need to do.


3 Comments