

A few months ago, I was asked to design some posters for a local Free Software Foundation (FSF) event. Richard M. Stallman was visiting our country, and my friend Abhas Abhinav wanted to put up some posters and banners to promote his visit. I designed two posters for RMS's talk in Bangalore.
I create my artwork with F/LOSS (free/libre open source software) tools. Although many artists successfully use free software to create artwork, I repeatedly encounter comments in discussion forums claiming that free software is not made for creative work. This article is my effort to detail the process I typically use to create my artwork and to spread awareness that one can do professional work with the help of F/LOSS tools.
Sketching some concepts
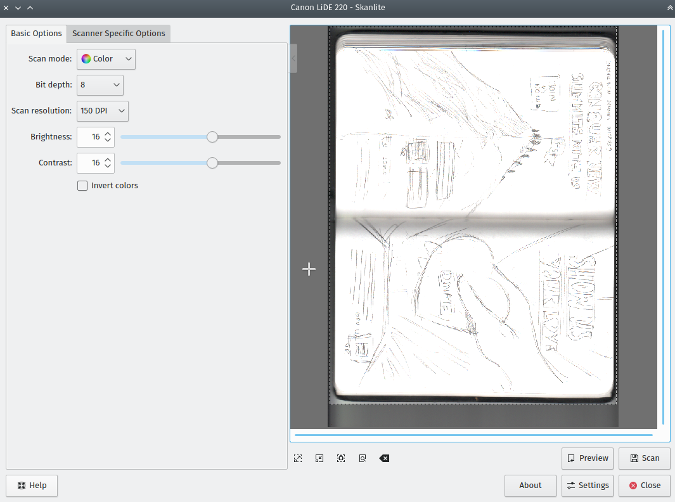
After understanding Abhas' initial requirements, I sat down to visualize some concepts. I am not that great of a copywriter, so I started reading the FSF website to get some copy material. I needed to finish the project in two days time, while simultaneously working on other projects. I started sketching some rough layouts. From five layouts, I liked three. I scanned them using Skanlite; although these sketches were very rough and would need proper layout and design, they were a good base for me to work from.
opensource.com


I had three concepts:
- On the FSF's website, I read about taking free software to new frontiers, which made me think about the idea of "conquering a summit." Free software work is also filled with adventures, in my opinion, and sometimes a task may seem like scaling a summit. So, I thought showing some mountaineers would resonate well.
- I also wanted to ask people to donate to FSF, so I sketched a hand giving a heart. I didn't feel any excitement in executing this idea, nevertheless, I kept it for backup in case I fell short of time.
- The FSF website has a hashtag for a donation program called #thankGNU, so I thought about using this as the basis of my design. Repurposing my hand visual, I replaced the heart with a bouquet of flowers that has a heart-shaped card saying #thankGNU!
I know these are somewhat quick and safe concepts, but given the little time I had for the project, I went ahead with them.
My design process mostly depends on the kind of look I need in the final image. I choose my software and process according to my needs. I may use one software from start to finish or combine various software packages to accomplish what I need. For this project, I used Krita and Scribus, with some minimal use of Inkscape.
Krita: Making the illustrations
I imported my sketches into Krita and started adding more defined lines and shapes.
For the first image, which has some mountaineers climbing, I used vector layers in Krita to add basic shapes and then used Alpha Inheritance, which is similar to what is called Clipping Masks in Photoshop, to add texture and gradients inside the shapes. This helped me change the underlying base shape (in this case, the shape of the mountain in the first poster) anytime during the process. Krita also has a nice feature called the Reference Image tool, which lets you pin some references around your canvas (this helps a lot and saves many Alt+Tabs). Once I got the mountain how I wanted, according to the layout, I started painting the mountaineers and added more details for the ice and other features. I like grungy brushes and brushes that have a texture akin to chalks and sponges. Krita has a wide range of brushes as well as a brush engine, which makes replicating a traditional medium easier. After about 3.5 hours of painting, this image was ready for further processing.
I wanted the second poster to have the feel of an old-style book illustration. So, I created the illustration with inked lines, somewhat similar to what we see in textbooks or novels. Inking in Krita is really a time saver; since it has stabilizer options, your wavy, hand-drawn lines will be smooth and crisp. I added a textured background and some minimal colors beneath the lines. It took me about three hours to do this illustration as well.


Scribus: Adding layout and typography
Once my illustrations were ready, it was time to move on to the next part: adding text and other things to the layout. For this, I used Scribus. Both Scribus and Krita have CMYK support. In both applications, you can soft-proof your artwork and make changes according to the color profile you get from the printer. I mostly do my work in RGB and then, if required, I convert it to CMYK. Since most printers nowadays will do the color conversion, I don't think CMYK is support required, however, it's good to be able to work in CMYK with free software tools.
I use open source fonts for my design work unless a client has licensed a closed font for use. A good way to browse for suitable fonts is Google Fonts repository. (I have the entire repository cloned.) Occasionally, I also browse fonts on Font Library, as it also has a nice collection. I decided to use Montserrat by Julieta Ulanovsky for the posters. Placing text was very quick in Scribus; once you create a style, you can apply it to any number of paragraphs or titles. This helped me place text in both designs quickly since I didn't have to re-create the text properties.

I keep two layers in Scribus. One is for the illustrations, which are linked to the original files so if I change an illustration, it will update in Scribus. The other is for text and it's layered on top of the illustration layer.
Inkscape: QR codes
I used Inkscape to generate a QR code that points to the Membership page on FSF's website. To generate a QR code in Scribus, go to Extensions > Render > Barcode > QR Code in Inkscape's menu. The logos are also vector; because Scribus supports vector images, you can directly paste things from Inkscape into Scribus. In a way, this helps in designing CMYK-based vector graphics.


With the designs ready, I exported them to layered PDF and sent to them to Abhas for feedback. He asked me to add FSF India's logo, which I did and sent a new PDF to him.
Printing the posters
From here, Abhas took over the printing part of the process. His local printer in Bangalore printed the posters in A2 size. He was kind enough to send me some pictures of them. The prints came out well, considering I didn't even convert them to CMYK nor do any color corrections or soft proofing, as I usually do when I get the color profile from my printer. My opinion is that 100% accurate CMYK printing is just a myth; there are too many factors to consider. If I really want perfect color reproduction, I leave this job to the printer, as they know their printer well and can do the conversion.


Accessing the source files
When we discussed the requirements for these posters, Abhas told me to release the artwork under a Creative Commons license so others can re-use, modify, and share it. I am really glad he mentioned it. Anyone who wants to poke at the files can download them from my Nextcloud drive. If you have any improvements to make, please go ahead—and do remember to share your work with everybody.
Let me know what you think about this article by emailing me.
This article originally appeared on Raghukamath.com and is republished with the author's permission.


6 Comments