
If you're wary of committing your data to cloud services controlled by a corporation but you love the convenience of remote storage and easy web-based access, then you're not alone. The cloud is popular because of what it can do. But the cloud doesn't have to be closed. Luckily, the open source Nextcloud project provides a personal and private cloud application suite.
It's easy to install and import data—including contacts, calendars, and photos. The real trick is getting your data from cloud providers like Google. In this article I demonstrate the steps you need to take to migrate your digital life from an Android device to Nextcloud.
Migrate your data to Nextcloud
I wrote this article using a Raspberry Pi running Nextcloud, but the process is the same regardless of how you choose to run Nextcloud.
Two network protocols are used to exchange data between Nextcloud and your Android device: CalDAV (calendar) and CardDAV (contacts). Android doesn't natively support these two protocols. You need an additional app for Android smartphones and tablets. DAVx⁵ synchronizes calendars and contacts between Android devices and Nextcloud. It is available for download free of charge as an APK from F-Droid, from the Google Play Store (approximately US$6), and other app stores.
Before you set up synchronization with the app, you need to export existing contacts and calendars and import them into Nextcloud:
-
Log into your Google account and make sure the automatic synchronization of contacts and appointments with Google is switched On to export the data. This ensures that your data is up-to-date in the Google Cloud.
-
Open the Google Apps menu and select the Contacts entry to open the address book. In the left sidebar, click on Export. In the next dialogue, select all contacts and save everything as a vCard (
.vcffile). If you only want to export certain address book entries, select them beforehand and choose Selected contacts in the Export dialogue. -
Import the
.vcffile into Nextcloud. To do this, select the Contacts app, click Settings at the bottom left, and click the Import contacts button. In the following dialogue window, click Select local file, and open the previously saved vCard.
It's just as simple to export and then import your calendars:
-
Visit the Google website and open the Calendar app. On the left, you see all your own and subscribed calendars (My calendars). The right side displays the day, week or month views. Click on the icon with the gears to access the settings.
-
On the left, click Import and export. By default, all calendars are marked for export. There is no option to save only individual calendars.
-
Click Export and save the
.zipfile to the hard disk. Unpack the.zipfile. It contains several.icsfiles (iCalendar format), one for each Google calendar. -
Open the Calendar app in Nextcloud, click Calendar settings at the bottom left and then Import calendar. Select one or more
.icsfiles you saved in the file manager.
After a short time, all events appear in your Nextcloud calendar. Repeat this process for all Google calendars. Now everything is ready to replace the old Google synchronization service. From now on, you create new entries through your Android device.
Connecting to your Nextcloud account
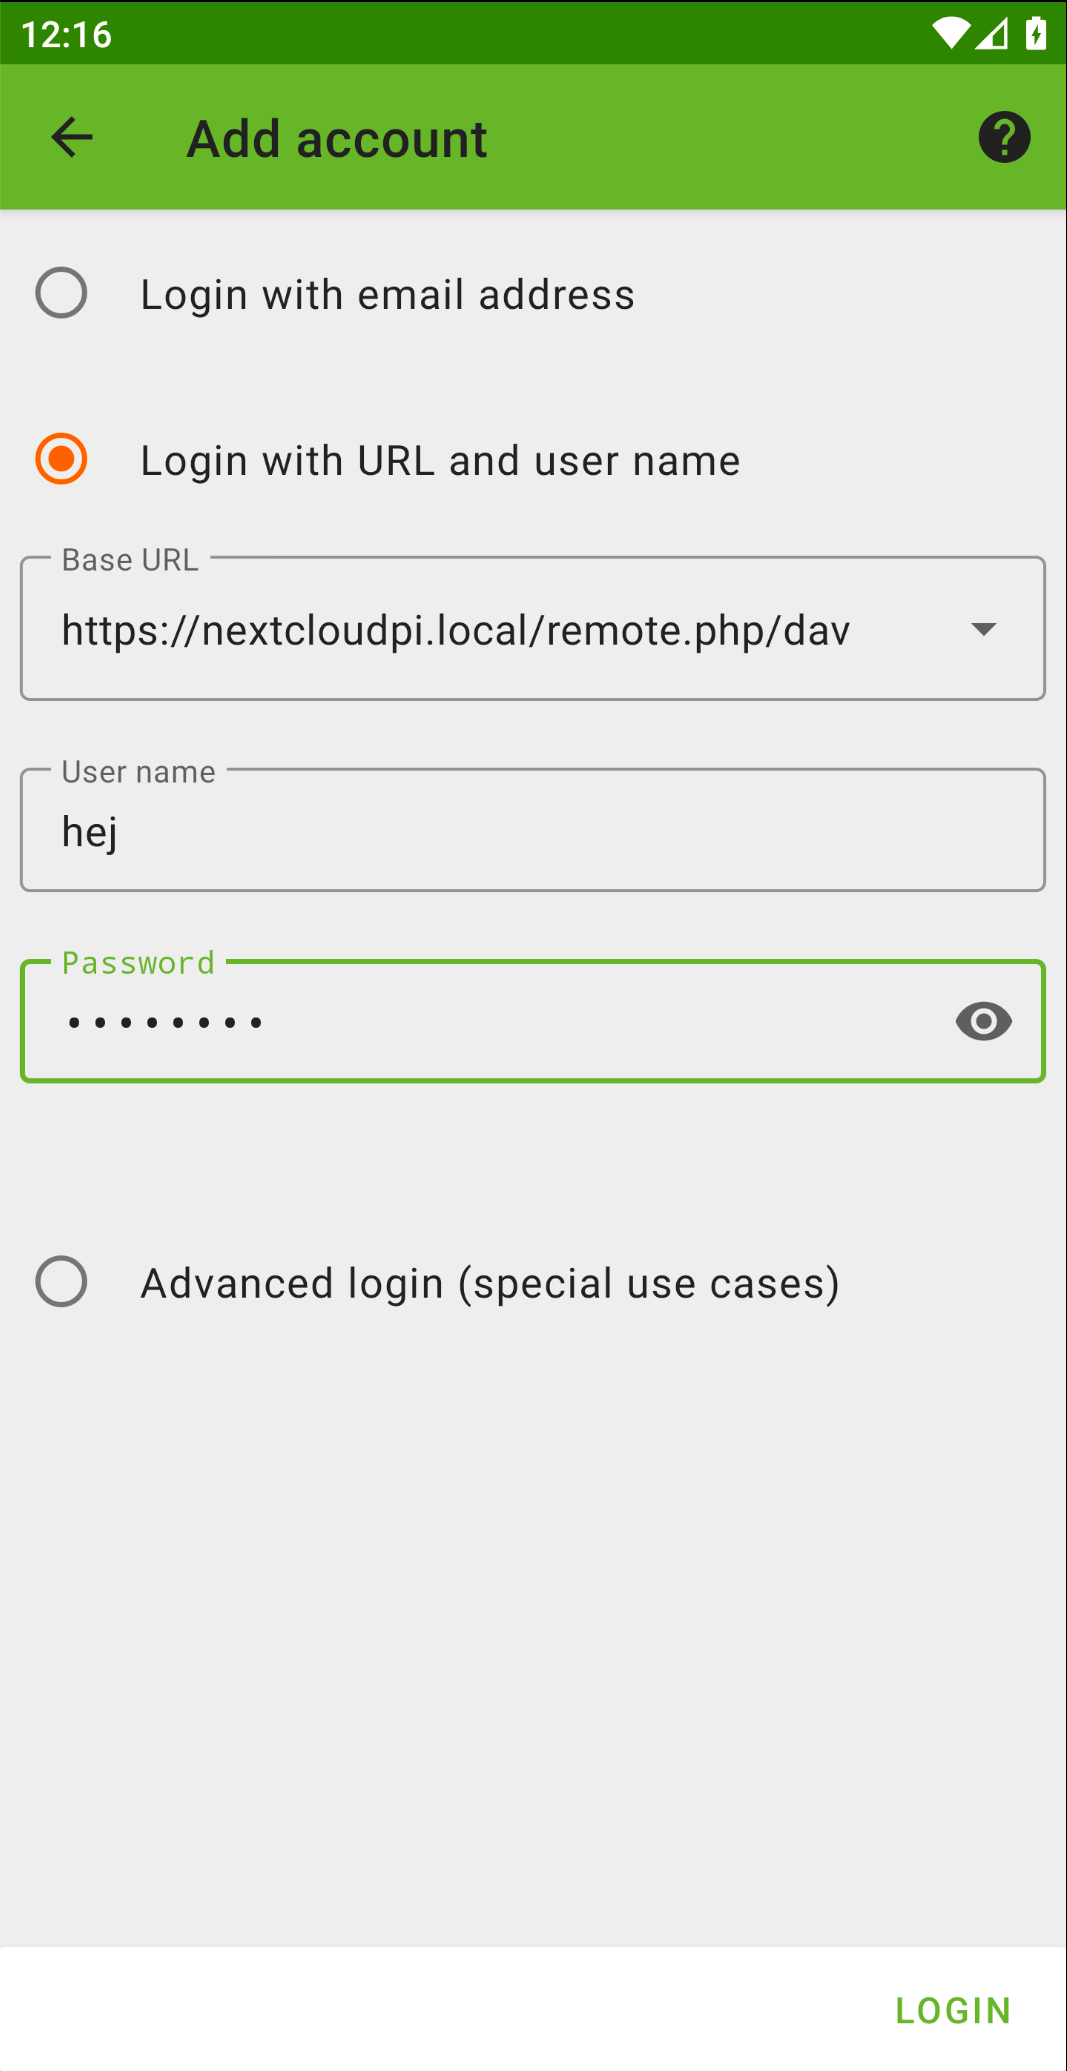
Install the DAVx⁵ app and confirm it has access to your calendars and contacts. Tap the orange plus sign to connect the Nextcloud account to the app. Select Login with URL and user name, enter your Nextcloud user name and password. The Base URL field contains an address that you can find in Nextcloud's calendar app. Click on Calendar settings at the bottom left and scroll down to Copy primary CalDAV address.
Click Login to connect to your Nextcloud, Create account, and select Groups are separate vCards from the Contact group method drop-down menu. You can use the sliders in the CardDAV and CalDAV sections to define the contacts and address books you want the app to synchronize.
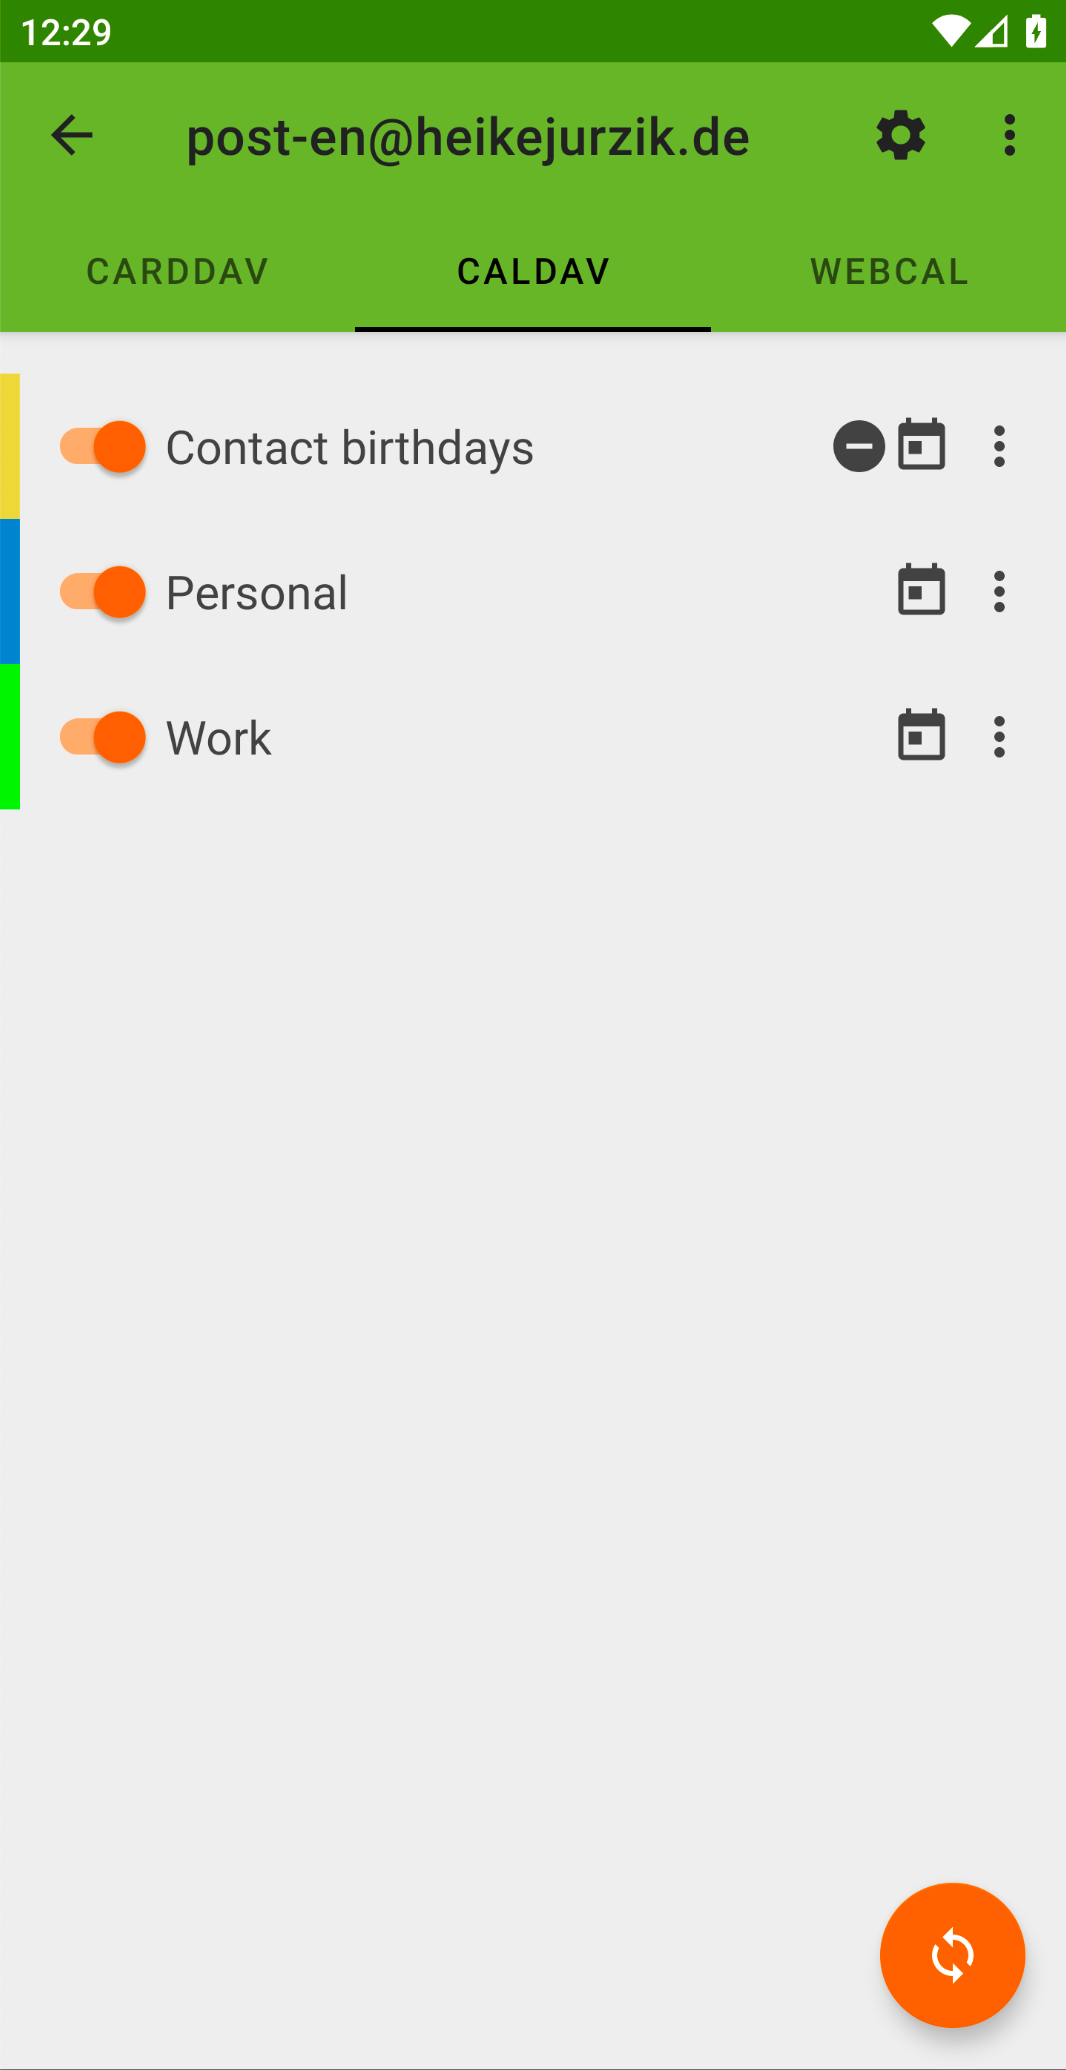
Once the app has completed the synchronization process, you can access the data through standard Android apps for calendars and address books. You can start the synchronization manually with the Refresh icon at the bottom right. You can also set the app to always run in the background. You can also set the app to always run in the background. Note that this may affect the battery life of the device.
This article has been adapted from Heike Jurzik's book, Nextcloud on the Raspberry Pi.


Comments are closed.