Most applications allow users to create and add some textual content, such as a comment, a chat message, an article, a product description, or a legal document. Today, plain text isn't enough. Users format text, insert images and memes, videos, tables, and create lists and links. A developer can probably craft this rich content in HTML by hand, but there's a high chance that your users would appreciate some help.
WYSIWYG ("What You See Is What You Get") editing allows you to see and edit rich text content in a form that resembles how it's displayed to end users. A WYSIWYG editor provides a UI that makes it easy to format the text and incorporate various elements such as images, links, or tables into your digital content.
If you want to supply this sort of functionality in your app, you can choose to:
- Build it yourself
- Find a WYSIWYG editor component you can reuse
Each option has advantages and disadvantages.
Build it yourself...
If your use case is simple and you don't need many features, building your own component may feel like a way to go. WYSIWYG editing sounds easy.
It's not.
Even when you're starting simple, requirements tend to grow over time. Content creation is such a widely accepted paradigm that users now expect it to work in your application similarly to anywhere else. They want to see a familiar feature set and UX patterns. Creating and maintaining this takes time and effort that could otherwise be spent on developing your app.
There's a valid reason why content editing functionality is often outsourced to an external library, even in big projects with considerable engineering teams. It requires deep domain knowledge to do it well.
Assume you decide to integrate a ready-to-use editing component or framework. There are plenty of rich text editing solutions on the market. The differences between them usually revolve around the feature set, UX, integrations with various technologies, extensibility, licensing, popularity, project health, and support options. So, similar to any external library, when you're choosing an editor, it's best to consider your use case so you can avoid a costly mistake and further migration in the future.
Sure, there are some challenges you face when integrating a WYSIWYG editing component, but they're easy to resolve when you're using the popular open source CKEditor 5.
Or choose CKEditor
CKEditor has been around for 20 years(!) as an open source project. It's backed by CKSource, a company of about 100 people who work, day in and day out, on improving the editor. The latest version, CKEditor 5, is a modern, flexible, extensible, and customizable component written in pure TypeScript and JavaScript. It's built on top of a robust collaboration-ready editing framework with model-view-controller (MVC) architecture, a custom data model, and virtual DOM.
Running a simple editor in 3 steps with CKEditor 5
Here are the basics of integrating CKEditor with a simple website.
To get up and running, load the editor script from the CDN, and call its create() method to create the editor:
-
In an HTML page, add an element to serve as a placeholder for a CKEditor 5 instance:
<div id="editor"></div> -
Load the editor build script (here, a so-called classic editor build is loaded from the CDN):
<script src="https://cdn.ckeditor.com/ckeditor5/36.0.0/classic/ckeditor.js"> </script> -
Call the ClassicEditor.create() method to display the editor.
<script>
    ClassicEditor
        .create( document.querySelector( '#editor' ) )
        .catch( error => {
            console.error( error );
        } );
</script>
And that's it. A full web page with an embedded CKEditor 5:
<!DOCTYPE html>
<html lang="en">
<head>
    <meta charset="utf-8">
    <title>CKEditor 5 – Classic editor</title>
    <script
      src="https://cdn.ckeditor.com/ckeditor5/36.0.0/classic/ckeditor.js">
    </script>
</head>
<body>
    <h1>CKEditor 5 - cool, eh?</h1>
    <div id="editor">
        <p>This is some sample content for my new WYSIWYG editor.</p>
    </div>
    <script>
        ClassicEditor
            .create( document.querySelector( '#editor' ) )
            .catch( error => {
                console.error( error );
            } );
    </script>
</body>
</html>
Open it in your browser to test the WYSIWYG editor:

(Anna Tomanek, CC BY-SA 4.0)
Advanced WYSIWYG editing
Yes, there are only three steps, and it's running. But this simple example also uncovers some typical challenges faced by an integrator of an external framework.
- It's just a simple HTML website that misses the entire context of your app.
- The UI doesn't match your design system.
- Your app is written in React/Angular/Vue, or something else.
- You don't want to serve CDN scripts, and prefer to self-host.
- The feature set of the editor isn't what you need.
- Also, some of your users prefer Markdown to HTML or WYSIWYG "magic".
So how do you resolve some of these issues? Most editor components allow for some degree of customization that's still cheaper than writing a custom script to properly handle user content creation.
CKEditor 5 uses a plugin-based architecture, which provides excellent customizability and extensibility. By putting in some effort, you can benefit from a stable, popular, and reliable solution set up to look and work exactly as you want. Drupal 10, for example, built CKEditor 5 into its core and enriched it with some typical CMS functionality like a media library through custom plugins.
What are some ways you can take advantage of all these customization options? Here are five that showcase its versatility:
1. Flexible UI options
The first thing to notice when looking at a component to integrate with your application is its user interface. The CKEditor 5 framework delivers a few different UI types. For example:
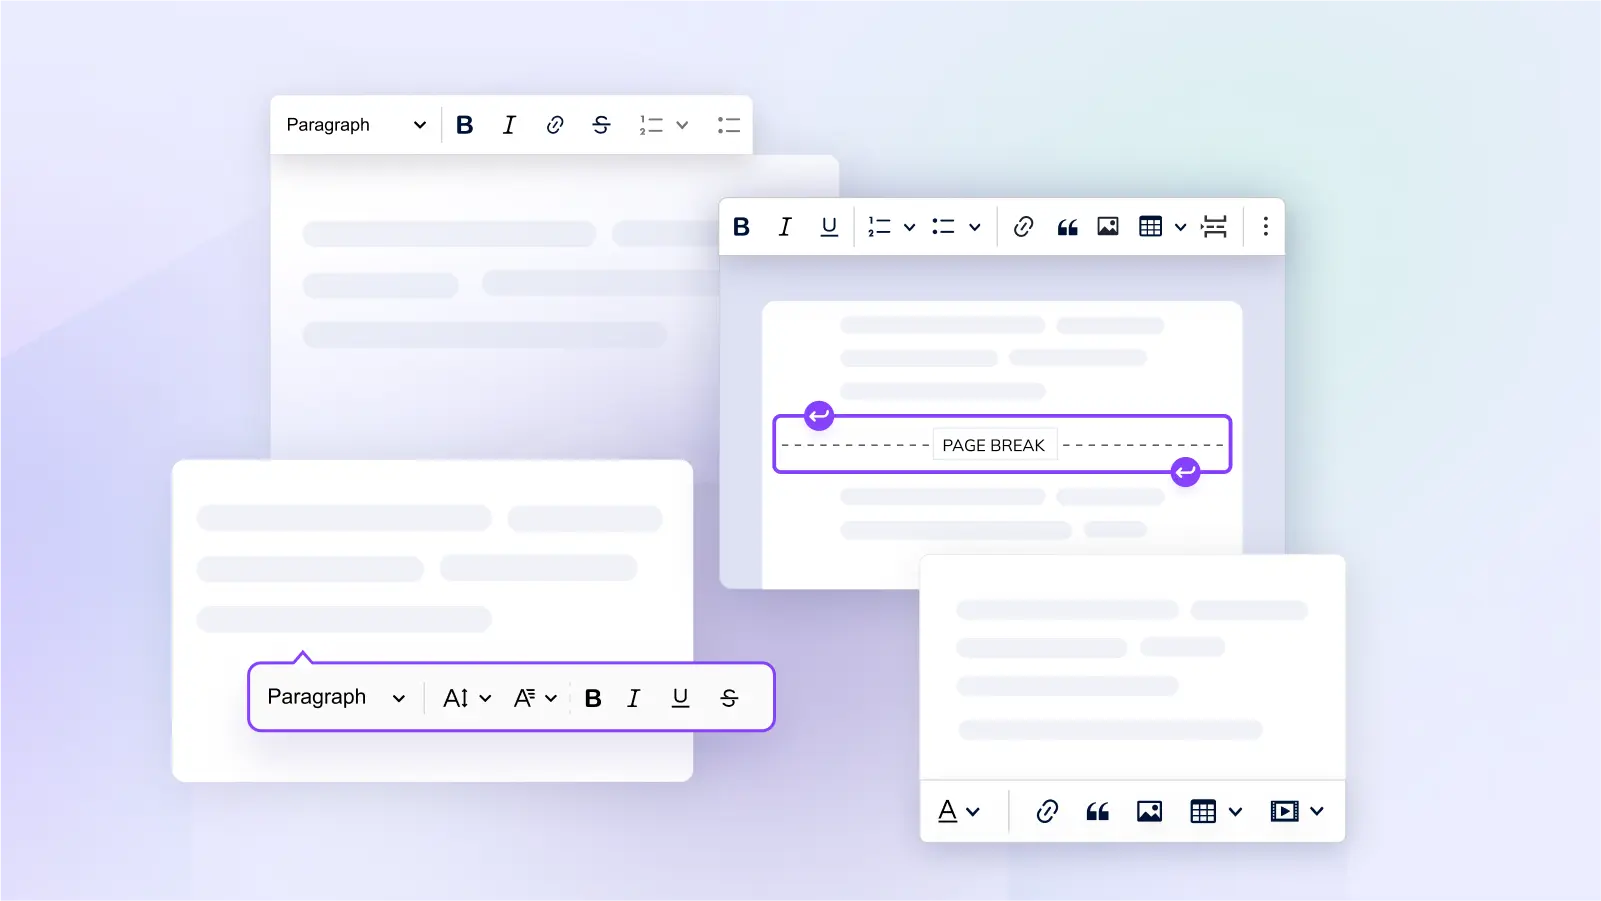
- Classic Editor, used in the first example, offers a toolbar with an editing area placed in a specific position on the page. The toolbar stays visible when you scroll down the page, and the editor automatically grows with the content.
- The Document editor provides a similar editing experience to applications such as Microsoft Word or Google Docs, with a UI that resembles a paper document.
- If you're looking for distraction-free editing, where the content is placed in its target location on the web page without the editor UI getting in your way, you have a few options. The Inline Editor, Balloon Editor, and Balloon Block Editor all come with different types of floating toolbars that appear as needed.
Besides that, you can play with the toolbar to move the buttons around, group them into drop-downs, use a multi-line toolbar, or hide some less-frequently needed buttons in the "three dots" or "more options" menu. Or, if you wish, move the entire toolbar to the bottom.
It may also happen that you prefer to go the headless route. Plenty of projects use the powerful editing engine of CKEditor 5 but coupled with their own UI created in, for example, React. The most notable example is Microsoft Teams, believe it or not. Yes, it's using CKEditor 5.

(Anna Tomanek, CC BY-SA 4.0)
2. Choose a full-featured editor or a lightweight one
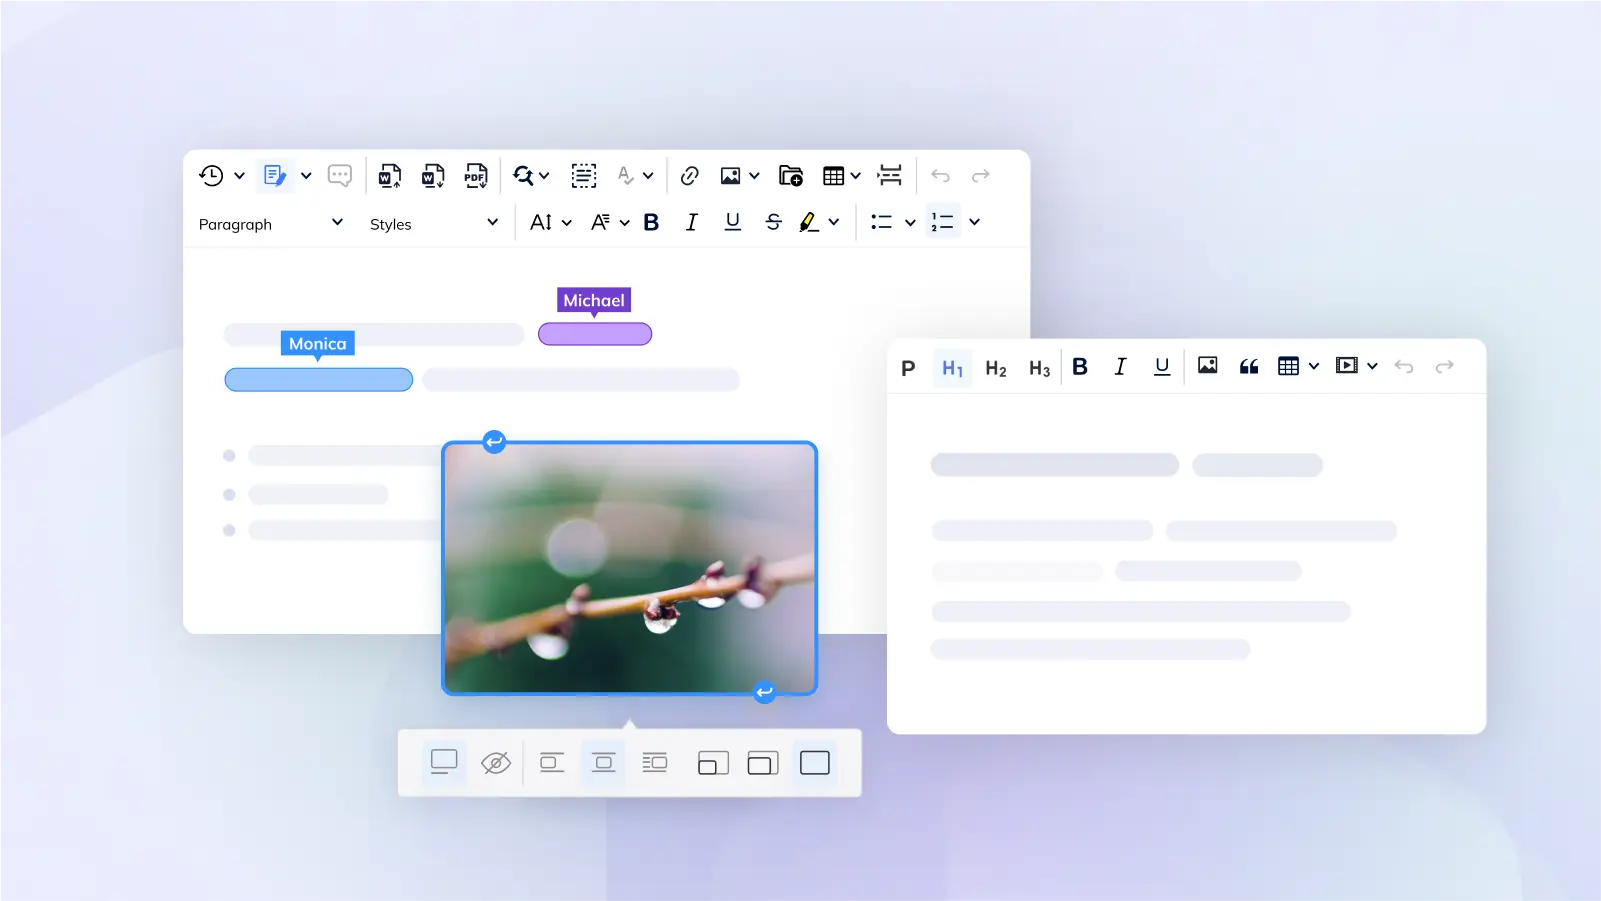
In digital content editing, there's no "one size fits all" solution. Depending on the type of content you need, the feature set differs. CKEditor 5 has a plugin-based architecture and features are implemented in a highly decoupled and granular way.
It's easy to get lost in all the possible features, sub-features, and configuration options without some guidance. Here are some useful resources to help you build the editor that's a perfect match for your use case:
- Try the feature-rich editor demo to test some of the most popular features.
- Look at some other editor setups on the demo page. You can find the complete source code of each demo in the ckeditor5-demos repository.
- The entire Features section of the documentation explains all CKEditor 5 features, possible configuration options, toolbar buttons, and API.
- CKEditor 5 online builder is a quick and easy solution to build your custom editor in 5 steps. It allows you to choose the UI type, plugins, toolbar setup, and UI language and then download a ready-to-use editor bundle.

(Anna Tomanek, CC BY-SA 4.0)
3. Integrations with JavaScript frameworks
The online builder and demos are a fun playground if you want to test a few solutions in a no-code fashion, but you may need tighter integration. You can also install CKEditor 5 with npm, or bundle it with your app using webpack or Vite. CKEditor 5 is written in pure TypeScript and JavaScript, so it's compatible with every JavaScript framework available.
Four official integrations are available for the most popular frameworks:
- Angular
- React
- Vue.js v2
- Vue.js v3
For example, to set up the Classic Editor (used in my first example) in React, you can use this one-liner:
npx create-react-app ckeditor5-classic-demo \
--template @ckeditor/ckeditor5-classic
4. Markdown and HTML
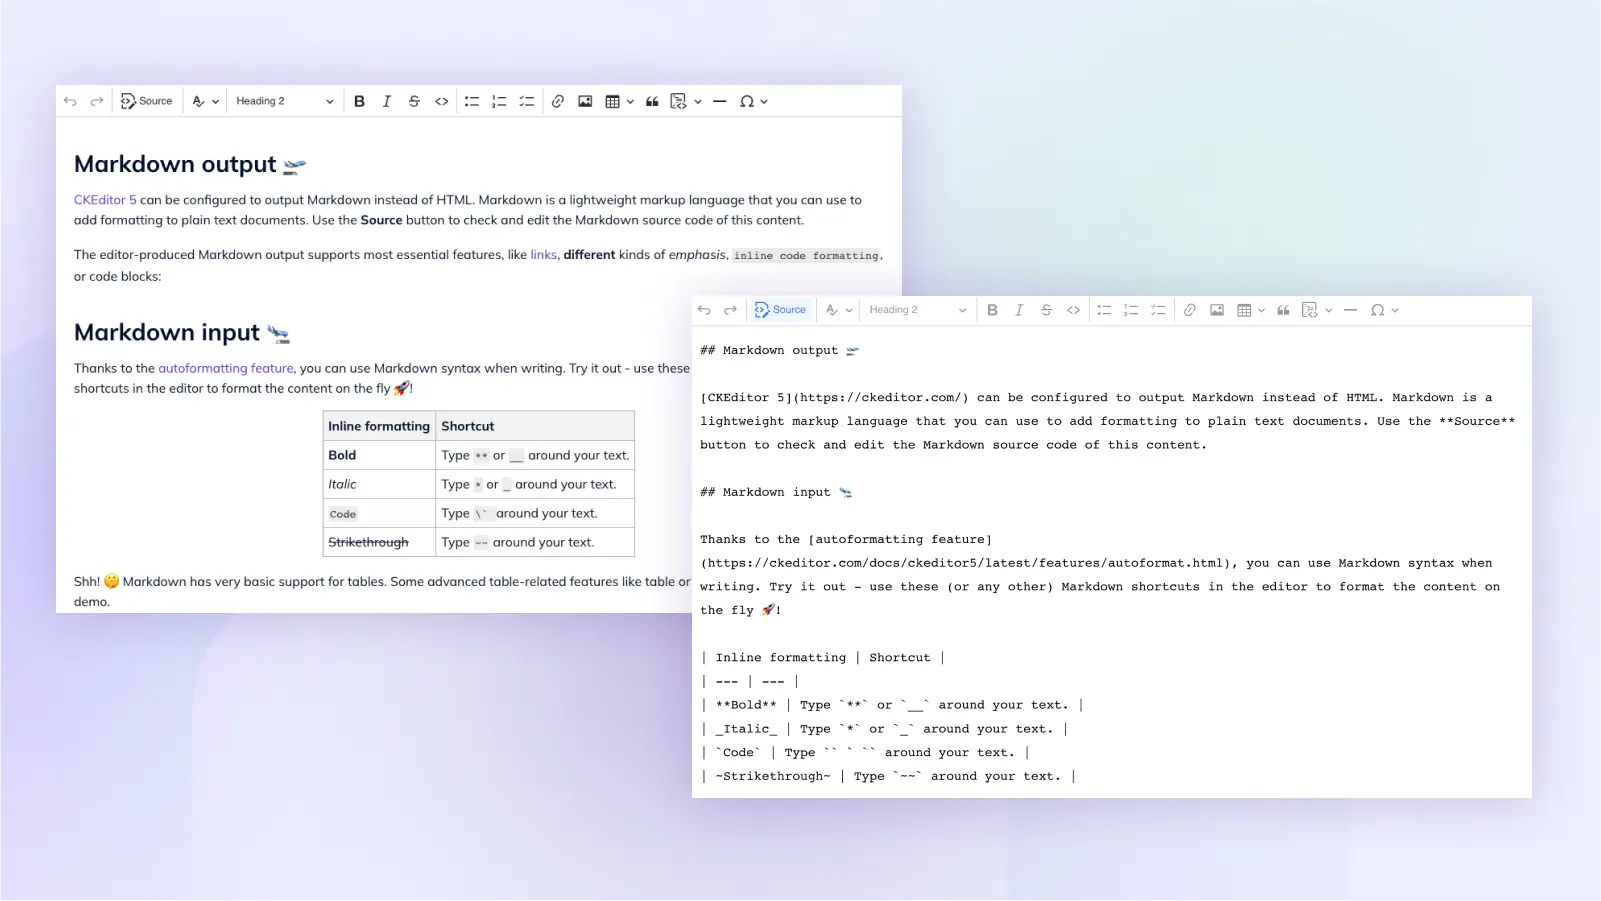
For some developers, Markdown might feel like second nature. It has its limitations, though. For example, support for tables is quite basic. Still, for many users, crafting content in Markdown is much more efficient than using the editor UI to format it.
And here's the fun part. Thanks to CKEditor's autoformatting, you can use Markdown syntax when writing, and the editor formats the content as you type. This is a nice compromise for covering the needs of both power users and users unfamiliar with Markdown and preferring to create rich text using the WYSIWYG UI.
5. Different input and output
Autoformatting is just one aspect of Markdown support in CKEditor 5. Another is that you can configure the editor to treat Markdown as its input and output format instead of HTML.

(Anna Tomanek, CC BY-SA 4.0)
Here's another challenge. If you allow the users to input content in your app, they can create it there but also paste it from different sources (other websites, Microsoft Word, Google Docs). They naturally expect the structure and formatting of pasted text to be preserved. This may result in some nasty styles and unwanted elements making their way to your content, and you have to clean up. Instead of trying to reconcile these two potential clashes of interest by yourself, it's better to rely on a good editor that solves this problem for you.
In the case of CKEditor 5, the Paste from Office feature provides great support for pasting content from Word or Google Docs, preserving the structure, and translating the formatting into semantic content.
The default CKEditor 5 settings also prevent users from adding or pasting elements and styles unsupported by the feature set chosen for your editor. If you, as an integrator, configure the editor to support just links, lists, and basic styles such as bold or italic, then the user can't add tables, images, or YouTube videos.
Then again, if you would like your editor to accept content that's not covered by your feature set or even not supported by any existing CKEditor 5 features, you can achieve that thanks to the so-called General HTML support functionality. This is useful for loading pre-existing content created in other tools, and can make your migration to CKEditor 5 easier.
Building custom plugins
No matter how great a ready-made solution is, you may still need to customize it even more. After all, thanks to reusing an advanced WYSIWYG editing component, you've saved yourself plenty of time and coding effort. You may want to get your hands dirty and polish your solution a bit, for example, by creating custom plugins.
Here are some useful resources to get you started:
- Creating your own plugins: Documentation for developers.
- Package generator: A handy tool that helps you set up your plugin development environment.
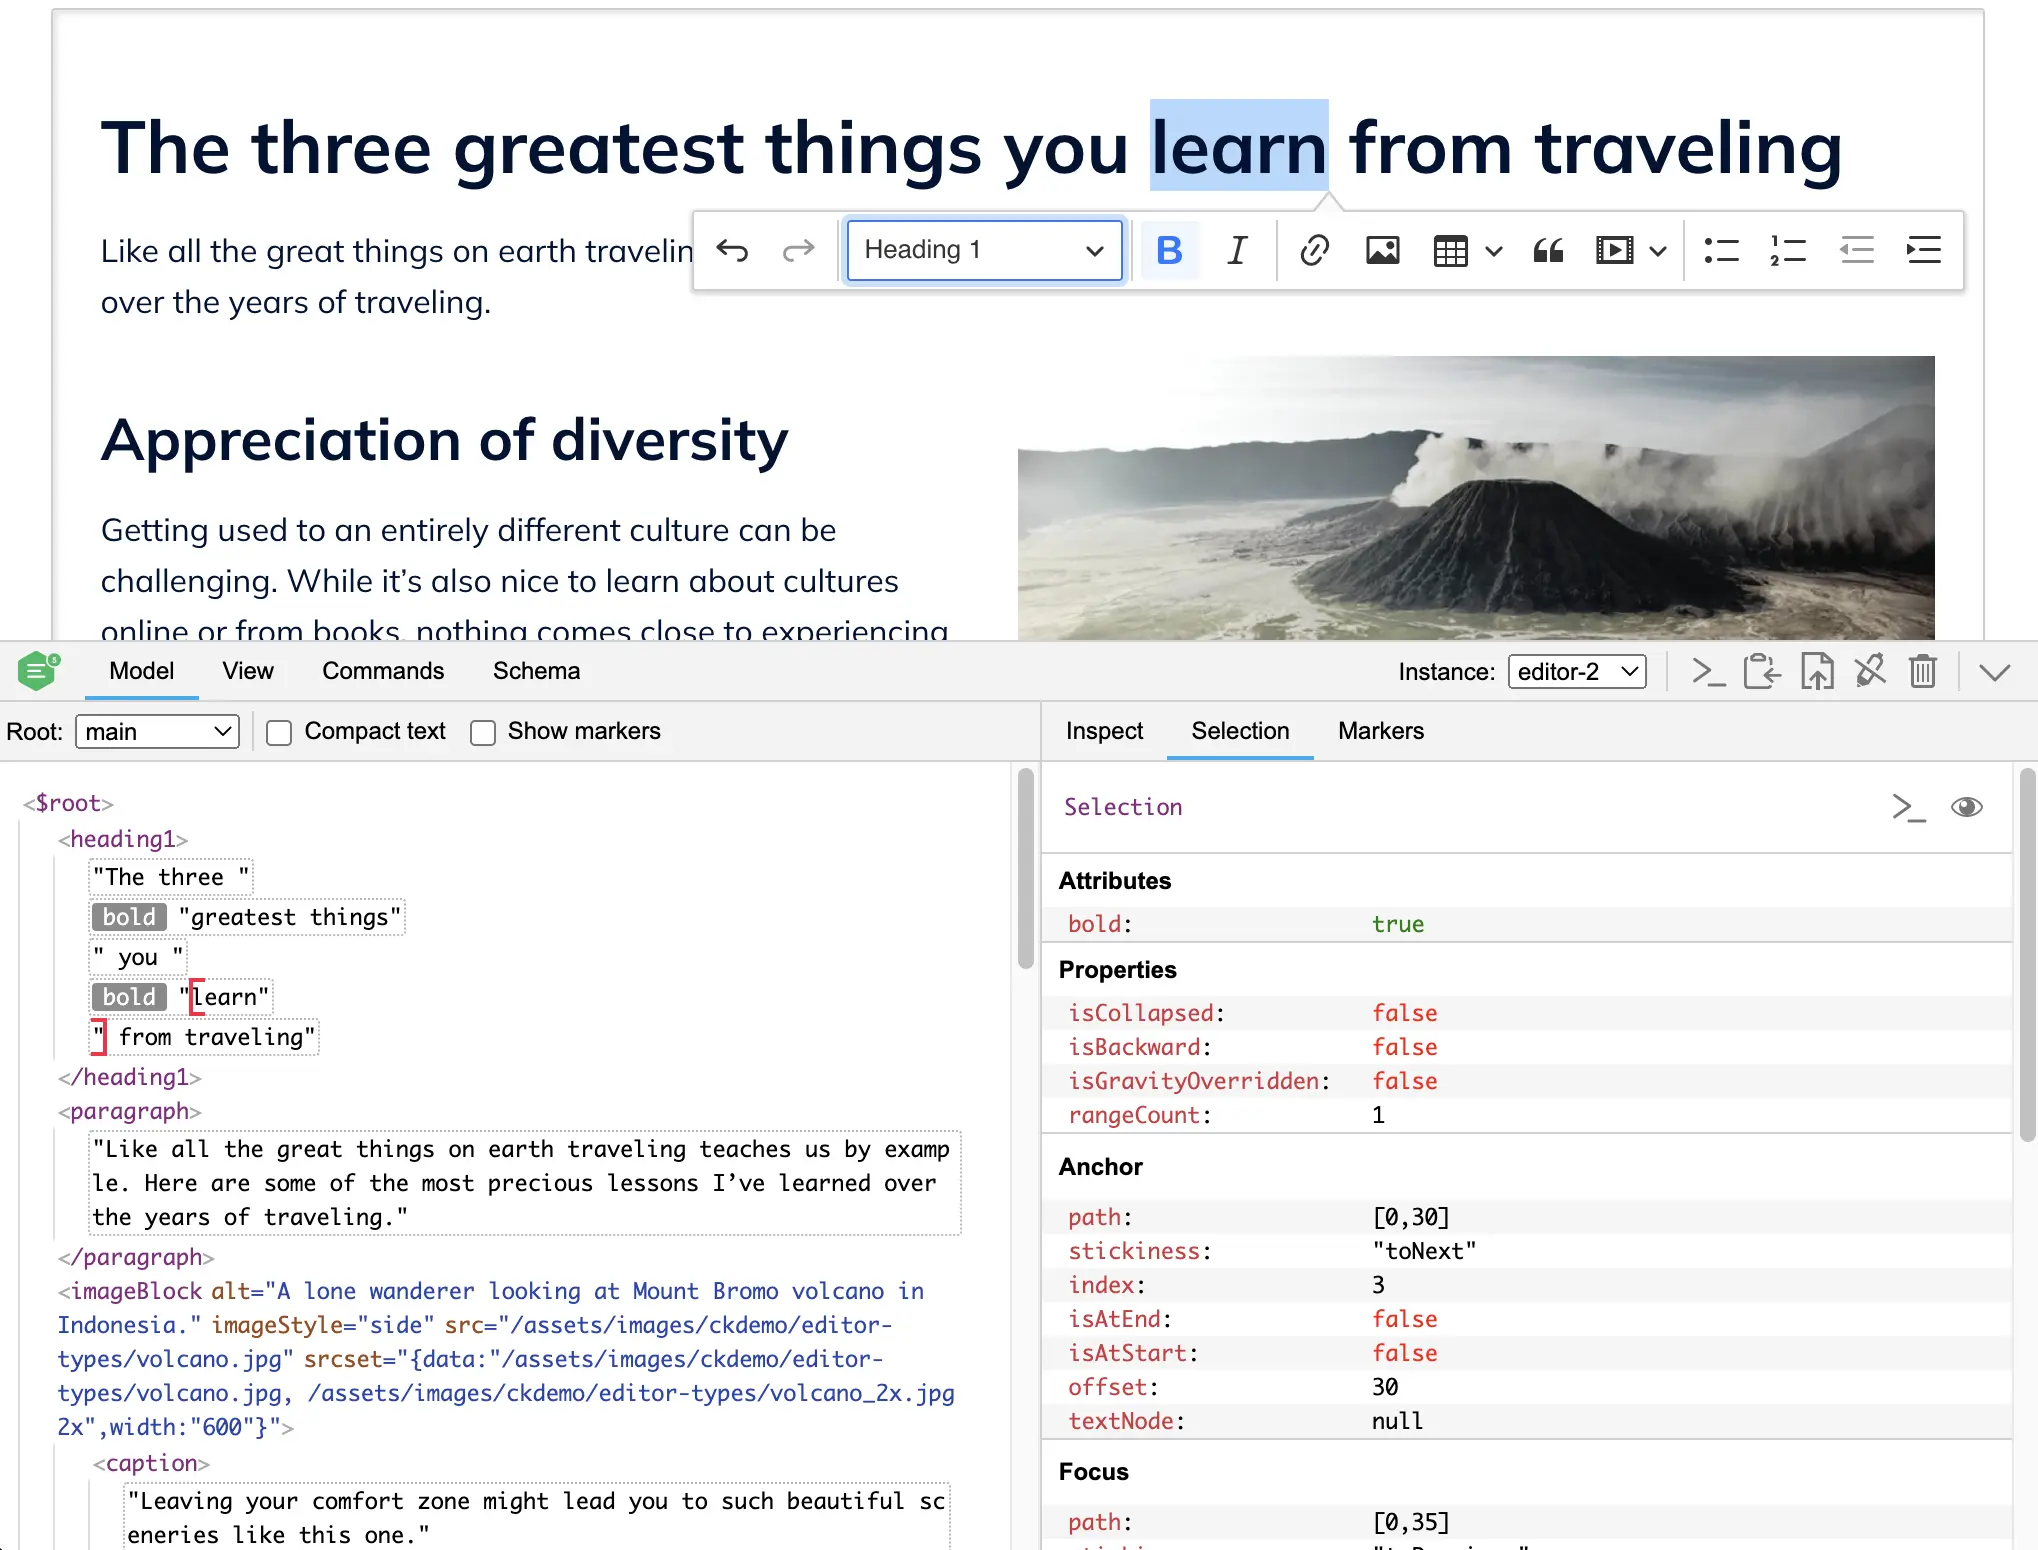
- CKEditor 5 inspector: Debugging tools for editor internals like model, view, and commands.

(Anna Tomanek, CC BY-SA 4.0)
How to get CKEditor
CKEditor 5 is licensed under the terms of GPL 2 or later, but if you are running an open source project under an OSI-approved license incompatible with GPL, the CKEditor team is happy to support you with a no-cost license.
CKEditor 5 is a powerful modern rich text editor framework that allows developers to build upon an open source, tested, and reliable editor. Start-ups, leading brands, and software providers use it to improve both their content creation and content production workflows. If your users value those benefits, check it out!


3 Comments