
In my previous article, I talked about Stellarium in a web browser. This stellar software allows for a 3D view of your local sky, with amazing telescopic and scripting features. In this article, I'll show you how to put those stars in your pocket using a Raspberry Pi 4, along with scripting some animations for fun. If you remember my Halloween-themed article, I covered using a Raspberry Pi to make a festive Halloween jack-o-lantern. I've repurposed this same Raspberry Pi to create a traveling galaxy box. That's what I'll be calling it today. So let's get packed for a galactic trip.
What do we need for this trip?
- One Raspberry pi 4 (with peripherals)
- Raspbian OS
- A sense of Astronomic wonder
Install Stellarium on your Raspberry Pi
For starting the installation of Raspberry Pi OS, I followed the instructions for the Raspberry Pi Imager instructions. I used the SD card edition of the install in my previous article, but you can choose whichever way you want using the Raspberry Pi manager. Make sure you update your OS with the most recent software.
You can do this by running these commands:
$ sudo apt update
$ sudo apt upgrade
That might take a minute to run if you, for example, left your PI alone since October.
Queue some elevator music for me. It's gonna be a moment.
Next up, to install Stellarium, just run one simple command:
$ sudo apt install stellariumAnd poof! It's installing.
Countdown to launch
Once you've got Stellarium installed, go to your application menu, and under education, you'll see the Stellarium app. I grabbed a screenshot just to show you.

(Jess Cherry, CC BY-SA 4.0)
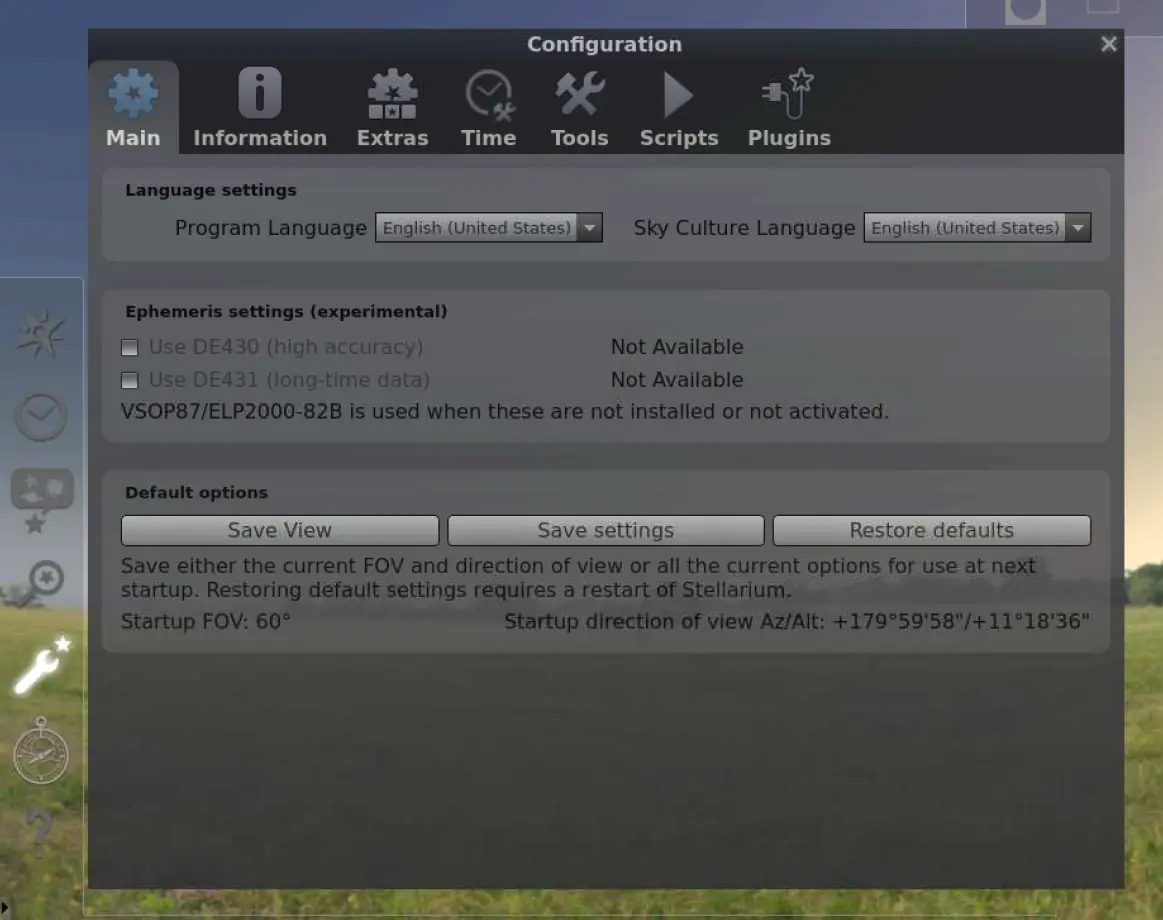
Configuration
When you first open Stellarium, it asks you for some configuration items. This includes your location, timezone, and anything else it didn't catch automatically at startup. Since my Pi already had a location configured and the timezone was set, it opened up without issue directly to my location. However, I want to show you what those settings look like, along with the highlighted button to click on the very left to change the configuration as you need:
(Jess Cherry, CC BY-SA 4.0)
You can also download more stars in the extras section:
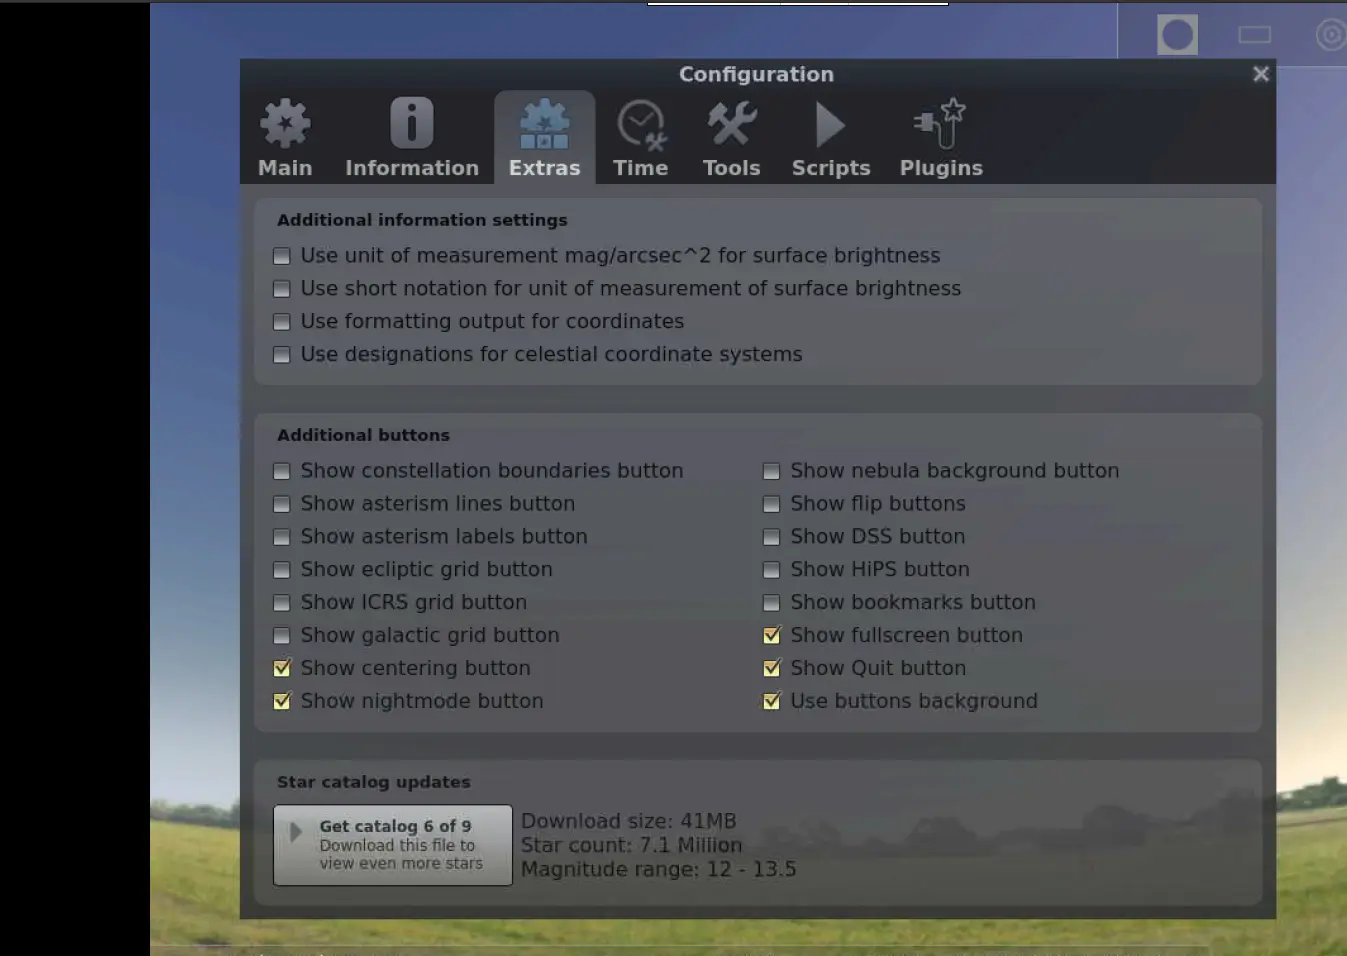
(Jess Cherry, CC BY-SA 4.0)
I downloaded all of the catalogs. Each download also tells you how many stars are in the catalog, which is an incredible feature.
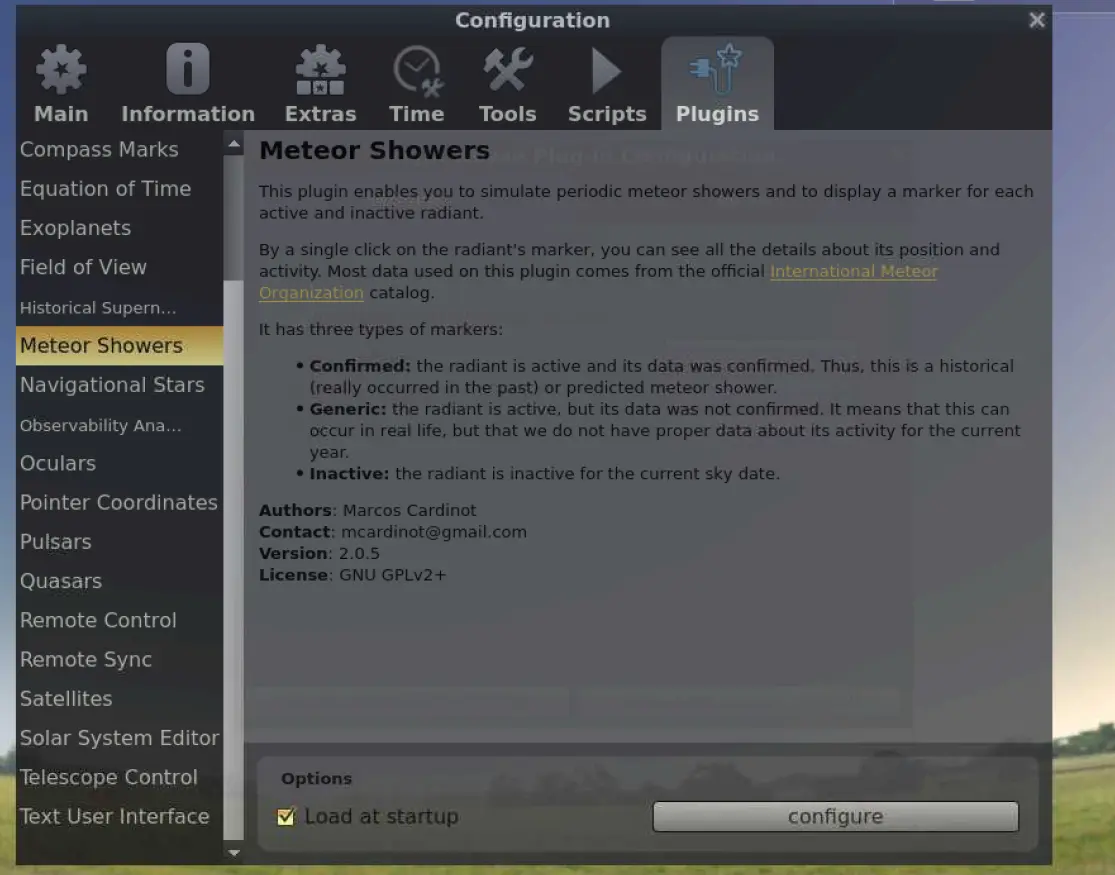
Each one of these sections does have some pretty neat things to look over. I'm also covering scripting in this article, though, so I'll just briefly skim through some interesting sections I played with.
Choose from the many available extensions. In this screenshot, I was looking at having the plugin for meteor showers. It allows you to create some simulations of your own meteor showers.
(Jess Cherry, CC BY-SA 4.0)
You also have a bunch of other interesting plugins as you go.
In the information section, you can customize what you want to be visible on your screen when you click on an object.
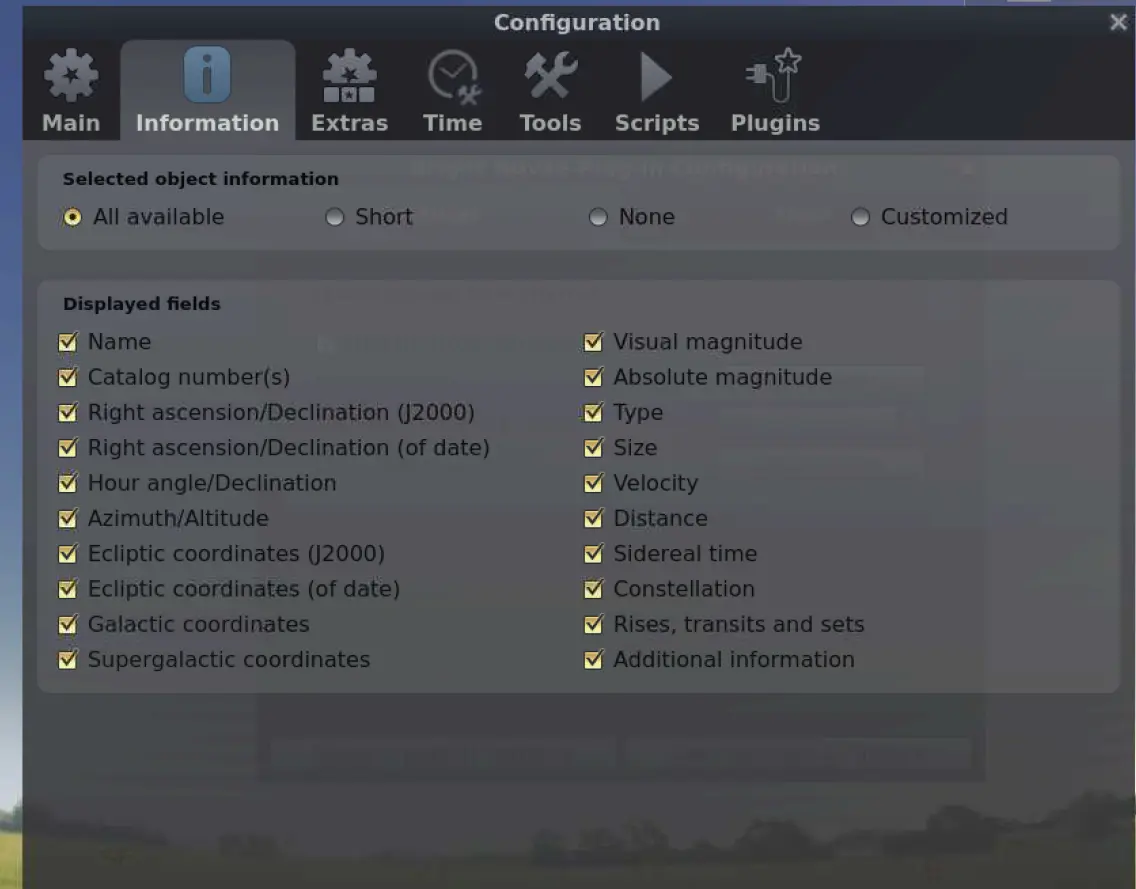
(Jess Cherry, CC BY-SA 4.0)
In the Time section, you can pick the time and date formats and pick entirely different times and dates to look at different skies as they appeared in history or will appear in the future. In this set of screenshots, I chose something completely random, and it worked:

(Jess Cherry, CC BY-SA 4.0)
Finally, before I get to the fun part, you have the tools section, where you can enable and disable how your personal planetarium works. You can change labels, add a location for screenshots, change how your mouse works, and so much more.

(Jess Cherry, CC BY-SA 4.0)
Time to script some animations
In my previous article, I mentioned in passing that you can script your own animations. That's where the scripts tab comes in:
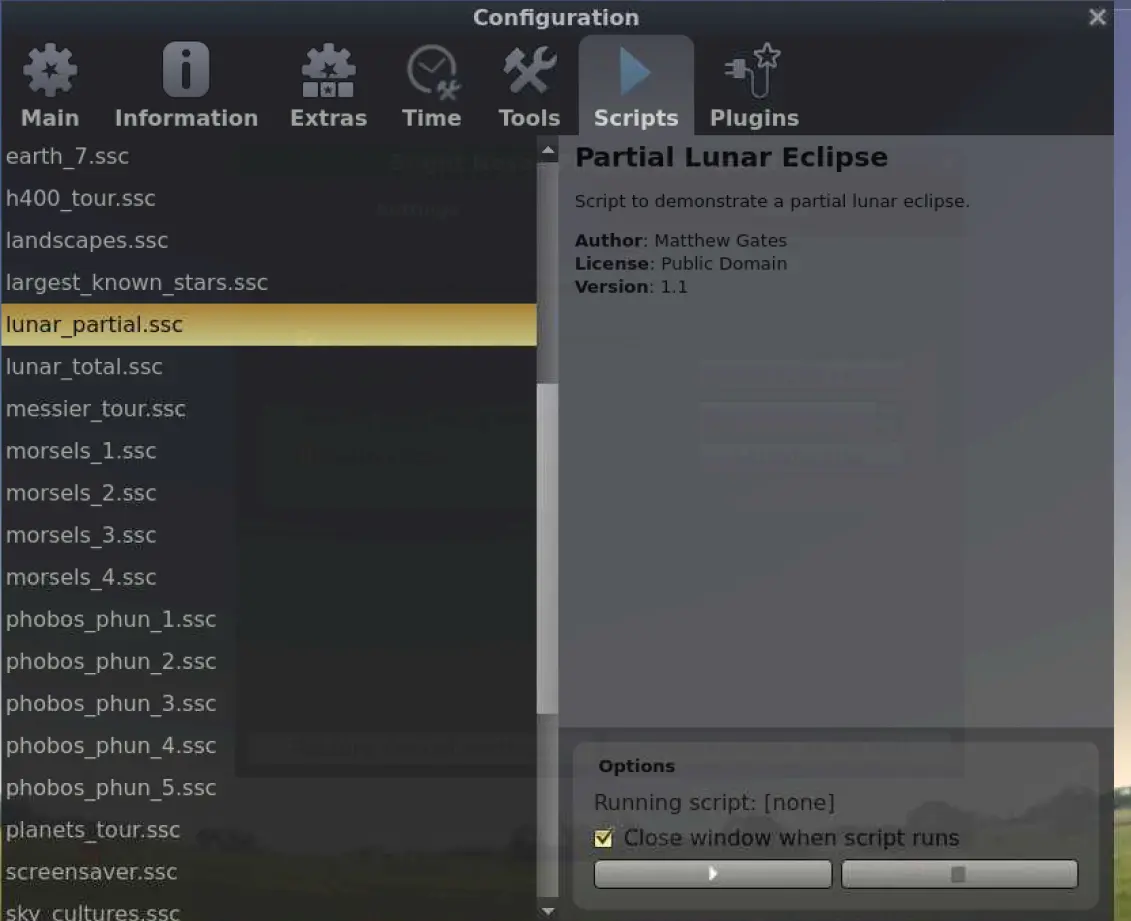
(Jess Cherry, CC BY-SA 4.0)
Before I get to scripting an animation, you might notice that some animations are already available for you to watch and use. For instance, in the picture above, I have a partial lunar eclipse highlighted. This is one of the animated series you can watch before you get started with scripting on your own.
Because the animations don't stop on their own with the movement of time, you must press K on your keyboard at any time to stop the animation. While Stellarium uses the QtScript engine as its scripting tool of choice, some users choose to go with Typescript. However, it's easy enough to make some simple "hello world" scripts using the script console within Stellarium. To do this, press the F12 button on your keyboard while inside the application, and a nifty console pops up.
Next on the list is a simple test of "hello galaxy". First, use the debugger library to verify that the scripting engine prints correctly to the log window:
core.debug("Hello Galaxy");Press the Play button in the top left of the console to run the script and:
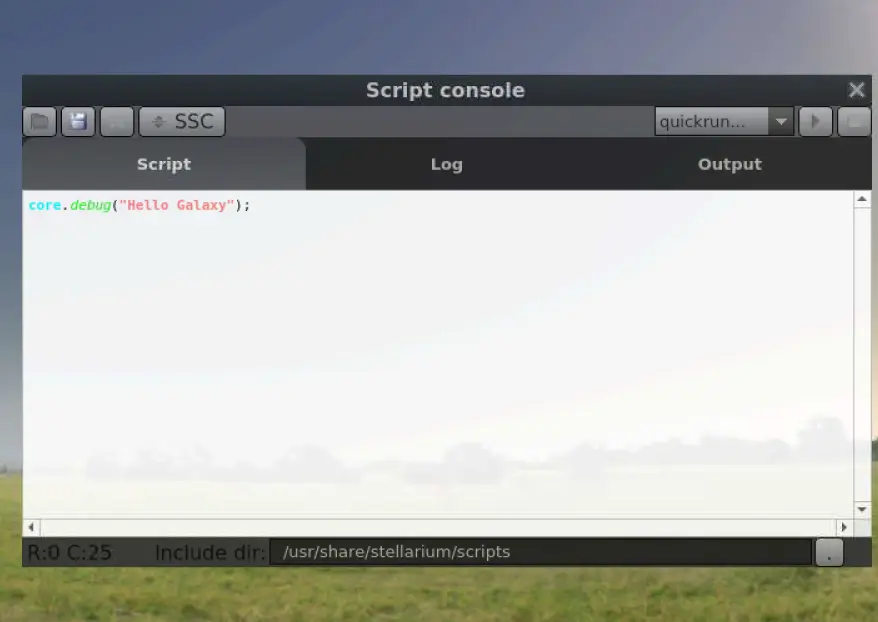
(Jess Cherry, CC BY-SA 4.0)
You can see the output in the next tab:
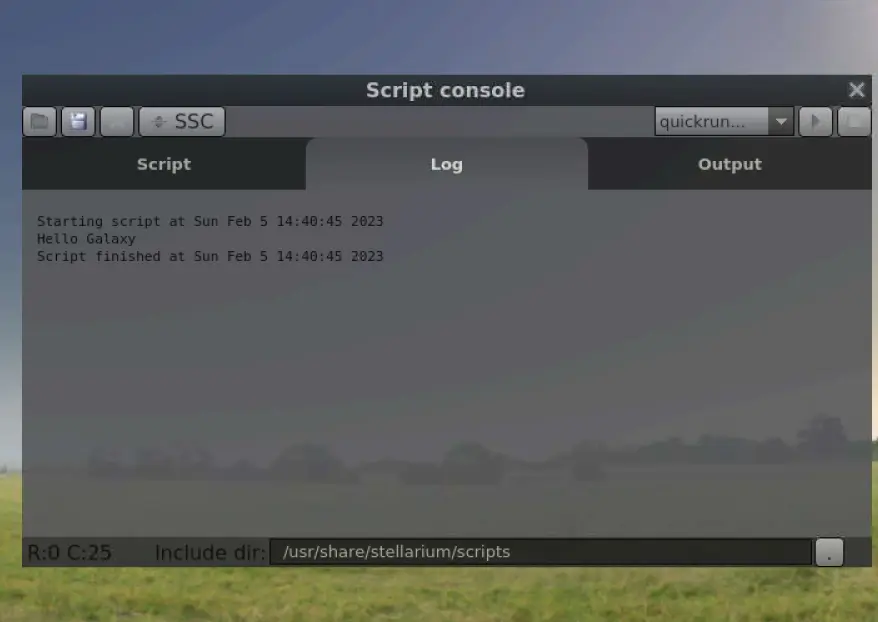
(Jess Cherry, CC BY-SA 4.0)
Now that you know that works, you can move on to something a tad bit larger, like putting words on the screen.
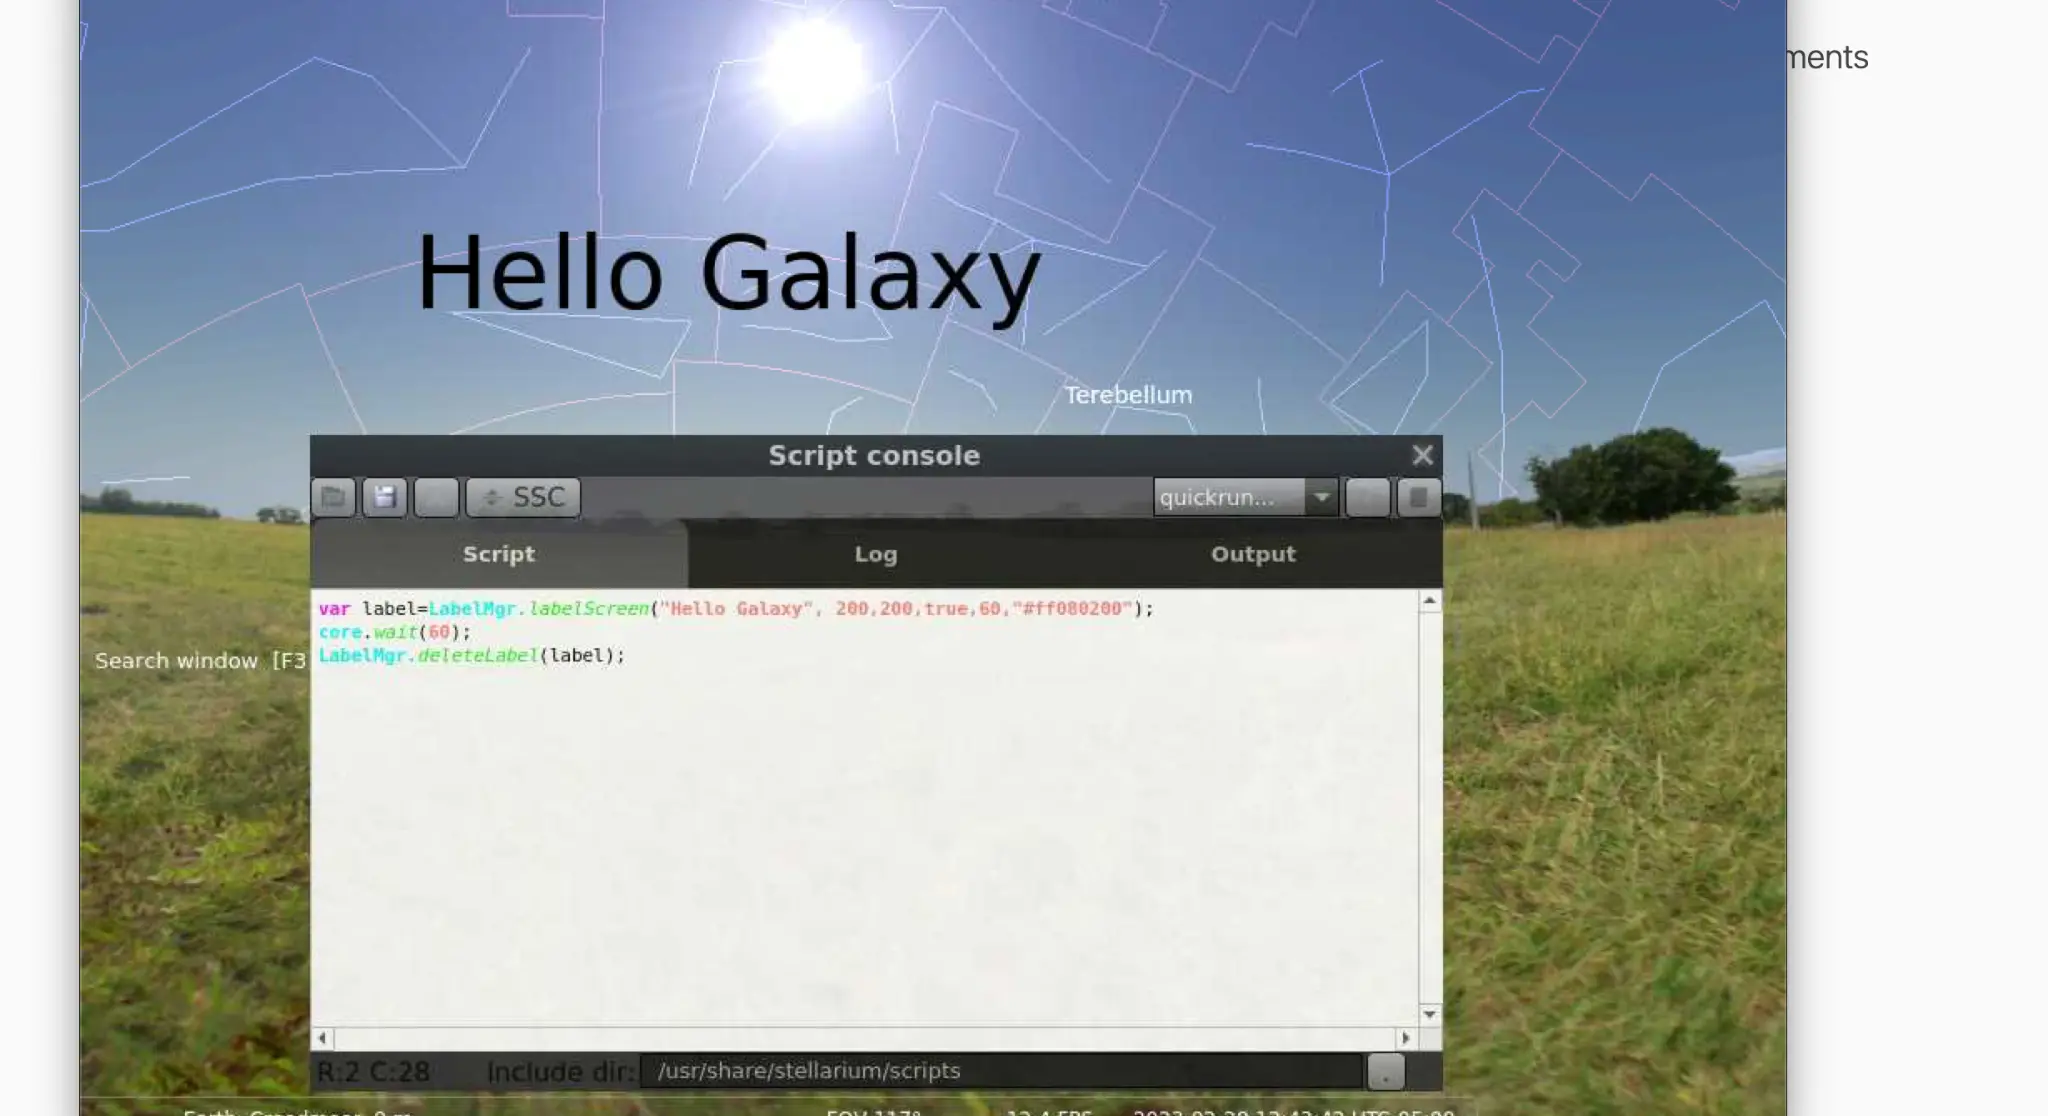
In this example, you'll be using the Label Manager Class to create a "Hello Galaxy" label to display on the screen. But this time, you can pick the size and color of the font, as well as its location on the screen.
var label=LabelMgr.labelScreen("Hello Galaxy", 200, 200,
                                true, 60, "#ff080200");
core.wait(60);
LabelMgr.deleteLabel(label);
This label manager displays the text "Hello Galaxy" in all black on the screen with a font size of 60 for 60 seconds. The two 200s are your points along the horizontal and vertical axis of the screen. The true Boolean is for the label to be visible on screen.
(Jess Cherry, CC BY-SA 4.0)
Now that you have a cool onscreen setup, you can explore the scripting functionality further. It's not for the timid. I provided some notes on the scripting engine to a friend who specializes in JavaScript to see if he had any pointers for me, and the response I received was, "Oh dear."
Final thoughts
If you want to travel and teach astronomy, having this software on a Raspberry Pi is a great way to go. Easy installation lets you have stars in your pocket quickly. If you have your location functionality enabled on your Pi, you can easily and immediately have a view of your local sky given to you in real-time while you travel. For some more interesting bits on the scripting engine, I suggest you look over the official documentation. There's a good section on Typescript integration for those who have experience in Typescript.


Comments are closed.