

Apache ShardingSphere is an open source distributed database toolkit. It enhances any database with data sharding, elastic scaling, encryption, and many other capabilities. Deploying and maintaining ShardingSphere-Proxy clusters and load balancing manually can be labor-intensive and time-consuming. To address this issue, Apache ShardingSphere offers ShardingSphere on Cloud, a collection of cloud-based solutions.
ShardingSphere-on-Cloud includes automated deployment scripts to virtual machines in cloud environments. It also includes tools for a Kubernetes cloud-native environment and a variety of hands-on content for high availability, observability, security policy compliance, and more. This includes Helm Charts, an Operator, and automatic horizontal scaling.
The new cloud project provides the following capabilities:
- Helm Charts-based ShardingSphere-Proxy for one-click deployment in Kubernetes environments.
- Operator-based ShardingSphere-Proxy for one-click deployment and automated maintenance in Kubernetes environments.
- Amazon Web Services (AWS) CloudFormation-based ShardingSphere-Proxy for rapid deployment.
- Terraform-based rapid deployment of ShardingSphere-Proxy in AWS environments.
This article demonstrates one of the fundamental capabilities of ShardingSphere on Cloud: One-click deployment of ShardingSphere-Proxy clusters in Kubernetes using Helm Charts.
-
Use the following three-line command to create a three-node ShardingSphere-Proxy cluster within a Kubernetes cluster with the default configuration and serve it through the Service:
$ helm repo add shardingsphere https://apache.github.io/shardingsphere-on-cloud
$ helm repo update
$ helm install shardingsphere-proxy shardingsphere/apache-shardingsphere-proxy-charts -n shardingsphere

(Wu Weijie, CC BY-SA 4.0)
-
The application can access the ShardingSphere-Proxy cluster through the
svcdomain:$ kubectl run mysql-client --image=mysql:5.7.36 \ --image-pull-policy=IfNotPresent -- sleep 300 $ kubectl exec -i -t mysql-client -- mysql \ -h shardingsphere-proxy-apache-shardingsphere-proxy.shardingsphere.svc.cluster.local \ -P3307 -uroot -proot
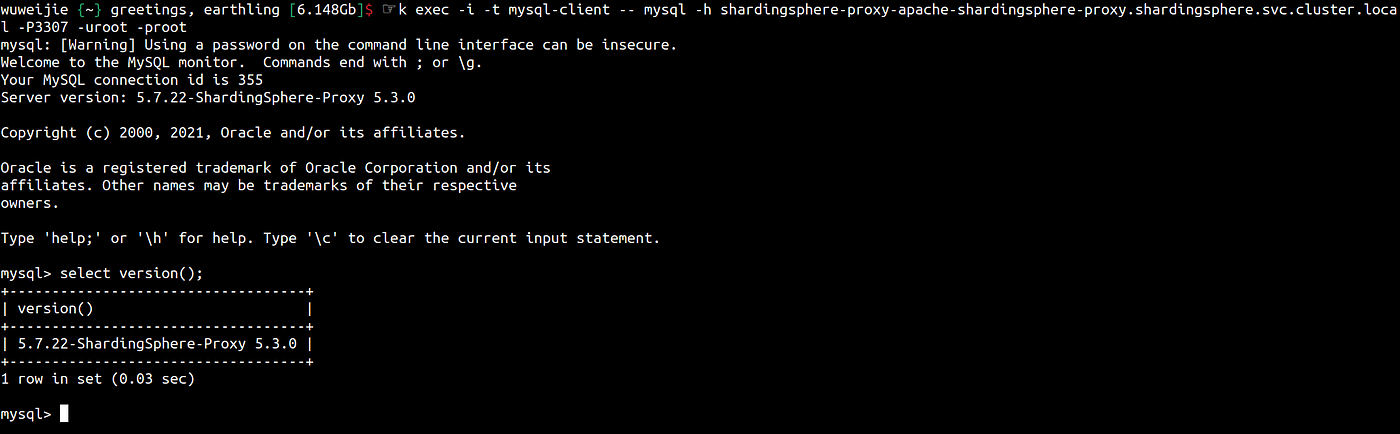
(Wu Weijie, CC BY-SA 4.0)
It's as easy as that. You're running ShardingSphere on the cloud, and that's just the beginning. For more advanced features, refer to the official ShardingSphere-on-Cloud documentation.
This article is adapted from A Distributed Database Load Balancing Architecture Based on ShardingSphere: Demo and User Case and is republished with permission.


Comments are closed.