Last year, I brought you 19 days of new (to you) productivity tools for 2019. This year, I'm taking a different approach: building an environment that will allow you to be more productive in the new year, using tools you may or may not already be using.
Check the weather with wego
One of the things I love about the past decade of my employment is that it mostly has been remote. I can work anywhere I happen to be in the world, although the reality is that I spend a lot of time in my home office. The downside is that when I leave the house, I base a lot of decisions on what the conditions look like outside my window. And where I live, "sunny and clear" can mean anything from "scorchingly hot" to "below freezing" to "it will rain in an hour." Being able to check the actual conditions and forecast quickly is pretty useful.

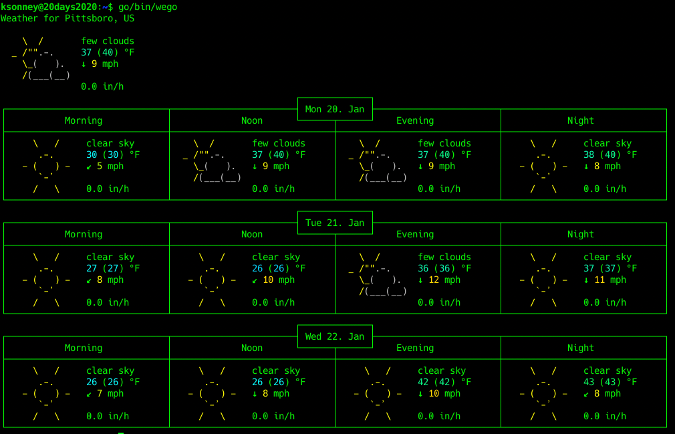
Wego is a program written in Go that will fetch and display your local weather. It even renders it in shiny ASCII art if you wish.
To install wego, you need to make sure Go is installed on your system. After that, you can fetch the latest version with the go get command. You'll probably want to add the ~/go/bin directory to your path as well:
go get -u github.com/schachmat/wego
export PATH=~/go/bin:$PATH
wego
On its first run, wego will complain about missing API keys. Now you need to decide on a backend. The default backend is for Forecast.io, which is part of Dark Sky. Wego also supports OpenWeatherMap and WorldWeatherOnline. I prefer OpenWeatherMap, so that's what I'll show you how to set up here.
You'll need to register for an API key with OpenWeatherMap. Registration is free, although the free API key has a limit on how many queries you can make in a day; this should be fine for an average user. Once you have your API key, put it into the ~/.wegorc file. Now is also a good time to fill in your location, language, and whether you use metric, imperial (US/UK), metric-ms, or International System of Units (SI). OpenWeatherMap supports locations by name, postal code, coordinates, and ID, which is one of the reasons I like it.
# wego configuration for OEM
aat-coords=false
aat-monochrome=false
backend=openweathermap
days=3
forecast-lang=en
frontend=ascii-art-table
jsn-no-indent=false
location=Pittsboro
owm-api-key=XXXXXXXXXXXXXXXXXXXXX
owm-debug=false
owm-lang=en
units=imperial
Now, running wego at the command line will show the local weather for the next three days.
Wego can also show data as JSON output for consumption by programs and with emoji. You can choose a frontend with the -f command-line parameter or in the .wegorc file.

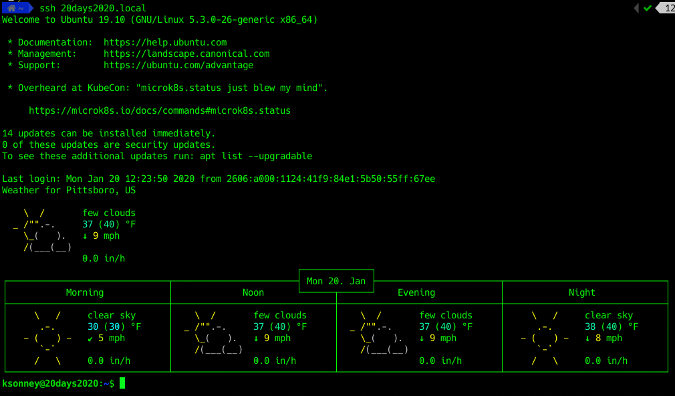
If you want to see the weather every time you open a new shell or log into a host, simply add wego to your ~/.bashrc (or ~/.zshrc in my case).
The wttr.in project is a web-based wrapper around wego. It provides some additional display options and is available on the website of the same name. One cool thing about wttr.in is that you can fetch one-line information about the weather with curl. I have a little shell function called get_wttr that fetches the current forecast in a shortened form.
get_wttr() {
  curl -s "wttr.in/Pittsboro?format=3"
}

Now, before I leave the house, I have a quick and easy way to find out if I need a coat, an umbrella, or sunscreen—directly from the command line where I spend most of my time.


3 Comments