

Are you ready to take the plunge into desktop Linux? Join the rapidly growing community of people who are living without the limits, lack of security, and lack of privacy afforded by proprietary operating systems. The question I had in the beginning was: How do I find a computer that runs Linux?
Downloading an ISO file
The answer is becoming increasingly more accessible—you can download an "ISO." An ISO is an archive file that contains an identical copy of the image that could come on a CD or DVD. The easiest way to get started with desktop Linux is to use virtualization software, but most of the time, I prefer bare metal. You can find an ISO file at Fedora, Ubuntu, ElementaryOS, and many other Linux distributions at Distrowatch.
Creating a bootable USB drive
You are going to need a computer that has a CD/DVD drive or one that can support booting from USB. After you have downloaded the ISO file, you will need to use a software tool that can create a bootable USB drive. I recommend that you try Etcher.io. It runs on either macOS or Windows and will allow for the easy creation of the bootable USB drive.
You are really fortunate if you happen to have an old computer around your home or workplace. If that is not the case, then there are a number of affordable options available to you. Fedora and Ubuntu have excellent recommended hardware documentation. Some hardware vendors sell off-lease computers at very attractive prices. You might find a really good prospective machine from eBay or from a hardware liquidator. Be sure to check the hardware specifications of your machine carefully. Fedora recommends 1GHz or faster processor, 1GB System Memory, and 10GB unallocated drive space. I also recommend that you ensure that the system has a USB drive and a connection to the internet. I look for systems that have wired and wireless and connections to the internet.
Once you have created the bootable USB drive and have a suitable hardware host, you can begin. Booting from USB usually requires a specific keystroke combination.
I used a five-year-old all-in-one desktop computer that has 8 gigabytes of RAM and an i5 processor.
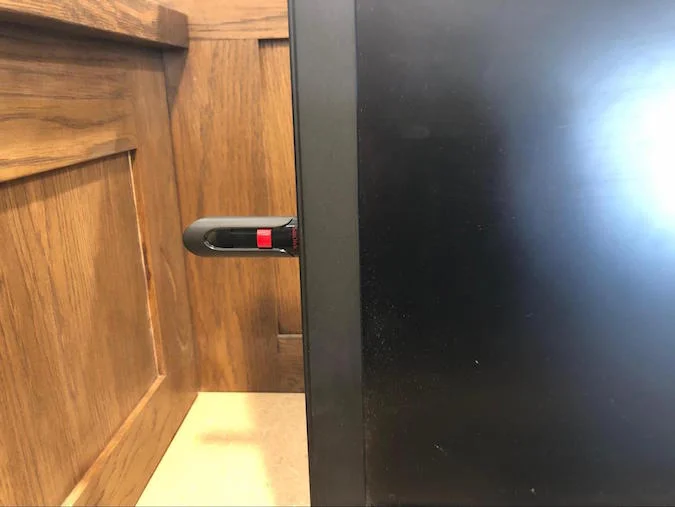
1. I plugged the prepared USB drive into the side of the computer.
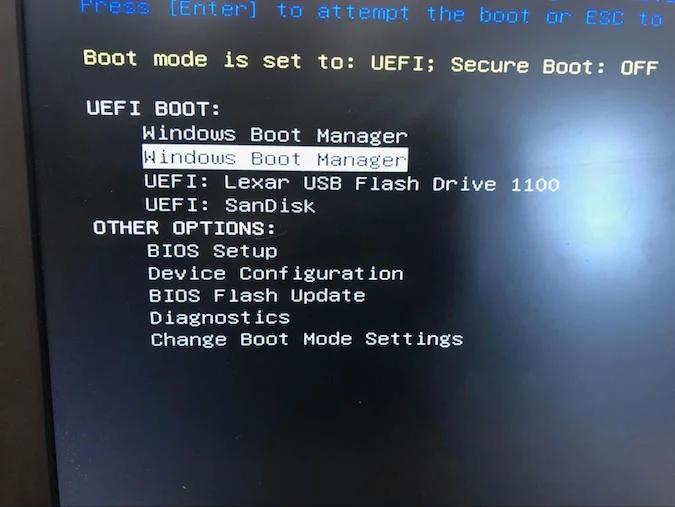
2. I turned on the computer, and while it was starting up, I tapped the F12 to enter the BIOS, where I was presented with some options.
3. I chose the UEFI Sandisk, which contained the necessary to begin the "live session" that would let me know if this computer was a good candidate for a Linux installation.
Gaining access to the USB boot menu will vary, and you will want to check the documentation for your particular computer. If there is no documentation available, then you can usually perform an internet search on the topic of booting from USB for your particular make and model.
4. Once the computer has booted from USB, I am presented with a "live user" session on the particular Linux distribution I have chosen. Your particular distribution might look slightly different. The first thing I always check is to ensure that I have a wired and/or wireless connection to the network and internet. This particular distribution is a Gnome3 desktop, and those icons are at the top right of my display.
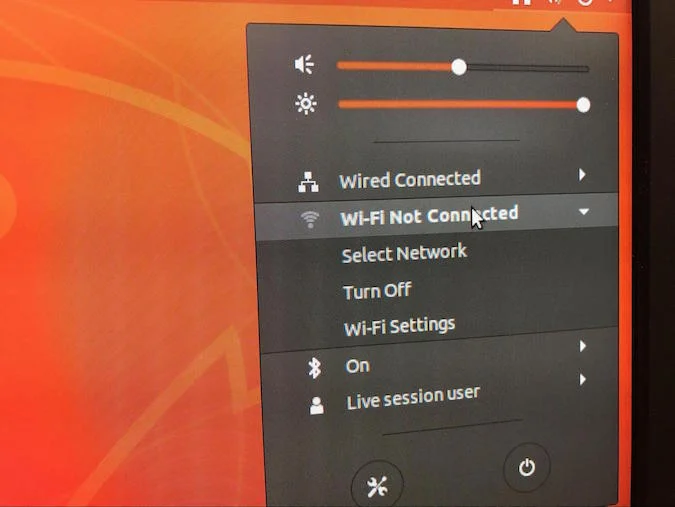
I can easily see that my wired ethernet connection is okay and that the wireless network is operational.
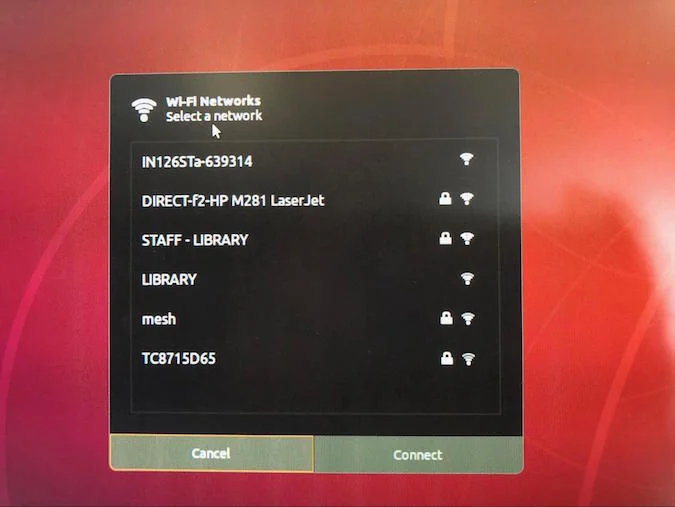
5. I select the appropriate connection from the available choices on the connection menu.
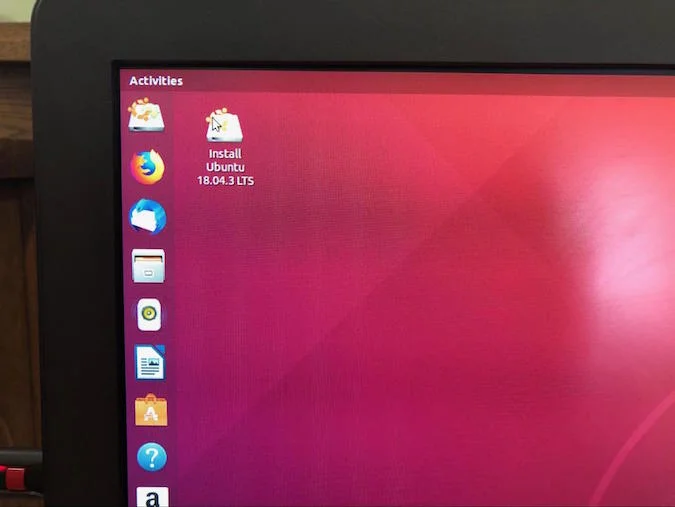
Since all the requirements are met, I am ready to complete the installation. Most "live session" Linux distributions that I have used have an icon on the desktop that provides an opportunity to install.
6. Double-click on that icon to begin the installation process. There will be a number of questions that will follow that include the selection of the appropriate keyboard and language for your particular area of the world.
Installation time will vary depending on a number of factors, which include CPU speed, available RAM, and hard drive speed. In the event that your particular ethernet or wireless card does not work with Linux.
7. You can open a terminal session and run the following command: lspci | grep Ethernet.

Using this command lets you know who the card manufacturer is and what model it is, which will be important in finding a solution. Similarly, you can easily find the wireless adapter information also using a slightly different command: lspci | grep Wireless.

I have had the best experiences with Intel ethernet and wireless adapters out of the box. However, there is a wide variety of supported ethernet and wireless vendors whose hardware is supported by the Linux kernel. There was a time when particular video cards were difficult to configure, but most of those issues have been resolved.
I would love to learn about your own experiences with desktop Linux. Be sure to share them in the comments!


1 Comment