

ElectroSmash just released an open hardware guitar amplifier called the 1Wamp. Designed as a small and portable 1 watt amplifier loaded with all the features of big amps, the project was fully developed using only open source tools—like KiCAD, a design suite to create schematics and layouts in any platform.
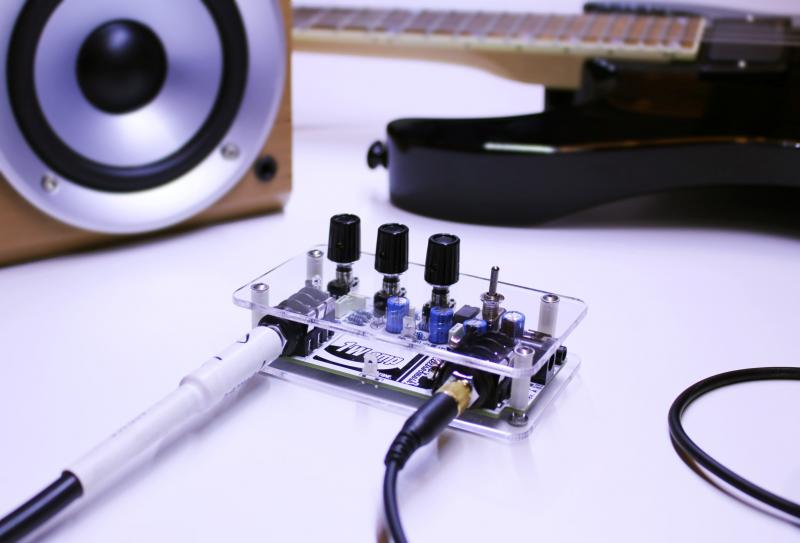
Photo by Ray Rodriguez, CC BY-SA 4.0
We published a detailed analysis of each part of the amplifier so that anyone can contribute to improving or modifying it, as well as, sharing their thoughts and work on the 1Wamp forum.
The amplifier features:
- Tone/Volume/Gain controls
- Speaker/Cabinet output
- Headphones output with attenuator switch
- Aux/mp3 input
- 9V battery clip
- 9V DC boss style power input jack
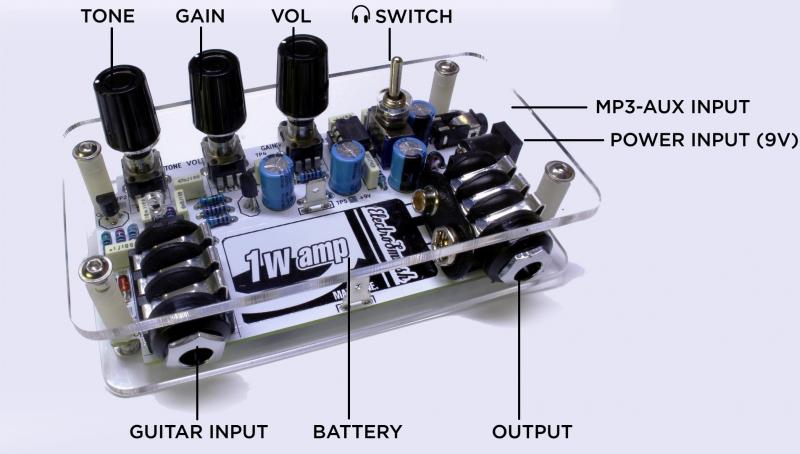
Photo by Ray Rodriguez, CC BY-SA 4.0
How to build 1Wamp in 5 steps
Here's a summarized version from our full documentation.
Step 0
You will need a soldering iron, lead, and cutting pliers. You can get the PCB from ElectroSmash, or build your own at home using the native files or PCB layout transfers from the forum.
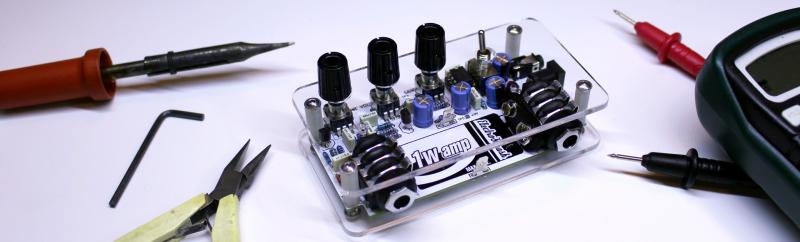
Photo by Ray Rodriguez, CC BY-SA 4.0
Steps 1, 2, 3, and 4
Soldering the components to the PCB is easy; just follow the Bill of Materials and solder the parts, beginning with the small ones. Then put the larger components in place.
Some tips:
- Pay attention to diodes polarity, there's a line indicating the correct position.
- Be careful with the electrolytic caps polarity, the negative lead (the short one) has to be placed in the round hole. The positive hole is always square-shaped and it is marked with a "+" symbol.
- Be patient soldering the big components perpendicularly, because they tend to be slightly tilted.
Step 5
It's time to check your work. Double-check your PCB with the model, component by component, before powering it up. Use this checklist:
- Visual inspection of the PCB bottom, there is no short circuits or long uncut leads.
- The polarized components are placed correctly: diodes and electrolytic caps.
The circuit board fits into several enclosures (like the Hammond 1590B and 1591C), and the plastic cover can also be used as lighting plate.
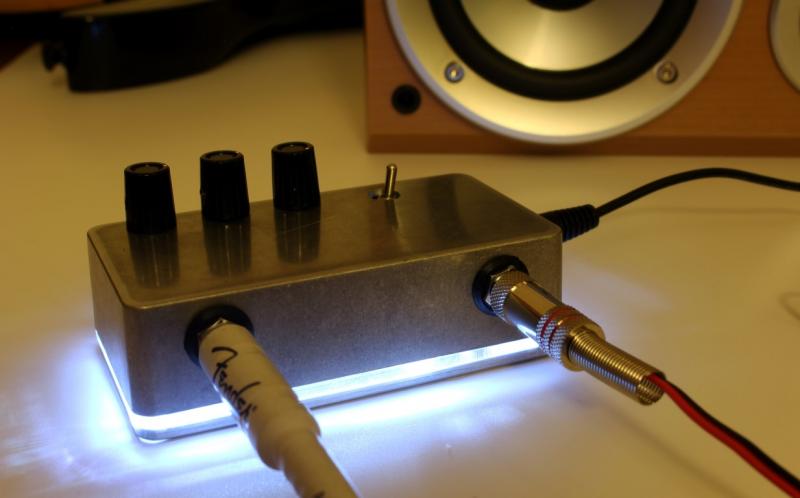
Photo by Ray Rodriguez, CC BY-SA 4.0
You'll find all the schematics here, and the parts list here. All the native files are open.
Watch the two minute video to see this guitar mini amplifier in action!


4 Comments