

Years ago while rummaging through the contents of a shelf in a used bookstore, I happened upon a booklet titled "UNIX System Command Summary for Berkeley 4.2 & 4.3 BSD," published by Specialized Systems Consultants. I bought it as a curiosity item because it was nearly 20 years old yet still largely applicable to modern Linux and BSD.
That amused me then and now. A booklet written in 1986 was still largely relevant in 2016, while books on the same shelf about a proprietary OS weren't worth the paper they were printed on. (Think about it: What technology do you think is going to survive a zombie apocalypse?) I've had the booklet on my own bookshelf for several years now, but it occurred to me that it's probably worth doing a little digital preservation of this artifact, so I decided to scan the booklet to create a CBZ ebook.
Scanning was easy, albeit time-consuming, with Skanlite. After I was finished, however, I discovered that some pages weren't quite level.
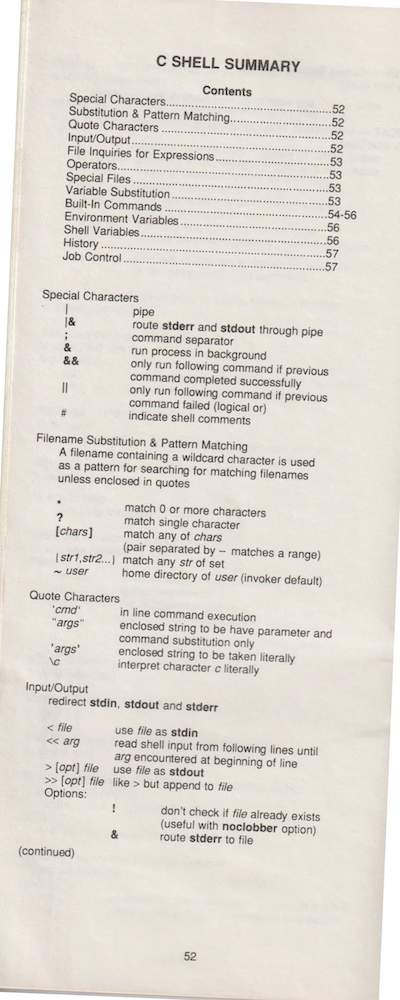
(Seth Kenlon, CC BY-SA 4.0)
In printing, this is called a registration problem, meaning that the position of what's being printed isn't correctly orientated on the page.
ImageMagick
ImageMagick is a non-interactive terminal-based graphics editor. It might seem counterintuitive to try to edit a graphic in a graphic-less environment like a text-only terminal, but it's actually very common. For instance, when you upload an image to use as a profile picture to a web application, it's likely that a script on the application's server processes your image using ImageMagick or its libraries. The advantage of a non-interactive editor is that you can formulate what needs to be done to a sample image, then apply those effects to hundreds of other images at the press of a button.
ImageMagick is generally just as capable as any graphics editor, as long as you take the time to uncover its many functions and how to combine them to achieve the desired effects. In this case, I want to rotate pages that are askew. After searching through ImageMagick's documentation, I discovered that the ImageMagick term for the solution I needed was called deskew. Aligning your terminology with somebody else's terminology is a challenge in anything that you don't already know, so when you approach ImageMagick (or anything), keep in mind that the word you've decided describes a problem or solution may not be the same word used by someone else.
To deskew an image with crooked text using ImageMagick:
$ convert page_0052.webp -deskew 25% fix_0052.webpThe -deskew option represents the threshold of acceptable skew. A skew is determined by tracing peaks and valleys of objects that appear to be letters. Depending on how crooked your scan is, you may need more or less than 25% threshold. I've gone as high as 80%, and so far nothing under 25% has had an effect.
Here's the result:
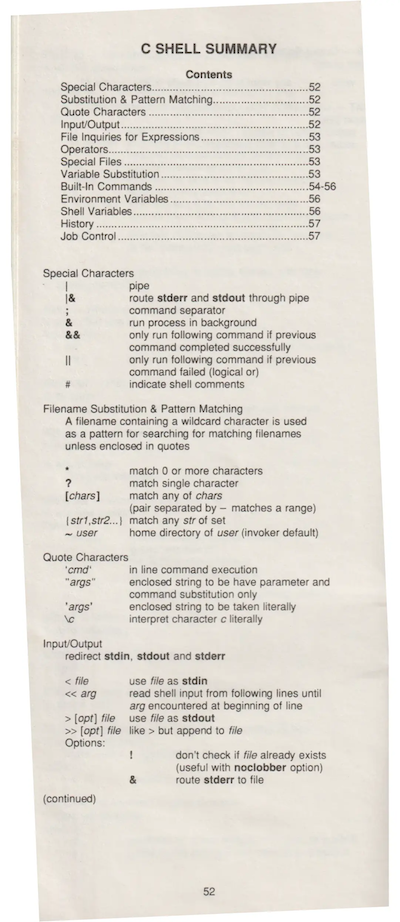
(Seth Kenlon, CC BY-SA 4.0)
Fixed! Applying this to the remaining 55 pages of the document fixed skewed pages while doing nothing to pages that were already straight. In other words, it was safe to run this command on pages that needed no adjustment, thanks to my threshold setting.
Cropping an image with ImageMagick
After correcting for a skew, and because I scanned more of each page than necessary anyway to prevent accidentally cutting off words, I decided that it made sense to crop my corrected pages. I was happy to keep some space around the margins, but not quite as much as I had. I use the crop function of ImageMagick often enough for images on this very website, so I was familiar with the option. However, I needed to determine how to crop each page.
First, I needed the size of the image:
$ identify fixed_0052.webp
WEBP 1128x2593 1128x2593+0+0 8-bit sRGB 114732B 0.020u 0:00.021
Knowing the size, I was able to make some estimations about how many pixels I could stand to lose. After a few trial runs, I came up with this:
convert fix_0052.webp -gravity Center -crop 950x2450+0+0 crop_0052.webpThis isn't an exact fit, but it proved important when I applied it to other images in the booklet. The pages varied in content and scanner placement here and there, so I was happy to give each one a little breathing room.
Here's the corrected and cropped image:
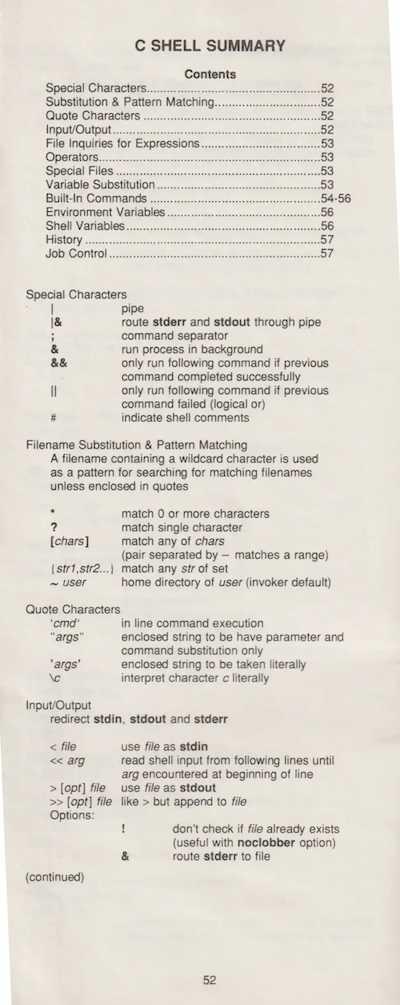
(Seth Kenlon, CC BY-SA 4.0)
Batch image editing with open source
The beauty of ImageMagick is that once you've figured out the formula for fixing your image, you can apply that fix to all images requiring the same fix. I do this with GNU Parallel, which uses all my CPU cores to finish image correction across hundreds of pages. It doesn't take long, and the results speak for themselves. More importantly, I've got a digital archive of a fun artifact of UNIX history.


Comments are closed.