

In this article, we will deploy a couple of simple websites and learn how to ingress traffic from the outside world into our cluster using Traefik. After that, we will learn how to remove Kubernetes resources as well. Let’s get started!
Materials needed
To follow along with the article, you only need the k3s Raspberry Pi cluster we built in a previous article. Since your cluster will be pulling images from the web, the cluster will need to be able to access the internet.
Some configuration files and sample HTML files will be shown in this article for explanation purposes. All sample files can be downloaded here.
Deploying a simple website
Previously, we did a direct deploy with kubectl. This is not the typical way to deploy things, however. Generally, YAML configuration files are used, and that is what we will use in this article. We will start at the top and create our configuration files in a top-down approach.
Deployment configuration
First up is the deployment configuration. The configuration is shown below, and the explanation follows. I typically use the samples from the Kubernetes documentation as a starting point and then modify them to suit my needs. For example, the configuration below was modified after copying the sample from the deployment docs.
Create a file, mysite.yaml, with the following contents:
apiVersion: apps/v1
kind: Deployment
metadata:
  name: mysite-nginx
  labels:
    app: mysite-nginx
spec:
  replicas: 1
  selector:
    matchLabels:
      app: mysite-nginx
  template:
    metadata:
      labels:
        app: mysite-nginx
    spec:
      containers:
      - name: nginx
        image: nginx
        ports:
        - containerPort: 80
Most of this is boilerplate. The important parts, we have named our deployment mysite-nginx with an app label of mysite-nginx as well. We have specified that we want one replica which means there will only be one pod created. We also specified one container, which we named nginx. We specified the image to be nginx. This means, on deployment, k3s will download the nginx image from DockerHub and create a pod from it. Finally, we specified a containerPort of 80, which just means that inside the container the pod will listen on port 80.
I emphasized "inside the container" above because it is an important distinction. As we have the container configured, it is only accessible inside the container, and it is further restricted to an internal network. This is necessary to allow multiple containers to listen on the same container ports. In other words, with this configuration, some other pod could listen on its container port 80 as well and not conflict with this one. To provide formal access to this pod, we need a service configuration.
Service configuration
In Kubernetes, a service is an abstraction. It provides a means to access a pod or set of pods. One connects to the service and the service routes to a single pod or load balances to multiple pods if multiple pod replicas are defined.
The service can be specified in the same configuration file, and that is what we will do here. Separate configuration areas with ---. Add the following to mysite.yaml:
---
apiVersion: v1
kind: Service
metadata:
  name: mysite-nginx-service
spec:
  selector:
    app: mysite-nginx
  ports:
    - protocol: TCP
      port: 80
In this configuration, we have named our service mysite-nginx-service. We provided a selector of app: mysite-nginx. This is how the service chooses the application containers it routes to. Remember, we provided an app label for our container as mysite-nginx. This is what the service will use to find our container. Finally, we specified that the service protocol is TCP and the service listens on port 80.
Ingress configuration
The ingress configuration specifies how to get traffic from outside our cluster to services inside our cluster. Remember, k3s comes pre-configured with Traefik as an ingress controller. Therefore, we will write our ingress configuration specific to Traefik. Add the following to mysite.yaml ( and don’t forget to separate with ---):
---
apiVersion: networking.k8s.io/v1beta1
kind: Ingress
metadata:
  name: mysite-nginx-ingress
  annotations:
    kubernetes.io/ingress.class: "traefik"
spec:
  rules:
  - http:
      paths:
      - path: /
        backend:
          serviceName: mysite-nginx-service
          servicePort: 80
In this configuration, we have named the ingress record mysite-nginx-ingress. And we told Kubernetes that we expect traefik to be our ingress controller with the kubernetes.io/ingress.class annotation.
In the rules section, we are basically saying, when http traffic comes in, and the path matches / (or anything below that), route it to the backend service specified by the serviceName mysite-nginx-service, and route it to servicePort 80. This connects incoming HTTP traffic to the service we defined earlier.
Something to deploy
That is really it as far as configuration goes. If we deployed now, we would get the default nginx page, but that is not what we want. Let’s create something simple but custom to deploy. Create the file index.html with the following contents:
<html>
<head><title>K3S!</title>
  <style>
    html {
      font-size: 62.5%;
    }
    body {
      font-family: sans-serif;
      background-color: midnightblue;
      color: white;
      display: flex;
      flex-direction: column;
      justify-content: center;
      height: 100vh;
    }
    div {
      text-align: center;
      font-size: 8rem;
      text-shadow: 3px 3px 4px dimgrey;
    }
  </style>
</head>
<body>
  <div>Hello from K3S!</div>
</body>
</html>
We have not yet covered storage mechanisms in Kubernetes, so we are going to cheat a bit and just store this file in a Kubernetes config map. This is not the recommended way to deploy a website, but it will work for our purposes. Run the following:
kubectl create configmap mysite-html --from-file index.htmlThis command creates a configmap resource named mysite-html from the local file index.html. This essentially stores a file (or set of files) inside a Kubernetes resource that we can call out in configuration. It is typically used to store configuration files (hence the name), so we are abusing it a bit here. In a later article, we will discuss proper storage solutions in Kubernetes.
With the config map created, let’s mount it inside our nginx container. We do this in two steps. First, we need to specify a volume, calling out the config map. Then we need to mount the volume into the nginx container. Complete the first step by adding the following under the spec label, just after containers in mysite.yaml:
      volumes:
      - name: html-volume
        configMap:
          name: mysite-html
This tells Kubernetes that we want to define a volume, with the name html-volume and that volume should contain the contents of the configMap named html-volume (which we created in the previous step).
Next, in the nginx container specification, just under ports, add the following:
        volumeMounts:
        - name: html-volume
          mountPath: /usr/share/nginx/html
This tells Kubernetes, for the nginx container, we want to mount a volume named html-volume at the path (in the container) /usr/share/nginx/html. Why /usr/share/nginx/html? That is where the nginx image serves HTML from. By mounting our volume at that path, we have replaced the default contents with our volume contents.
For reference, the deployment section of the configuration file should now look like this:
apiVersion: apps/v1
kind: Deployment
metadata:
  name: mysite-nginx
  labels:
    app: mysite-nginx
spec:
  replicas: 1
  selector:
    matchLabels:
      app: mysite-nginx
  template:
    metadata:
      labels:
        app: mysite-nginx
    spec:
      containers:
      - name: nginx
        image: nginx
        ports:
        - containerPort: 80
        volumeMounts:
        - name: html-volume
          mountPath: /usr/share/nginx/html
      volumes:
      - name: html-volume
        configMap:
          name: mysite-html
Deploy it!
Now we are ready to deploy! We can do that with:
kubectl apply -f mysite.yamlYou should see something similar to the following:
deployment.apps/mysite-nginx created
service/mysite-nginx-service created
ingress.networking.k8s.io/mysite-nginx-ingress created
This means that Kubernetes created resources for each of the three configurations we specified. Check on the status of the pods with:
kubectl get podsIf you see a status of ContainerCreating, give it some time and run kubectl get pods again. Typically, the first time, it will take a while because k3s has to download the nginx image to create the pod. After a while, you should get a status of Running.
Try it!
Once the pod is running, it is time to try it. Open up a browser and type kmaster into the address bar.

Congratulations! You’ve deployed a website on your k3s cluster!
Another one
So now we have a whole k3s cluster running a single website. But we can do more! What if we have another website we want to serve on the same cluster? Let’s see how to do that.
Again, we need something to deploy. It just so happens that my dog has a message she has wanted the world to know for some time. So, I crafted some HTML just for her (available from the samples zip file). Again, we will use the config map trick to host our HTML. This time we are going to poke a whole directory (the html directory) into a config map, but the invocation is the same.
kubectl create configmap mydog-html --from-file htmlNow we need to create a configuration file for this site. It is almost exactly the same as the one for mysite.yaml, so start by copying mysite.yaml to mydog.yaml. Now edit mydog.yaml to be:
apiVersion: apps/v1
kind: Deployment
metadata:
  name: mydog-nginx
  labels:
    app: mydog-nginx
spec:
  replicas: 1
  selector:
    matchLabels:
      app: mydog-nginx
  template:
    metadata:
      labels:
        app: mydog-nginx
    spec:
      containers:
      - name: nginx
        image: nginx
        ports:
        - containerPort: 80
        volumeMounts:
        - name: html-volume
          mountPath: /usr/share/nginx/html
      volumes:
      - name: html-volume
        configMap:
          name: mydog-html
---
apiVersion: v1
kind: Service
metadata:
  name: mydog-nginx-service
spec:
  selector:
    app: mydog-nginx
  ports:
    - protocol: TCP
      port: 80
---
apiVersion: networking.k8s.io/v1beta1
kind: Ingress
metadata:
  name: mydog-nginx-ingress
  annotations:
    kubernetes.io/ingress.class: "traefik"
    traefik.frontend.rule.type: PathPrefixStrip
spec:
  rules:
  - http:
      paths:
      - path: /mydog
        backend:
          serviceName: mydog-nginx-service
          servicePort: 80
We can do most of the edits by simply doing a search and replace of mysite to mydog. The two other edits are in the ingress section. We changed path to /mydog and we added an annotation, traefik.frontend.rule.type: PathPrefixStrip.
The specification of the path /mydog instructs Traefik to route any incoming request that requests a path starting with /mydog to the mydog-nginx-service. Any other path will continue to be routed to mysite-nginx-service.
The new annotation, PathPrefixStrip, tells Traefik to strip off the prefix /mydog before sending the request to mydog-nginx-service. We did this because the mydog-nginx application doesn’t expect a prefix. This means we could change where the service was mounted simply by changing the prefix in the ingress record.
Now we can deploy like we did before:
kubectl apply -f mydog.yamlAnd now, my dog’s message should be available at https://kmaster/mydog/.
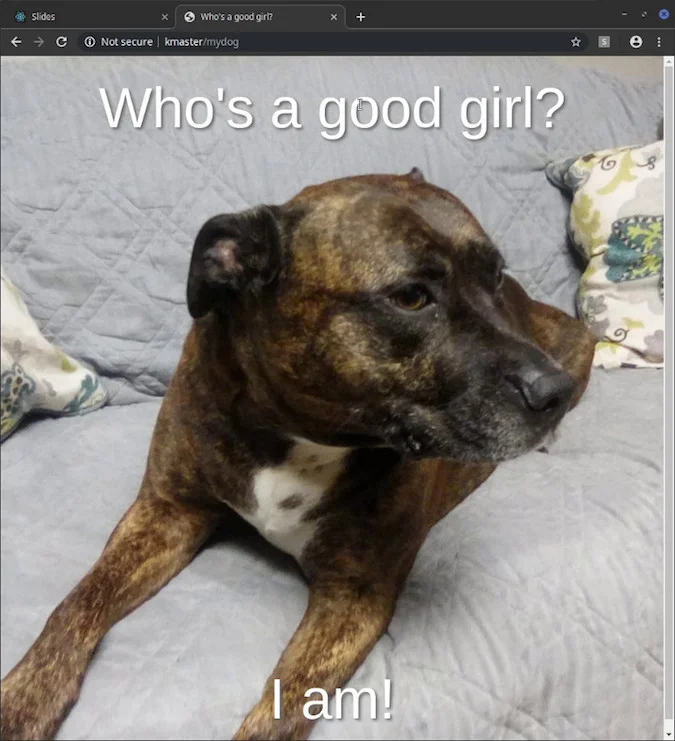
Phew! The message is out! Maybe we can all get some sleep tonight.
So now, we have a k3s cluster hosting two websites with Traefik making decisions, based on path names, as to which service to pass the request to! We are not limited to path-based routing, however. We could use hostname based routing as well, which we will explore in a future article.
Also, the websites we just hosted are standard unencrypted HTML sites. Everything these days is encrypted with SSL/TLS. In our next article, we will add support to our k3s cluster to host SSL/TLS HTTPS sites as well!
Cleaning up
Before you go, since this article mostly dealt with sample sites, I would like to show you how to delete things in case you don’t want the samples hanging around on your cluster.
For most configurations, you can undo the configuration simply by running the delete command with the same configuration file you deployed with. So let’s clean up both mysite and mydog.
kubectl delete -f mysite.yaml
kubectl delete -f mydog.yaml
Since we manually created the config maps, we’ll need to delete those manually as well.
kubectl delete configmap mysite-html
kubectl delete configmap mydog-html
Now if we do a kubectl get pods, we should see that our nginx pods are no longer around.
$ kubectl get pods
No resources found in default namespace.
Everything is cleaned up.
Tell me what thoughts you have on this project in the comments below.


3 Comments