

Documentation is an important part of any technical project. Good documentation tells the end user how to run the program, how to use it, or how to compile it. For many projects, plain text documentation is the standard. After all, every system can display plain text files.
However, plain text is limiting. Plain text files lack formatting elements like italics text, bold text, and titles. To add these elements, we can leverage HTML. HyperText Markup Language (HTML) is the markup language used in all web browsers. And with a little extra effort, you can use HTML to write project documentation that can be read by everyone.
HTML uses a series of tags enclosed in angle brackets to control how different parts of a document should be displayed. These tags define elements in an HTML document, such as document headings, paragraphs, italics text, bold text, and other kinds of text. Almost every tag comes in a pair: an opening tag, like <p> to start a paragraph, and a closing tag to end the element, such as </p> to end a paragraph. When using these tags, remember this rule: if you open a tag, you need to close it. Not closing a tag properly can result in the web browser incorrectly.
Some tags define a block within the HTML document, while others are inline. For more information about block and inline elements, read my other article about a gentle introduction to HTML.
Start an empty document
Begin by creating a boilerplate empty HTML document. Every HTML document should provide a document type declaration. Use the single tag <!DOCTYPE html> on the first line of the HTML file to define an HTML document. The HTML standard also requires that pages wrap the document text in two block elements: <html> to define the HTML document, and <body> to define the body text. While HTML doesn't require indenting each new code block, but I add it anyway so you can see that <body> is actually "inside" the <html> block:
<!DOCTYPE html>
<html>
  <body>

  </body>
</html>
HTML documents also need a <head> block before the <body> that provides extra information called metadata about the page. The only required metadata is the title of the document, defined by the <title> element. An empty document might look like this:
<!DOCTYPE html>
<html>
  <head>
    <title>Title of the document</title>
  </head>
  <body>

  </body>
</html>
Add the text
Let's exercise some HTML knowledge by adapting an existing plain text "Readme" file to HTML. For this example, I'm using part of the documentation about how to play an open source board game, called Simple Senet:
HOW TO PLAY SIMPLE SENET

The game will automatically "throw" the throwing sticks for you, and
display the results in the lower-right corner of the screen.

If the "throw" is zero, then you lose your turn.

When it's your turn, the game will automatically select your first
piece on the board. You may or may not be able to make a move with
this piece, so select your piece to move, and hit Space (or Enter) to
move it. You can select using several different methods:

-  Up/down/left/right to navigate to a specific square.

-  Plus (+) or minus (-) to navigate "left" and "right" on the
   board. Note that this will automatically follow the "backwards S"
   shape of the board.

-  Tab to select your next piece on the board.

To quit the game at any time, press Q (uppercase Q) or hit Esc, and
the game will prompt if you want to forfeit the game.

You win if you move all of your pieces off the board before your
opponent. It takes a combination of luck and strategy!
Start by adding this Readme text into your empty HTML file. The main content of an HTML page is the <body>, so that's where you put the text:
<!DOCTYPE html>
<html>
  <head>
    <title>Title of the document</title>
  </head>
  <body>
    HOW TO PLAY SIMPLE SENET

    The game will automatically "throw" the throwing sticks for you, and
    display the results in the lower-right corner of the screen.

    If the "throw" is zero, then you lose your turn.

    When it's your turn, the game will automatically select your first
    piece on the board. You may or may not be able to make a move with
    this piece, so select your piece to move, and hit Space (or Enter) to
    move it. You can select using several different methods:

    - Up/down/left/right to navigate to a specific square.

    - Plus (+) or minus (-) to navigate "left" and "right" on the
      board. Note that this will automatically follow the "backwards S"
      shape of the board.

    - Tab to select your next piece on the board.

    To quit the game at any time, press Q (uppercase Q) or hit Esc, and
    the game will prompt if you want to forfeit the game.

    You win if you move all of your pieces off the board before your
    opponent. It takes a combination of luck and strategy!
  </body>
</html>
Without further changes, this HTML document looks completely wrong when you view it in a web browser. That's because HTML, like most markup systems, collects words from the input file and fills paragraphs in the output. Because you have not yet added other markup, a web browser displays the text in a single paragraph:
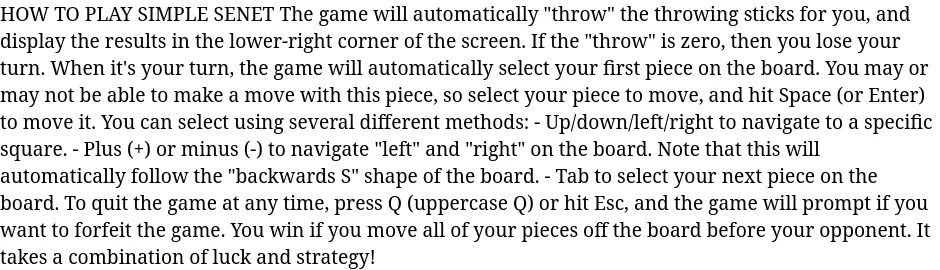
(Jim Hall, CC BY-SA 4.0)
Body paragraphs
Your first step in updating this Readme file to HTML is to mark every paragraph so the web browser can display it properly. The tag to define a paragraph is <p>. While not everything in this file is actually a paragraph, start by wrapping everything in <p> and </p> tags:
<!DOCTYPE html>
<html>
  <head>
    <title>Title of the document</title>
  </head>
  <body>
    <p>HOW TO PLAY SIMPLE SENET</p>

    <p>The game will automatically "throw" the throwing sticks for you, and
    display the results in the lower-right corner of the screen.</p>

    <p>If the "throw" is zero, then you lose your turn.</p>

    <p>When it's your turn, the game will automatically select your first
    piece on the board. You may or may not be able to make a move with
    this piece, so select your piece to move, and hit Space (or Enter) to
    move it. You can select using several different methods:</p>

    <p>- Up/down/left/right to navigate to a specific square.</p>

    <p>- Plus (+) or minus (-) to navigate "left" and "right" on the
         board. Note that this will automatically follow the "backwards S"
         shape of the board.</p>

    <p>- Tab to select your next piece on the board.</p>

    <p>To quit the game at any time, press Q (uppercase Q) or hit Esc, and
    the game will prompt if you want to forfeit the game.</p>

    <p>You win if you move all of your pieces off the board before your
    opponent. It takes a combination of luck and strategy!</p>
  </body>
</html>
This makes the Readme look more like a document you want to read. When you view the new document in a web browser, every paragraph starts on a new line, with some extra space above and below. The paragraph is the most common example of a block element.
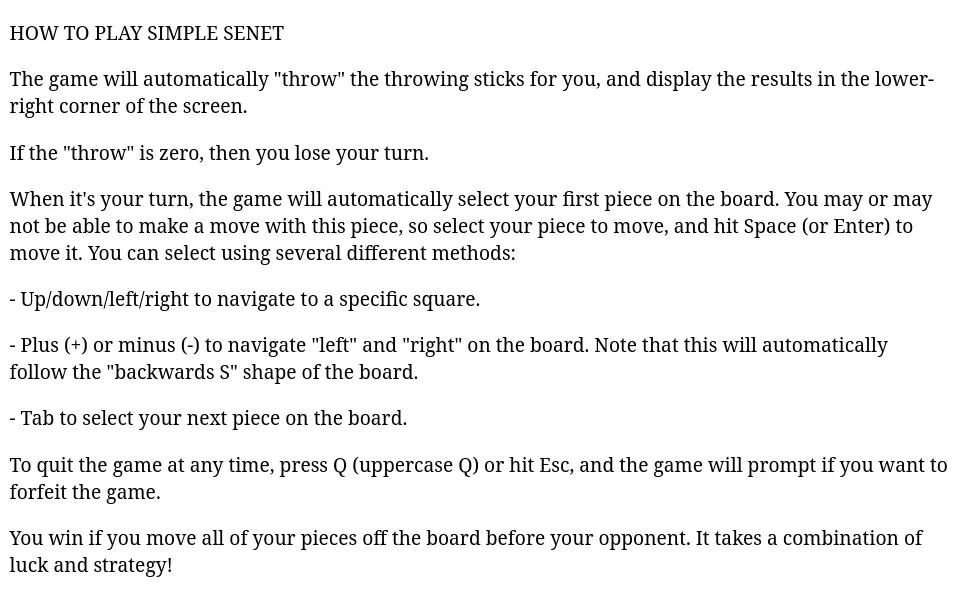
(Jim Hall, CC BY-SA 4.0)
Headings and subheadings
The first line in your content is your document's title, so you should make this into a heading. HTML provides six levels of headings, from <h1> to <h6>. In most documents, you might use <h1> to define the title of the document, and <h2> for major subsections. Make this change in your sample Readme document. Use the name of the program ("Simple Senet") as the main section title, and "How to Play" as a subsection in the document.
Note that in this example, I've also updated the <title> in the document metadata to use the same title as the <h1> heading. This doesn't actually change how browsers display the document, but it is a good practice to use:
<!DOCTYPE html>
<html>
  <head>
    <title>Simple Senet</title>
  </head>
  <body>
    <h1>Simple Senet</h1>
    <h2>How to Play</h2>
    ...
  </body>
</html>
By adding these section headings, you've made the document easier to read:
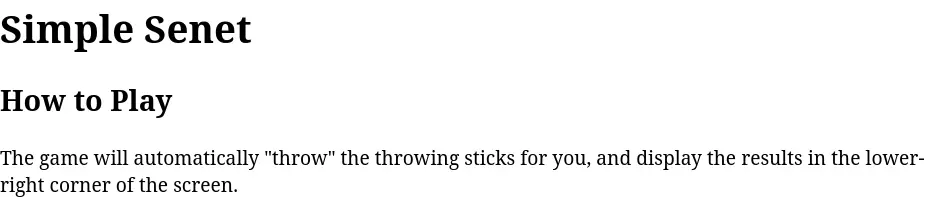
(Jim Hall, CC BY-SA 4.0)
Ordered and unordered lists
Your document includes a list of different ways to navigate the board game. Because this document started out as a plain text file, each item in the list starts with a hyphen. But you can use HTML to define these three paragraphs as list items.
HTML supports two kinds of lists: ordered and unordered lists. An ordered list <ol> is a numbered series, which you might use to define a sequence of steps. An unordered list <ul> defines a list of items that may or may not be related, but are generally not done in order. Both lists use list items <li> for entries within the list.
Update the Readme document to use an ordered list instead of paragraphs. This presents the three navigation options in a numbered list:
   <ol>
      <li>Up/down/left/right to navigate to a specific square.</li>

      <li>Plus (+) or minus (-) to navigate "left" and "right" on the
          board. Note that this will automatically follow the "backwards S"
          shape of the board.</li>

      <li>Tab to select your next piece on the board.</li>
    </ol>
This presents the three options in a numbered list:

(Jim Hall, CC BY-SA 4.0)
However, these three items aren't really a sequence of steps, but different options to move the selection in the Simple Senet game. So instead of an ordered list, we want to use an unordered list. This requires updating the <ol> to <ul> in the document:
   <ul>
      <li>Up/down/left/right to navigate to a specific square.</li>

      <li>Plus (+) or minus (-) to navigate "left" and "right" on the
          board. Note that this will automatically follow the "backwards S"
          shape of the board.</li>

      <li>Tab to select your next piece on the board.</li>
    </ul>
The unordered list uses bullets for each list item, because the entries are not part of a sequence:

(Jim Hall, CC BY-SA 4.0)
Bold and italics
You can highlight certain information in the document by applying bold and italics styles. These are very common text styles in technical writing. You might use bold to highlight important information, or italics to emphasize key phrases and new terms.
The bold tag was originally defined as <b>, but newer versions of the HTML standard prefer the <strong> tag to indicate strong importance, such as key steps in a set of instructions. Both tags are valid, but are semantically slightly different. <b> now means "bring attention to."
Similarly, the original HTML standard used <i> for italics text. Later versions of HTML instead prefer <em> to bring emphasis to parts of the text. Instead, <i> now identifies idiomatic text or technical terms.
For this example, use bold to identify the single-letter keypresses, and italics to indicate special keys on a keyboard like Enter and Space. For simplicity, use <b> and <i> tags here (but you could use <strong> and <em> tags instead to get the same effect:)
<!DOCTYPE html>
<html>
  <head>
    <title>Simple Senet</title>
  </head>
  <body>
    <h1>Simple Senet</h1>
    <h2>How to Play</h2>

    <p>The game will automatically "throw" the throwing sticks for you, and
    display the results in the lower-right corner of the screen.</p>

    <p>If the "throw" is zero, then you lose your turn.</p>

    <p>When it's your turn, the game will automatically select your first
    piece on the board. You may or may not be able to make a move with
    this piece, so select your piece to move, and hit <i>Space</i> (or <i>Enter</i>) to
    move it. You can select using several different methods:</p>

    <ul>
      <li><i>Up</i>/<i>down</i>/<i>left</i>/<i>right</i> to navigate to a specific square.</li>

      <li>Plus (<b>+</b>) or minus (<b>-</b>) to navigate "left" and "right" on the
          board. Note that this will automatically follow the "backwards S"
          shape of the board.</li>

      <li><em>Tab</em> to select your next piece on the board.</li>
    </ul>

    <p>To quit the game at any time, press <b>Q</b> (uppercase Q) or hit <i>Esc</i>, and
    the game will prompt if you want to forfeit the game.</p>

    <p>You win if you move all of your pieces off the board before your
    opponent. It takes a combination of luck and strategy!</p>
  </body>
</html>
These extra styles help special items to stand out in the text:
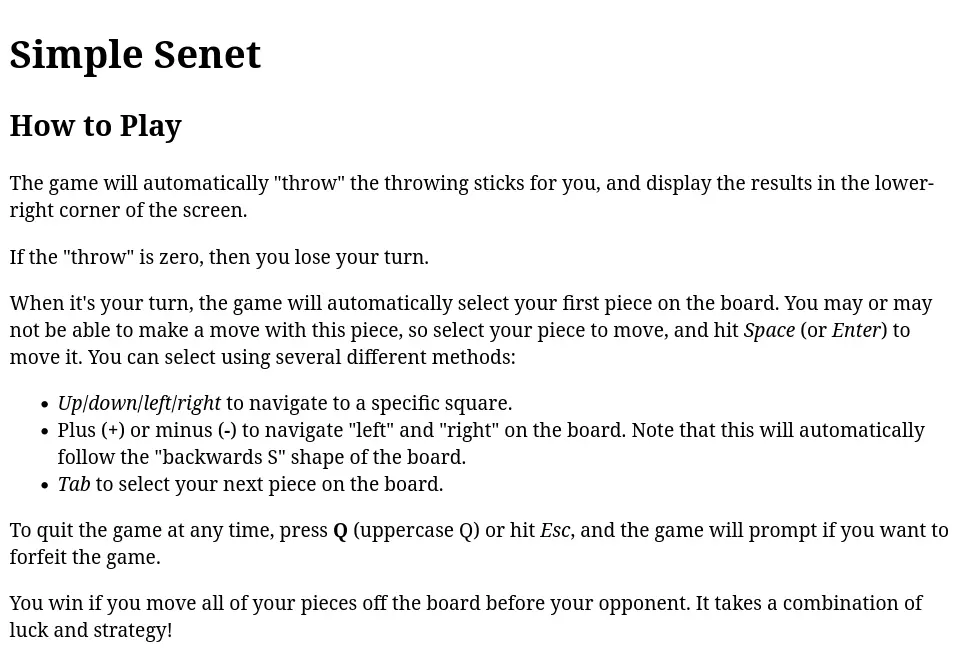
(Jim Hall, CC BY-SA 4.0)
The point of writing documentation is for users to understand how to use the software, so every open source project should make the effort to write documentation in a way that is easy to read. With a few basic HTML tags, you can write documentation that presents the information more clearly to your users.
For more information on using HTML to write documentation, check out the complete HyperText Markup Language reference at MDN, the Mozilla Developer Network, hosted by the Mozilla web project.


6 Comments