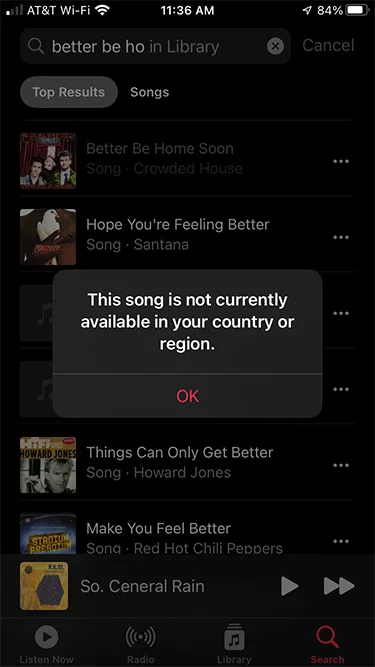
One day earlier this year, I looked up a song in my Mac's music library that's been there since 2001. I received an error message, "This song is not currently available in your country or region." I thought this might be just a glitch on my iPhone, so I tried the desktop app. No go. I opened up my media drive, and there was the music file. To check if it played, I hit the spacebar, and it began to play immediately. Hrmph. I have the file, I thought. Why won't the Music app play it?

(DJ Billings, CC BY-SA 40)
After some digging, I found other users with similar issues. To sum up, it seems that Apple decided that it owned some of my songs, even though I ripped this particular song to an MP3 from my own CD in the late 1990s.
To be clear, I'm not an Apple Music subscriber. I'm referring to the free "music" app that used to be called iTunes. I gave Apple Music a go when it first launched but quickly abandoned it. They decided to replace my previously owned songs with their DRM versions. In fact, I believe that's where my messed-up music troubles began. Since then, I've been bombarded with pushy Apple notifications trying to steer me back into becoming an Apple Music subscriber.
The sales notifications were annoying, but this suddenly unplayable song was unacceptable. I knew there had to be a better way to manage my music, one that put me in control of the music and movie files I already owned.
Searching for a new open source media solution
After this incident, I naturally took to social media to air my grievances. I also made a short list of needs I had for what I thought was the ideal solution:
- It needs to be open source and run on Linux.
- I want to run it on my own server, if possible.
- It should be free (as in beer) if possible.
- I want the ability to control how the media is organized.
- I want to be able to watch my movies on my TV as well as listen to music.
- It should work from home (WiFi) and over the internet.
- It should be cross-platform accessible (Linux, Mac OS, Windows, Android, iOS).
A tall order, I know. I wasn't sure I'd get everything I wanted, but I thought aiming for the stars was better than settling for something quick and easy. A few people suggested Jellyfin, so I decided to check it out, but without much optimism considering the amount of rabbit holes I'd already been down.
What I discovered was unbelievable. Jellyfin fulfilled every item on my list. Better still, I found that I could use it with my Raspberry Pi. I jumped onboard the Jellyfin train and haven't looked back.
Raspberry Pi and Jellyfin are the perfect combination
I will describe what I did, but this is not intended to be a complete tutorial. Believe me when I say that if I can do it, so can you.
Raspberry Pi 4
I used a Raspberry Pi 4 Model B with 4GB of RAM. The SD card is 128GB, which is more than I need. The Pi 4 has WiFi but it's connected to my router using ethernet, so there's less lag.
One of the things I love about the Raspberry Pi is the ability to swap out the entire OS and storage by slipping in a new SD card. You can switch back in a few seconds if the OS doesn't suit you.
Western Digital Elements 2 TB external SSD
Since all of my media won't fit on a 128GB SD card, an external drive was essential. I also like having my media on a drive separate from my OS. I previously used a 2TB external HD from Seagate that worked fine. I was trying to keep my budget low, but I also wanted an SSD, one with a small footprint this time. The Western Digital drive is tiny, fast, and perfect. To work with the Raspberry Pi, I had to format the drive as exFAT and add a package to help the Pi mount it.
Jellyfin
I can't say enough good things about Jellyfin. It ticks all the boxes for me. It's open source, 100% free, has no central server, data collection, or tracking. It also plays all of the music, movies, and TV shows I have on my drive.
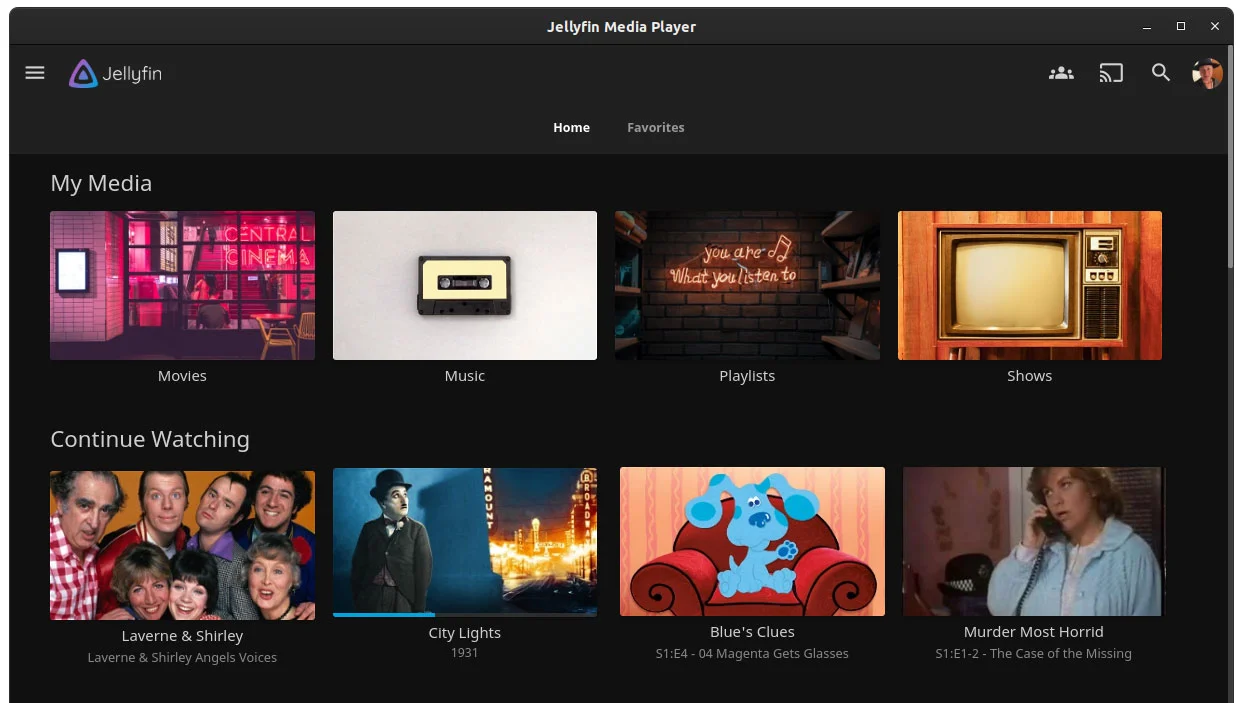
There are clients for just about every platform, or you can listen or view in your web browser. Currently, I'm listening to my music on the app for Debian and Ubuntu and it works great.

(DJ Billings, CC BY-SA 40)
Setting up Jellyfin
Many people, more brilliant than I, have created detailed instructions on Jellyfin's setup, so I would rather point to their work. Plus, Jellyfin has excellent documentation. But I'll lay out the basics, so you know what to expect if you want to do this yourself.
Command-line
First, you'll need to be confident using the terminal to write commands or be willing to learn. I encourage trying it because I've become highly skilled and confident in Bash just by doing this project.
File organization
It's a good idea to have your media files well-organized before you start. Changing things later is possible, but you'll have fewer issues with Jellyfin recognizing your files if they're categorized well.
Jellyfin uses the MusicBrainz and AudioDb databases to recognize your files and I've found very few errors. Seeing the covers for movies and music populate after it finds your catalog is very satisfying. I've had to upload my artwork a few times, but it's an easy process. You can also replace the empty or generic category images with your own art.
Users
You can add users and adjust their level of control. For example, in my family, I'm the only one with the ability to delete music. There are also parental controls available.
Process and resources
Here's the general process and some of the resources I used to set up my Raspberry Pi media server using Jellyfin:
-
Install the OS of your choice on your Pi.
-
Install Jellyfin on your Pi.
-
If you're using a big external drive for storage, format it so that it uses a file system usable by you Pi, but also convenient for you. I've found exFAT to be the easiest file system of all the major platforms to use.
-
Configure the firewall on your Pi so that other computers can access the Jellyfin library.
-
On your personal computer install a Jellyfin Media Player.
Breaking away
Whenever someone finds an open source solution, an angel gets its wings. The irony is that I was pushed into finding a non-proprietary solution by one of the biggest closed source companies on the planet. What I love most about the system I've created is that I am in control of all aspects of it, good and bad.


5 Comments